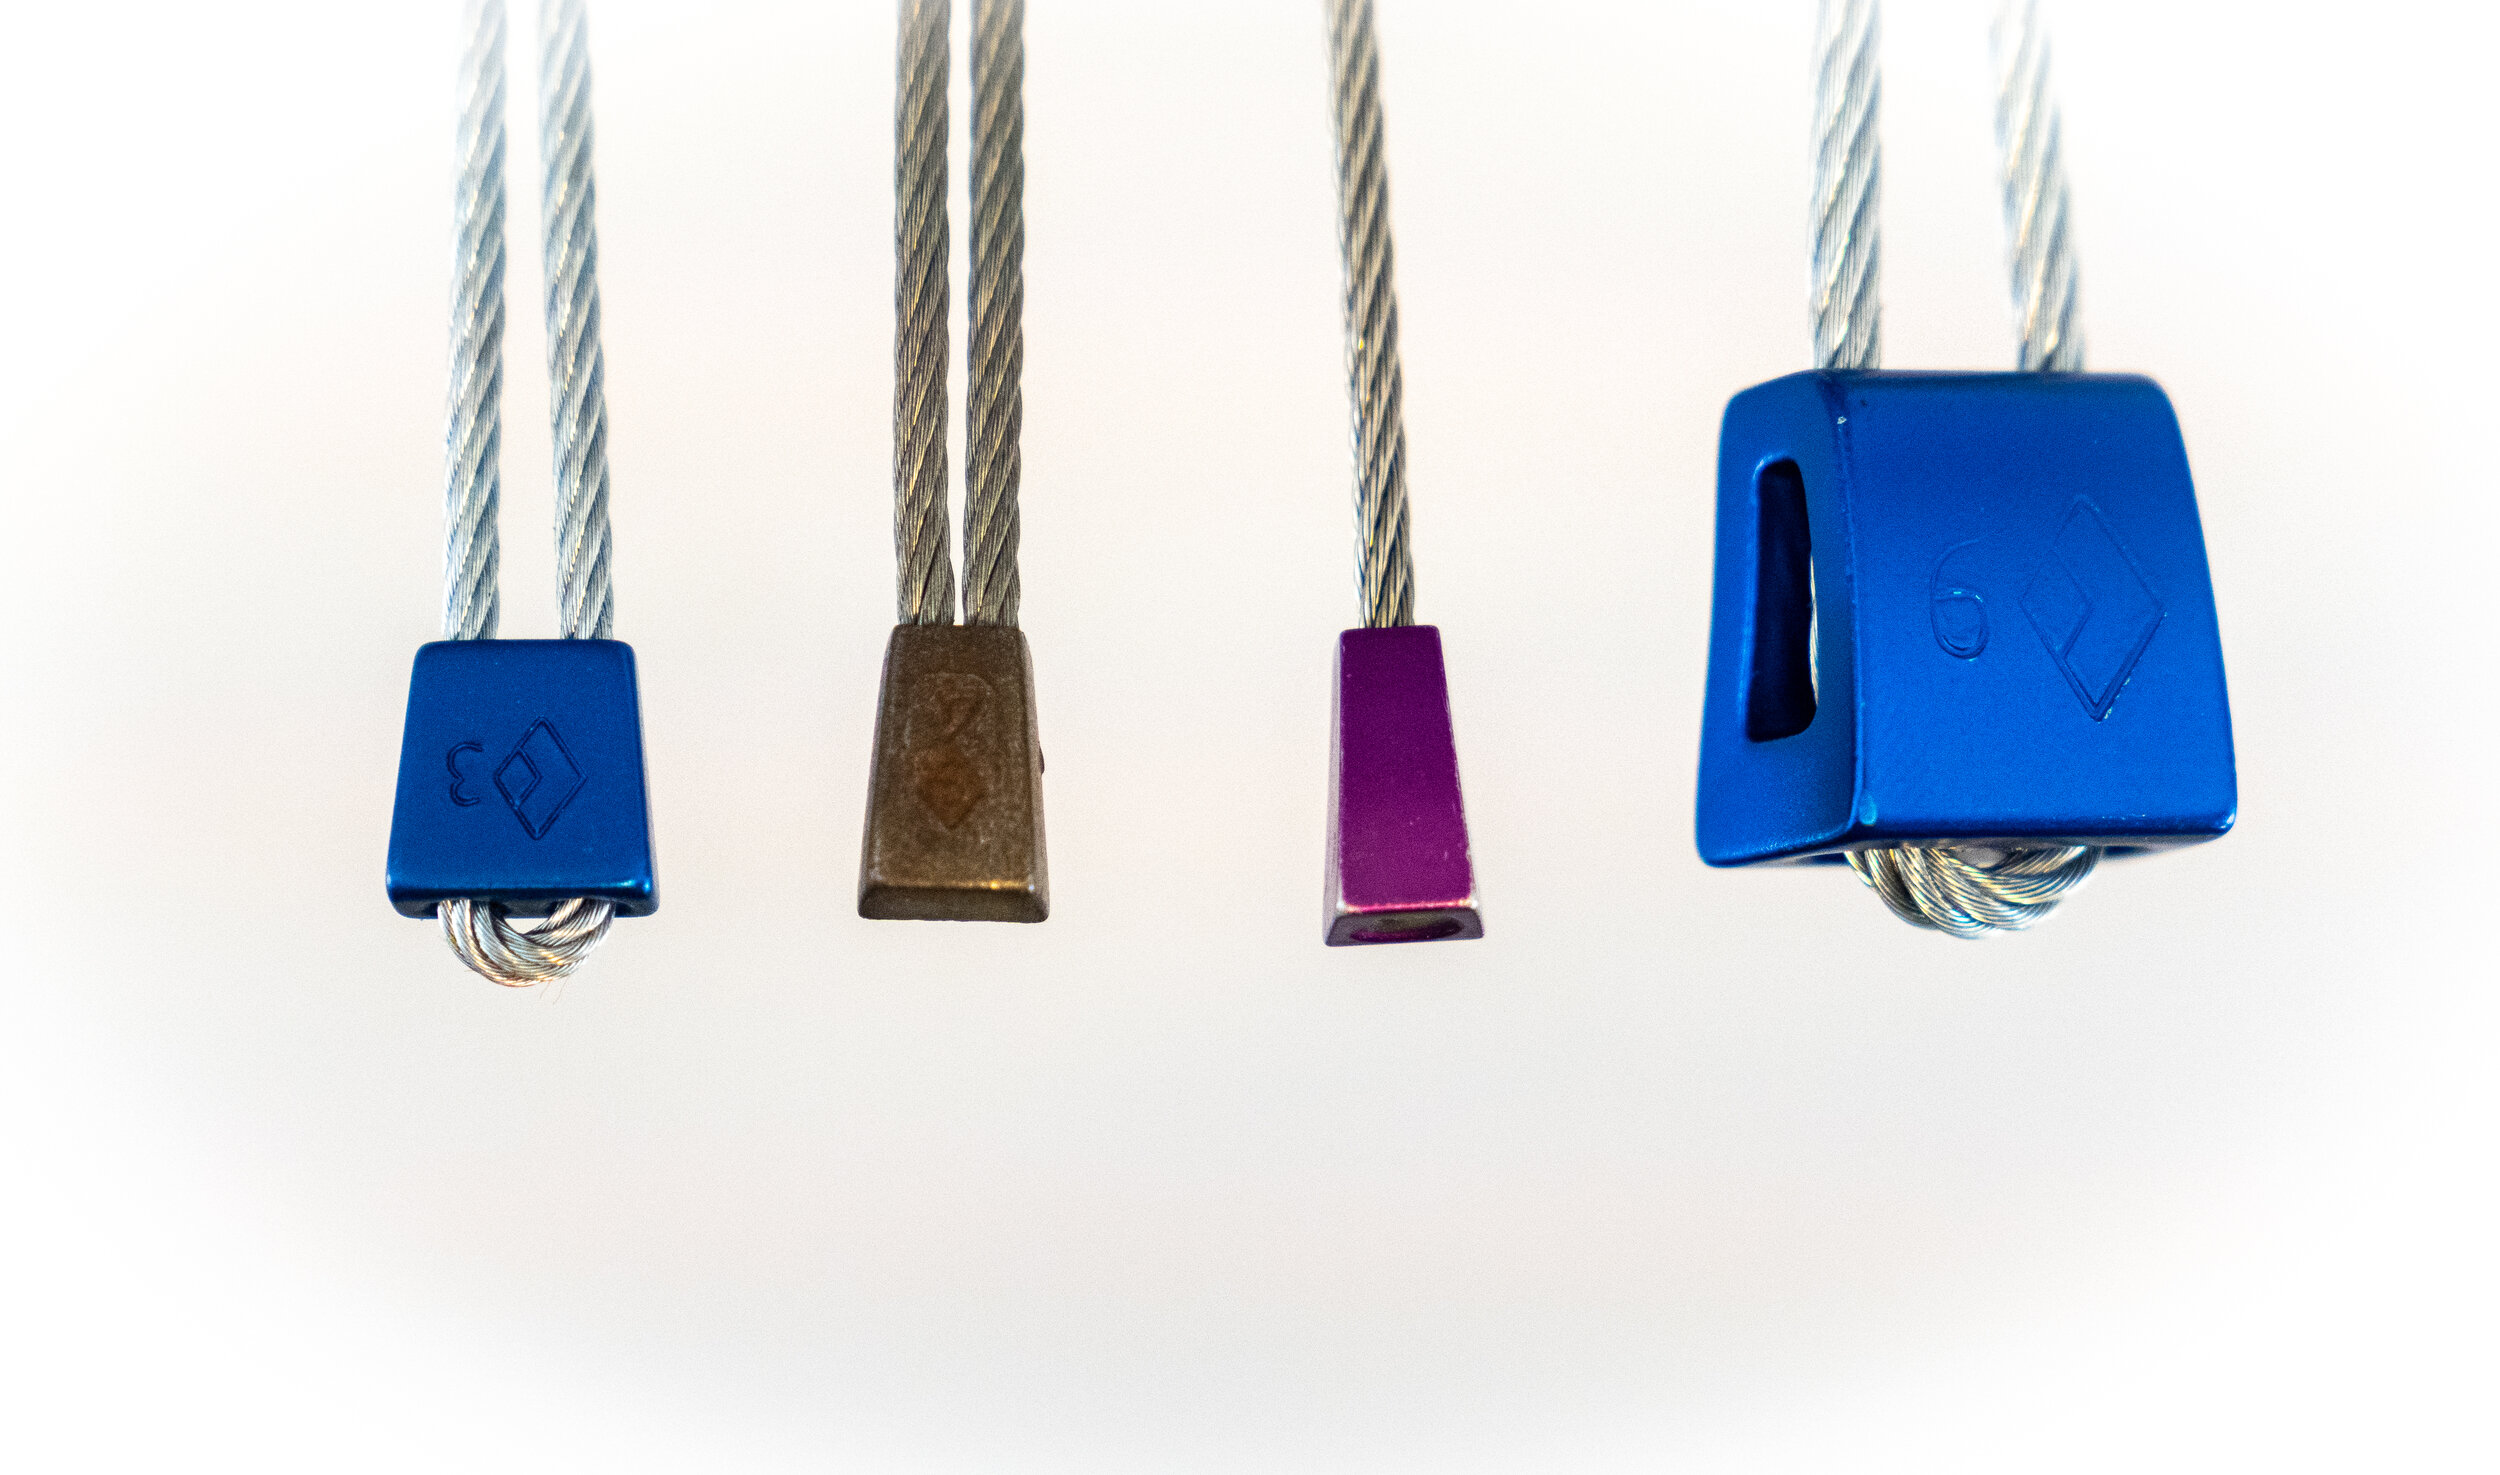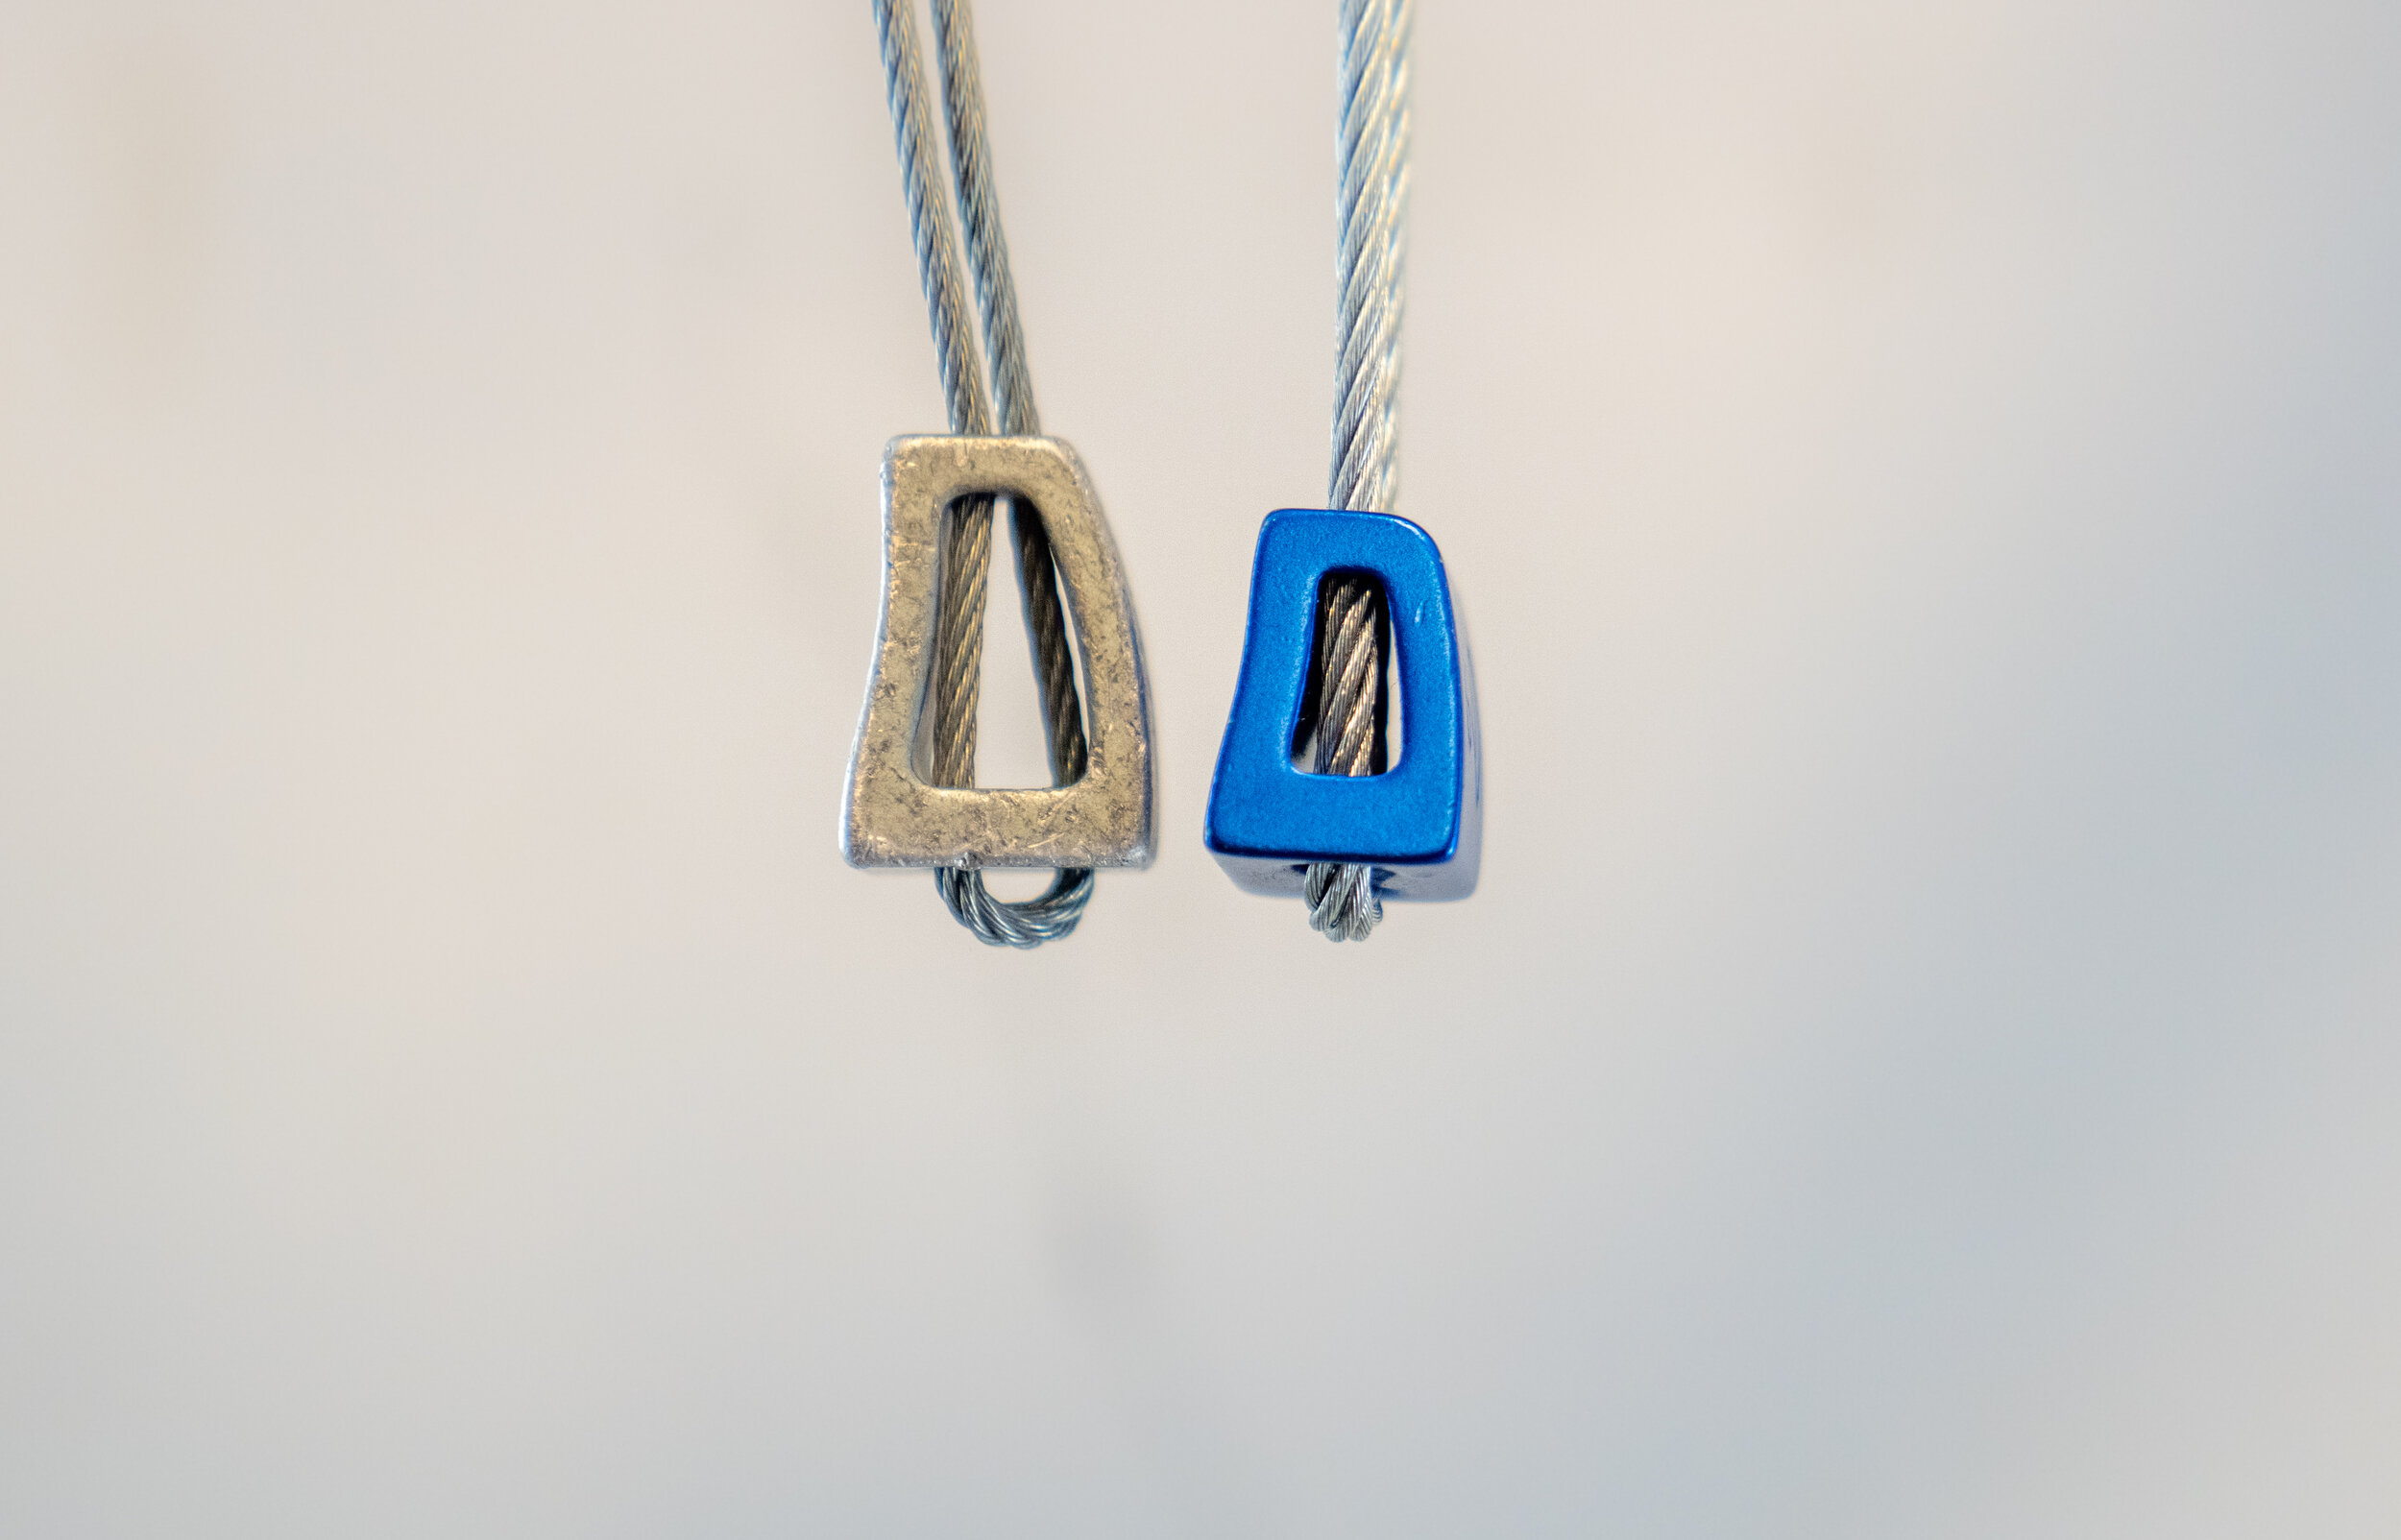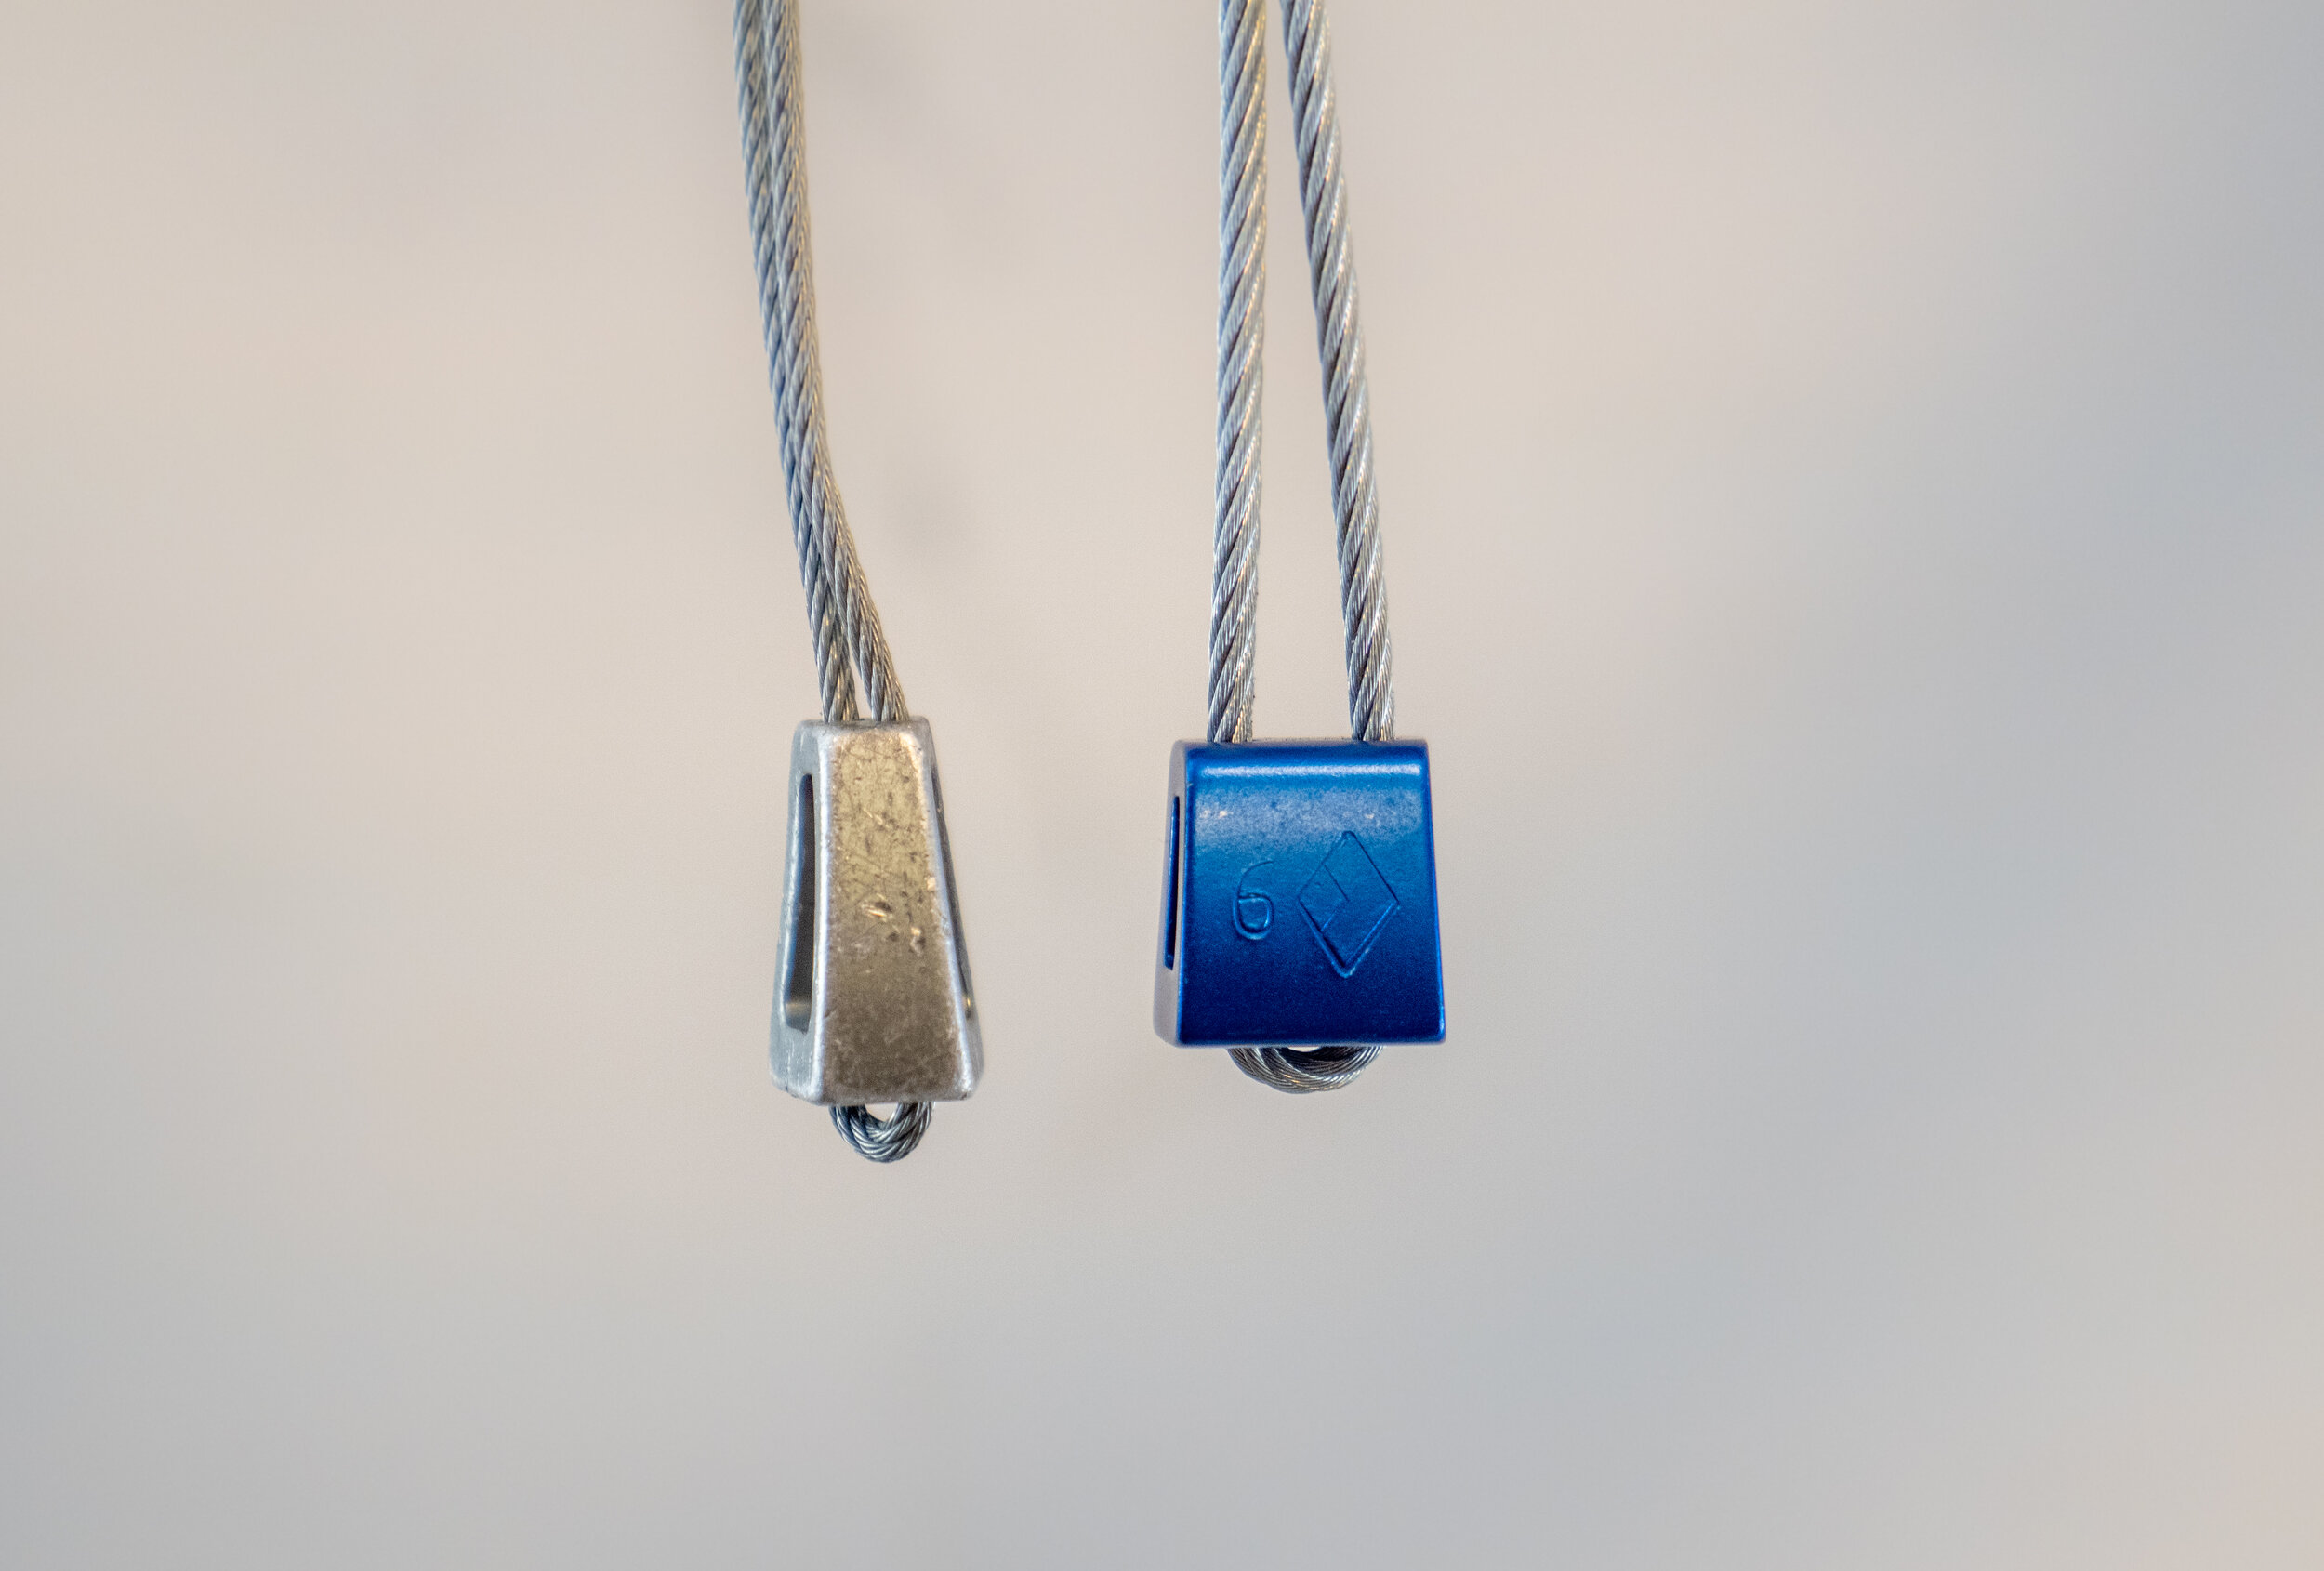

I get asked a lot when should you use what anchor when sport climbing. Should you build a master point or not. As usual in climbing it depends. The info below should be able to help you make some more informed decisions.
The quick draw anchor
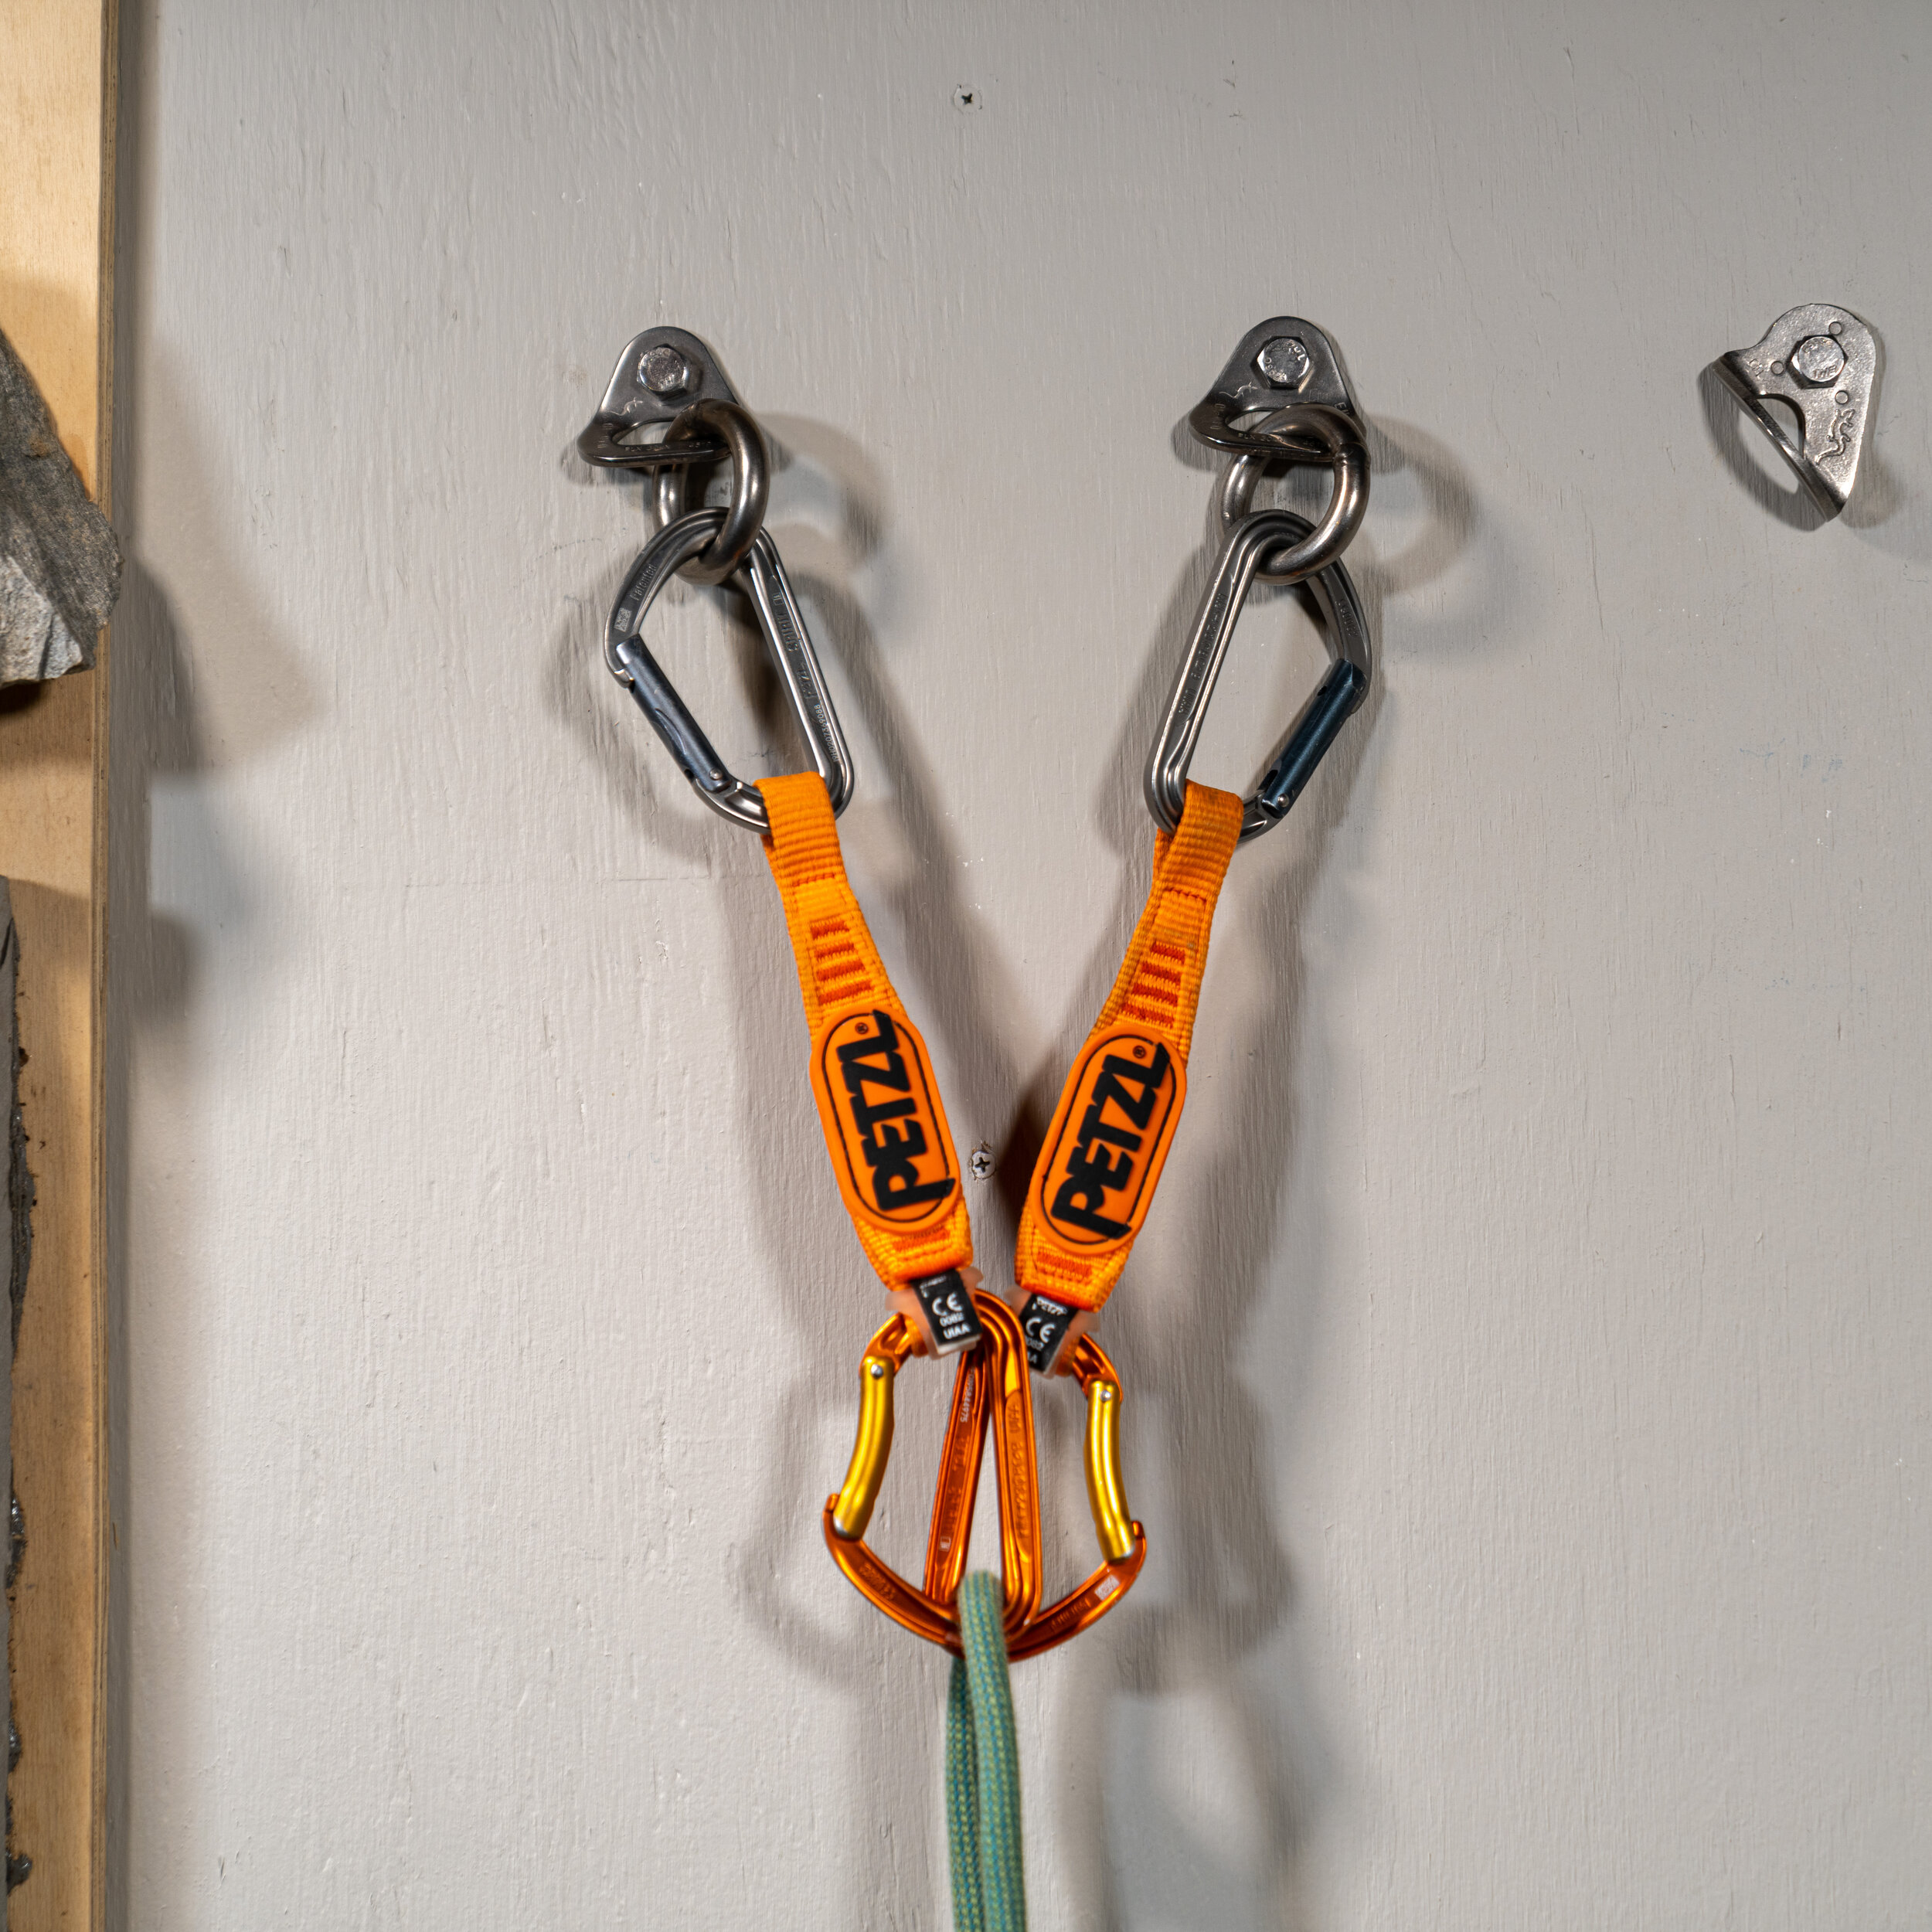
The quick draw anchor is the least secure of all the anchors. It provides easy clipping at the top and I usually choose this for when all climbers will be leading the climb. While it is the least secure, it likely won’t allow the rope to come out especially if you do not climb above the anchor when cleaning but still does not have the added security of all the other methods.
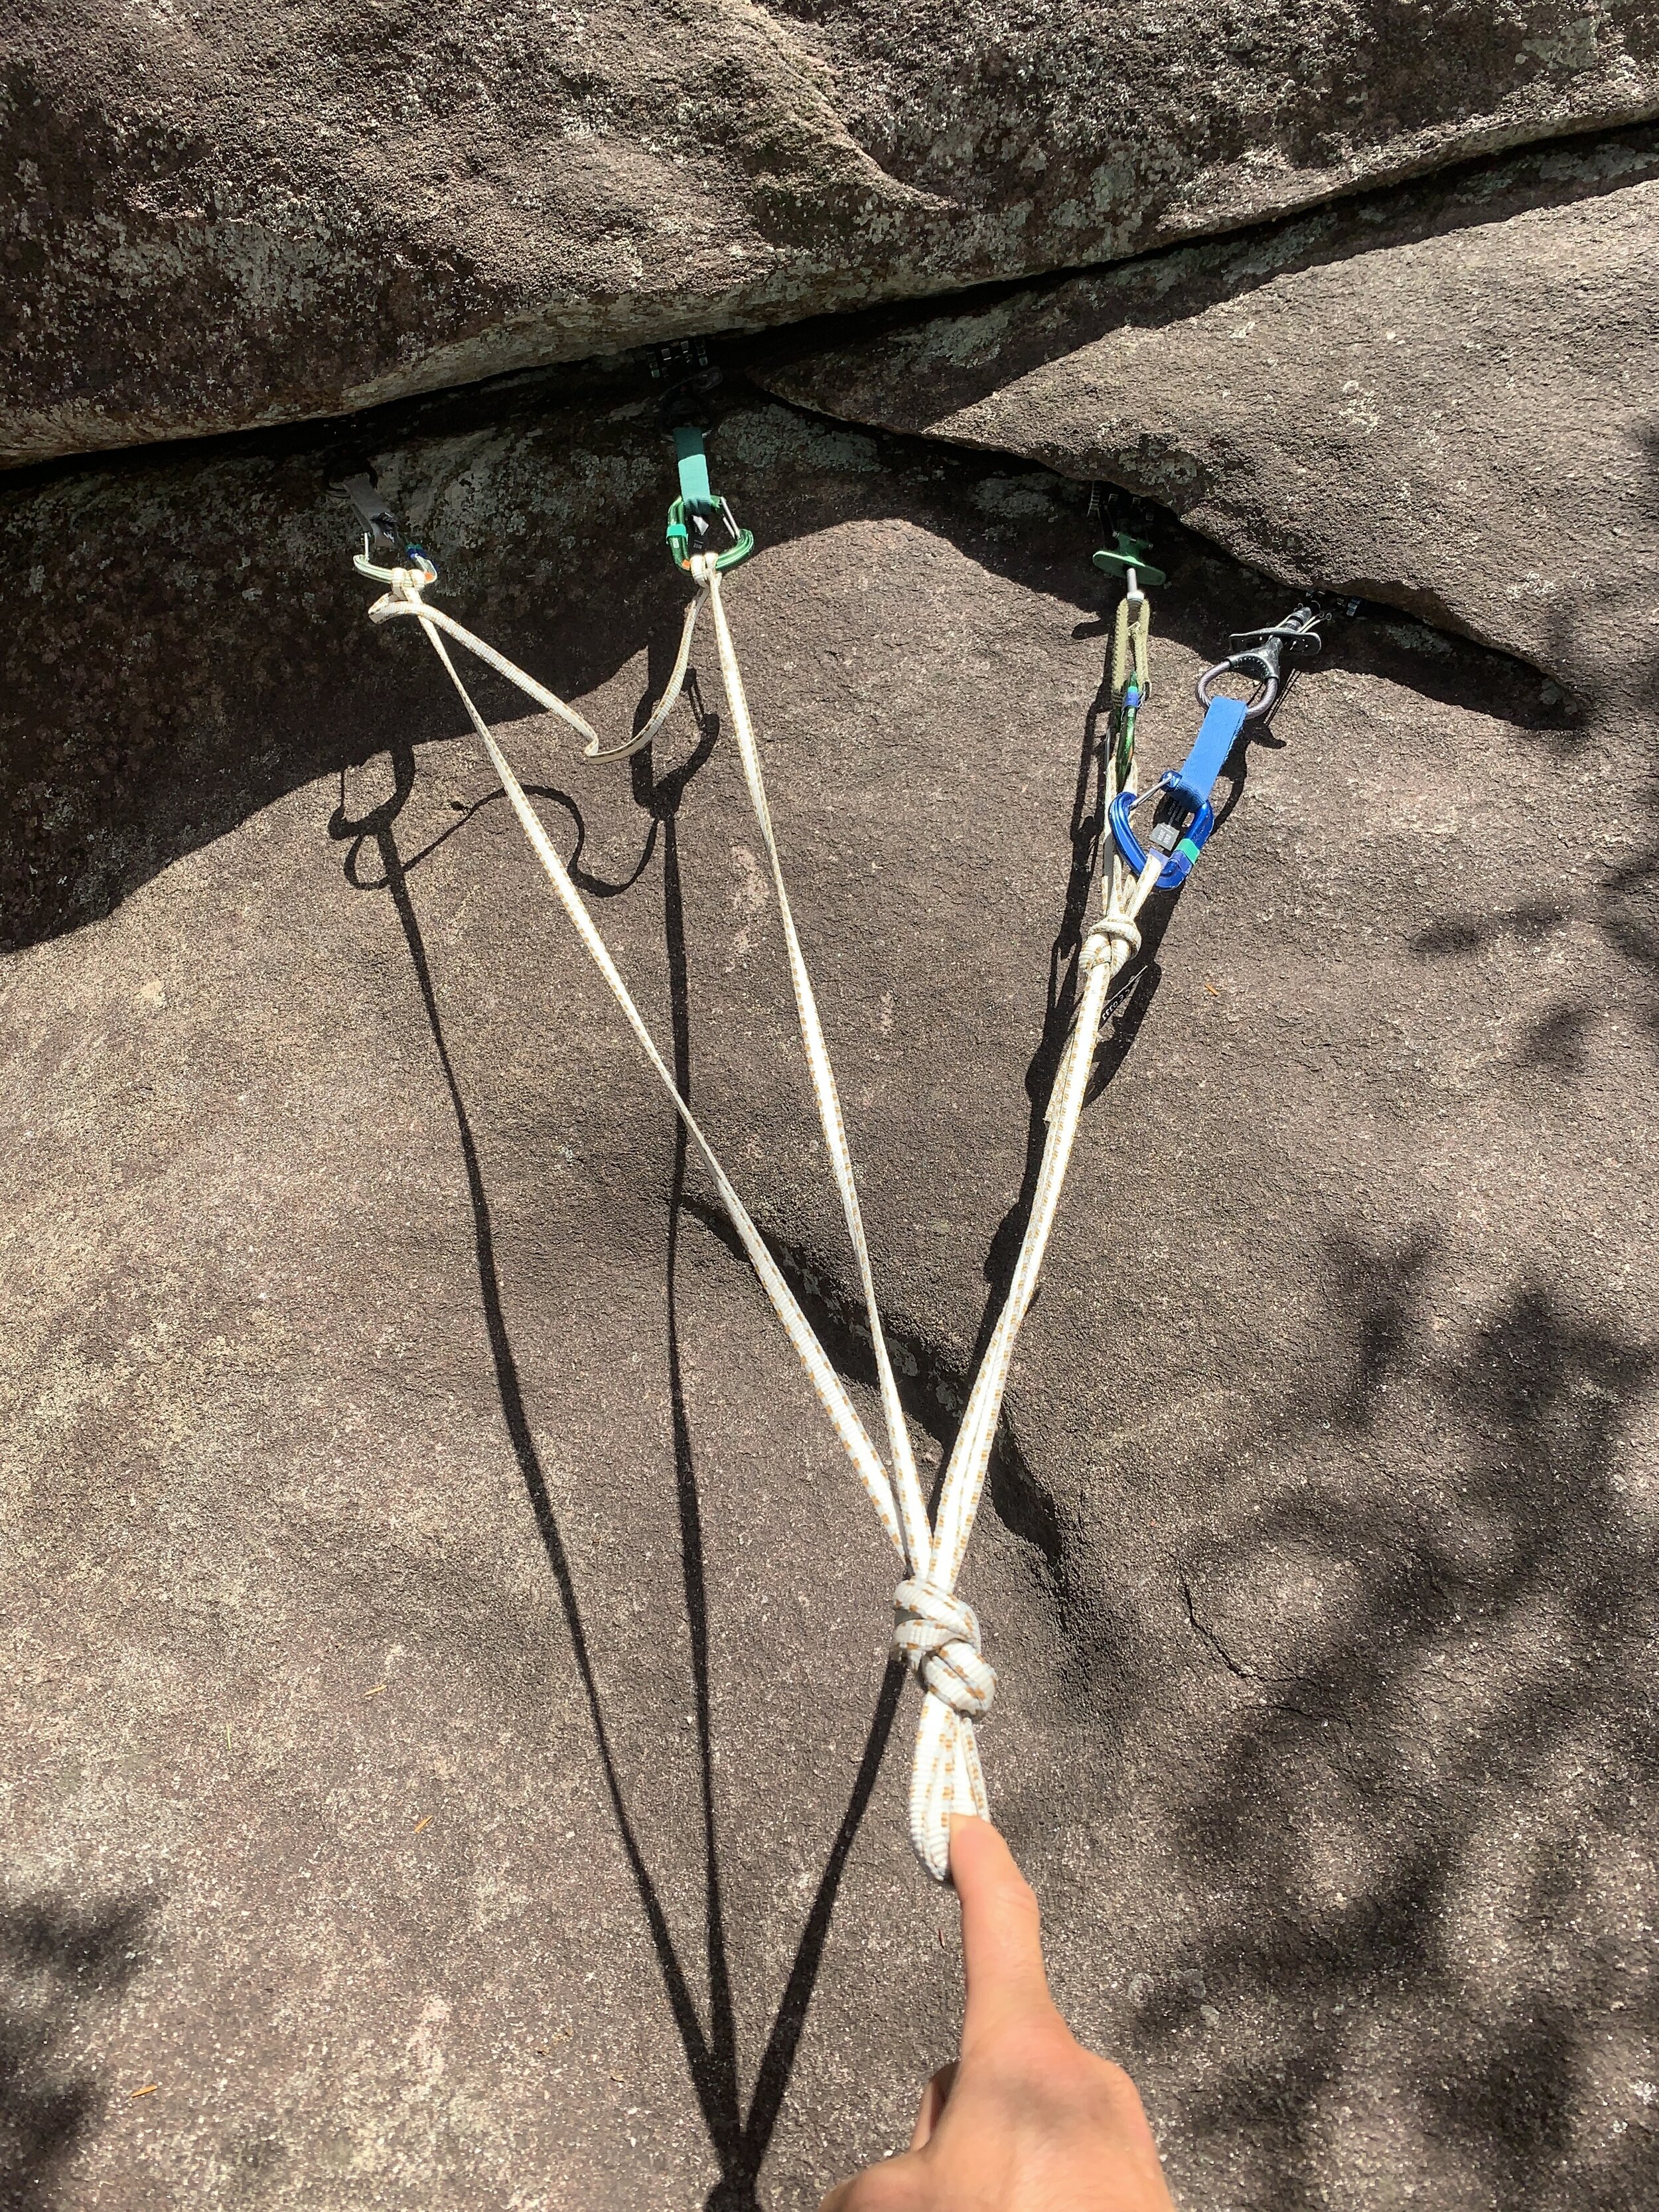
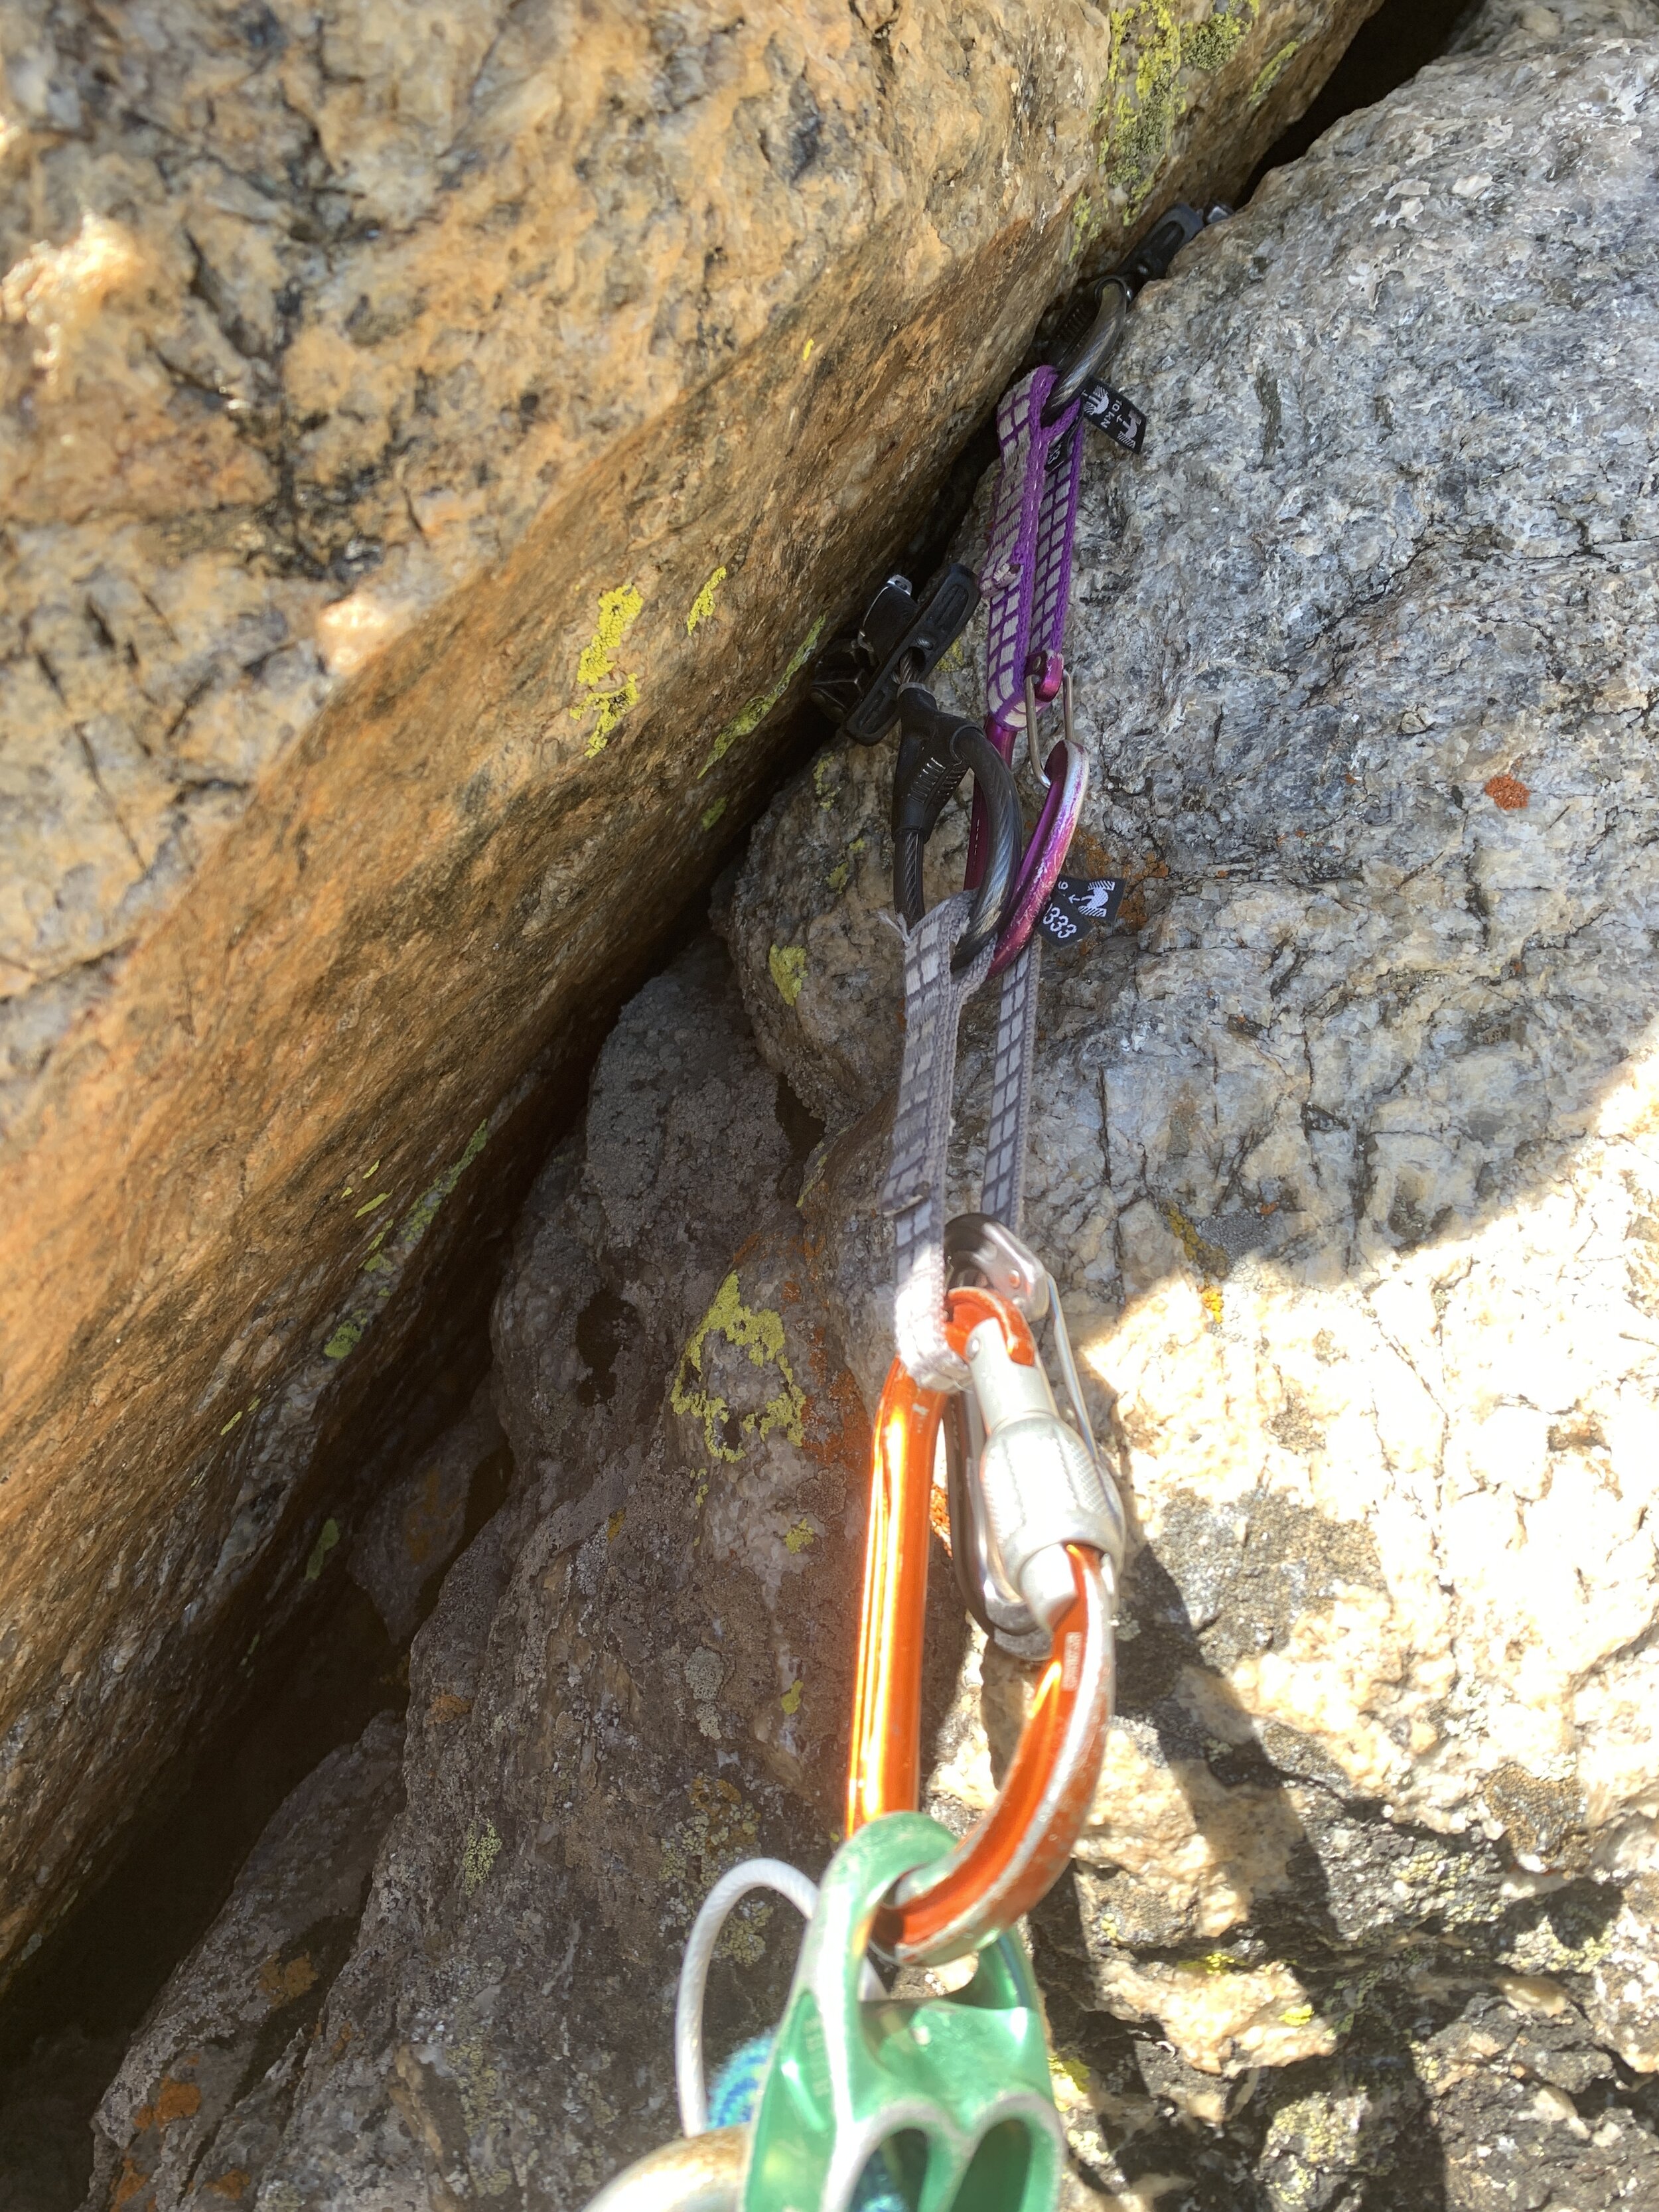
The locking draw anchor
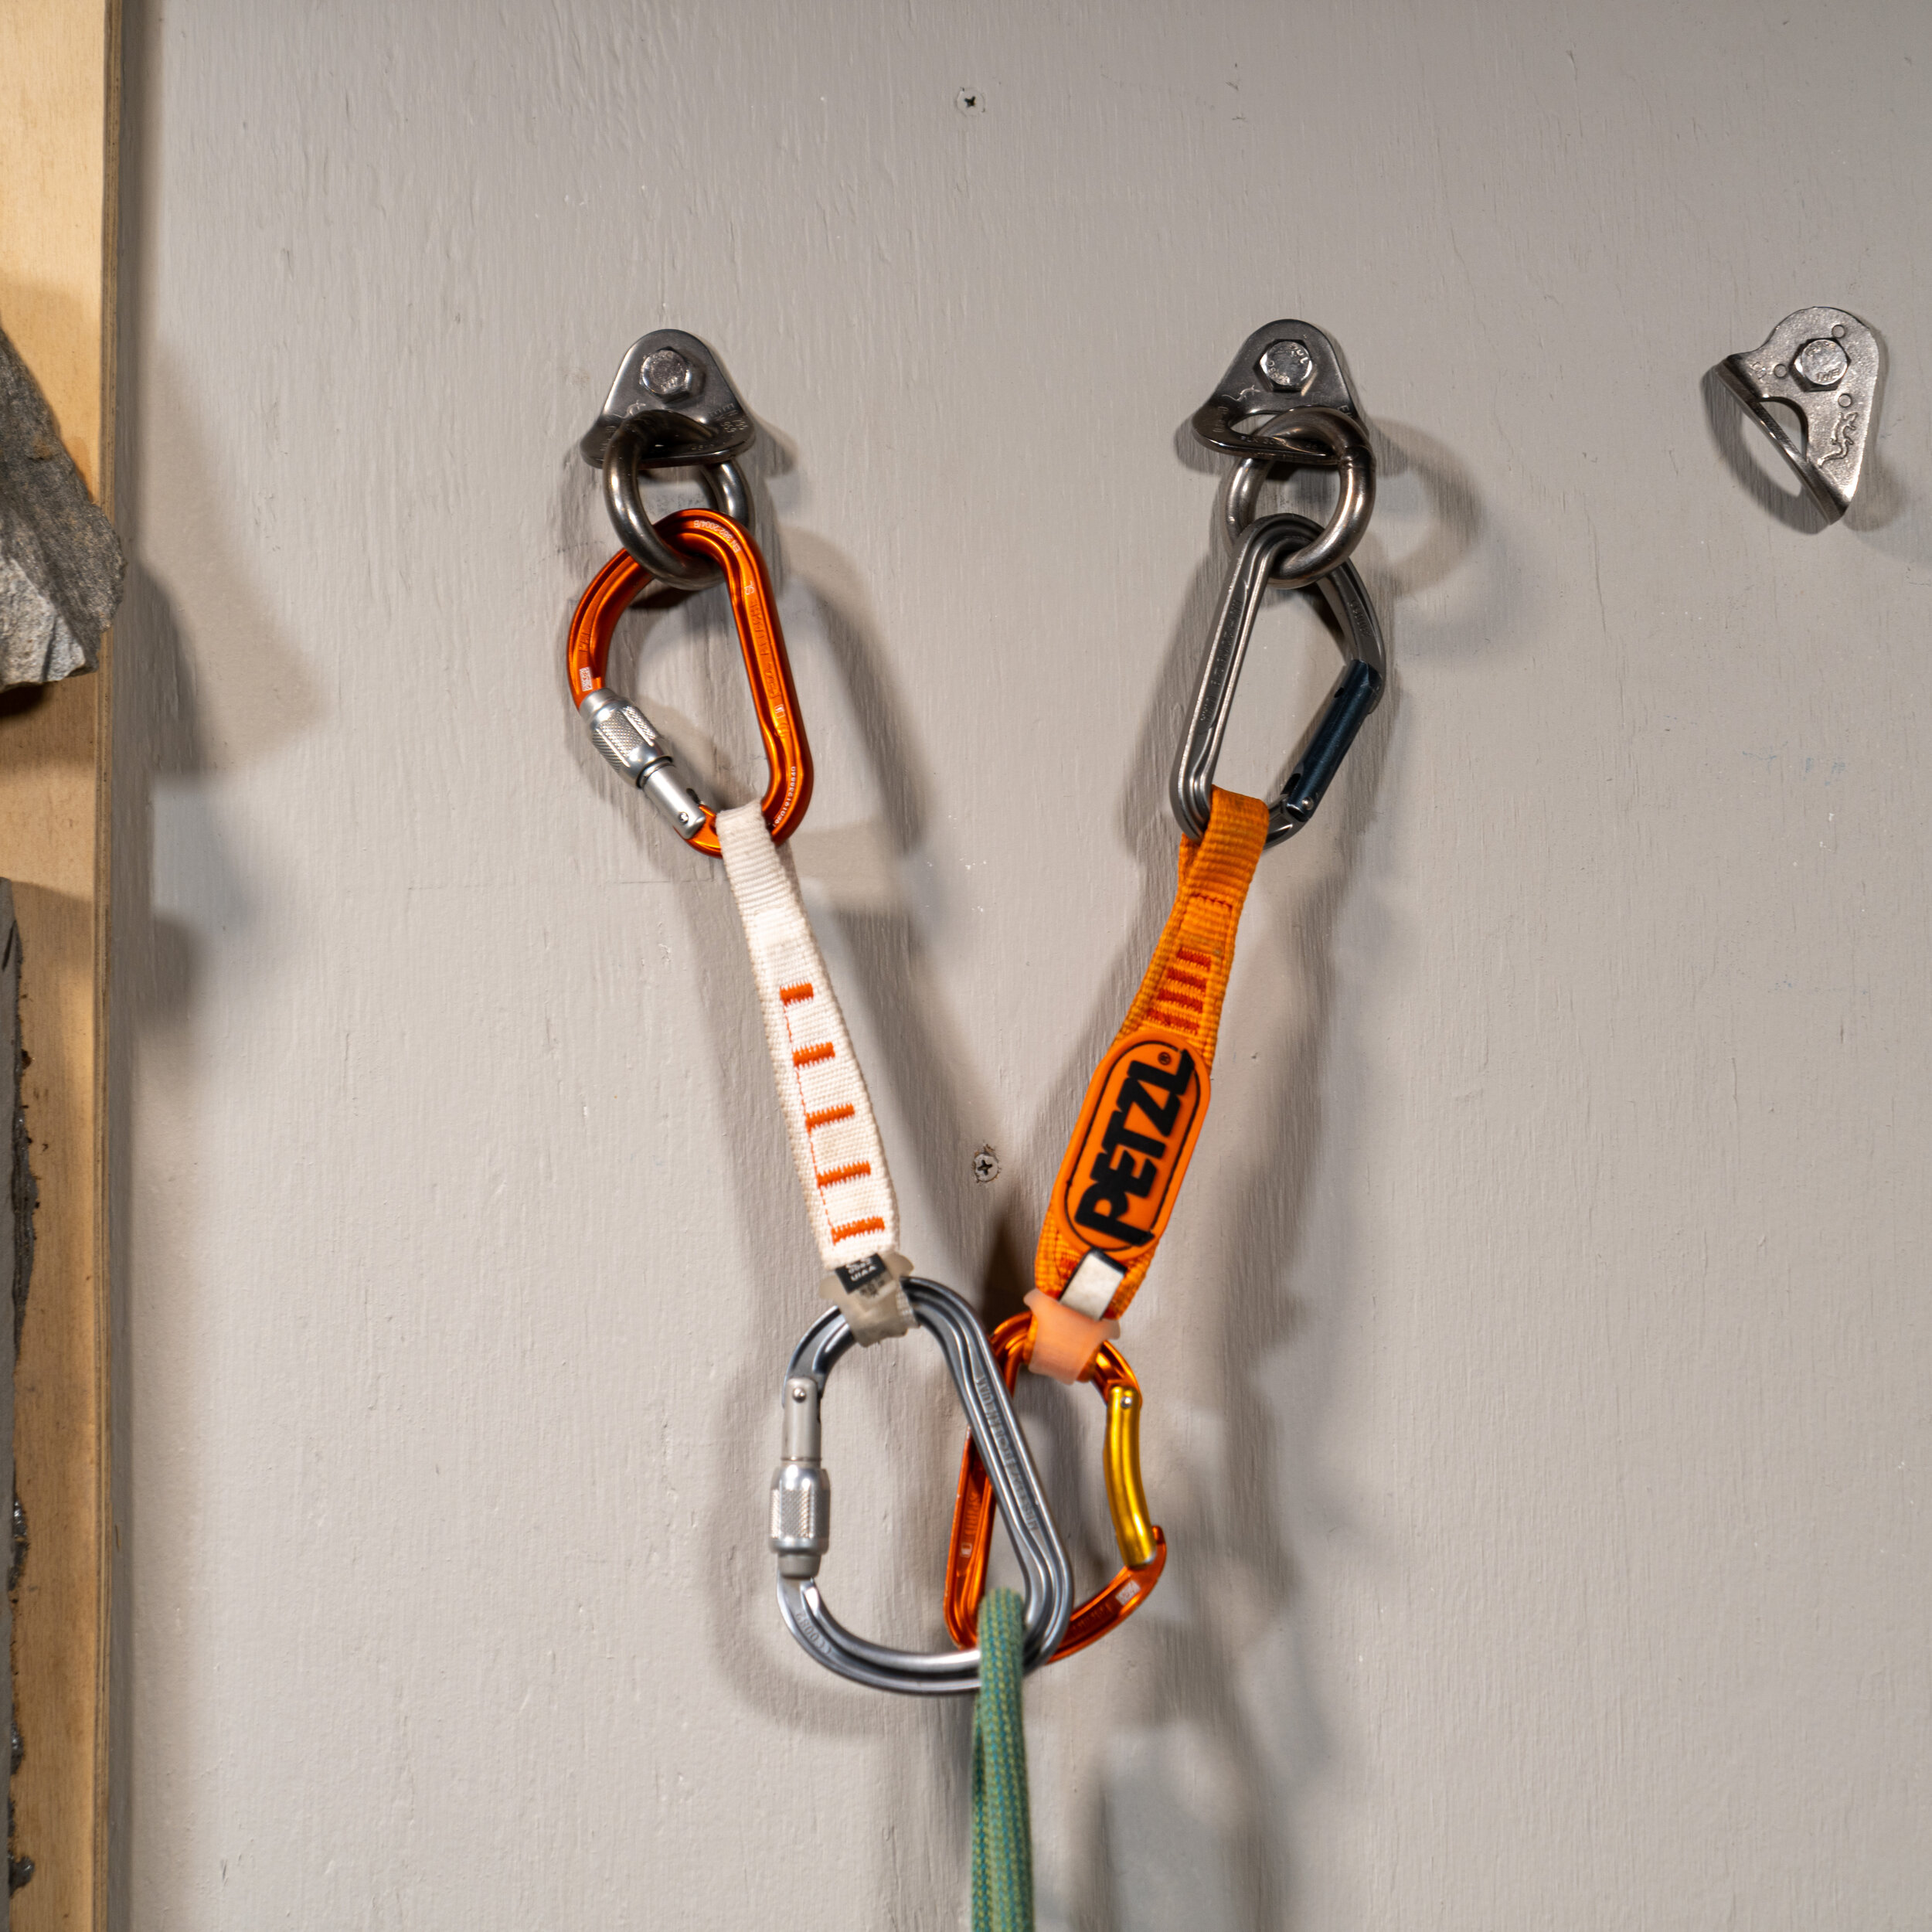
The locking draw is a great way to have added security without loosing a spot for the leaders to clip in. The locking draw can provide some gate protection if there is protruding rock or anything else that could compromise a shut gate. I will choose this method when a few climbers want to tope rope or work the route on top rope and then give it a lead burn as they will still have one point to easily clip when at the top.
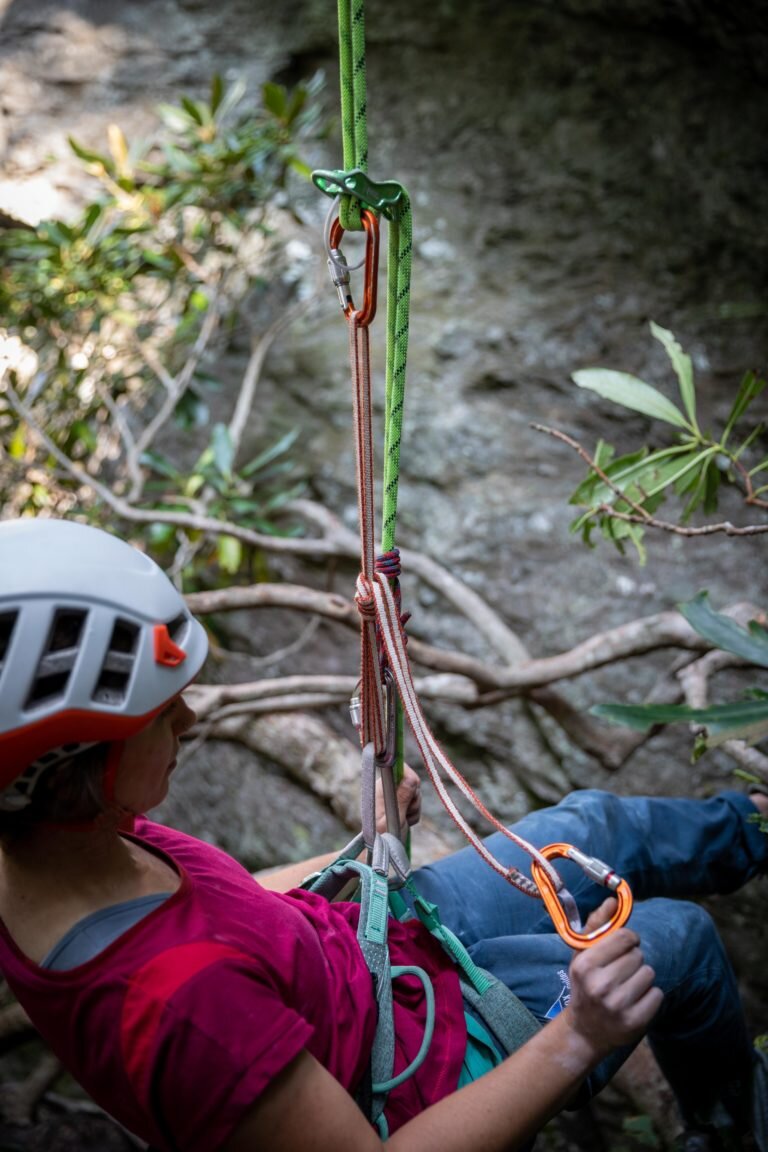
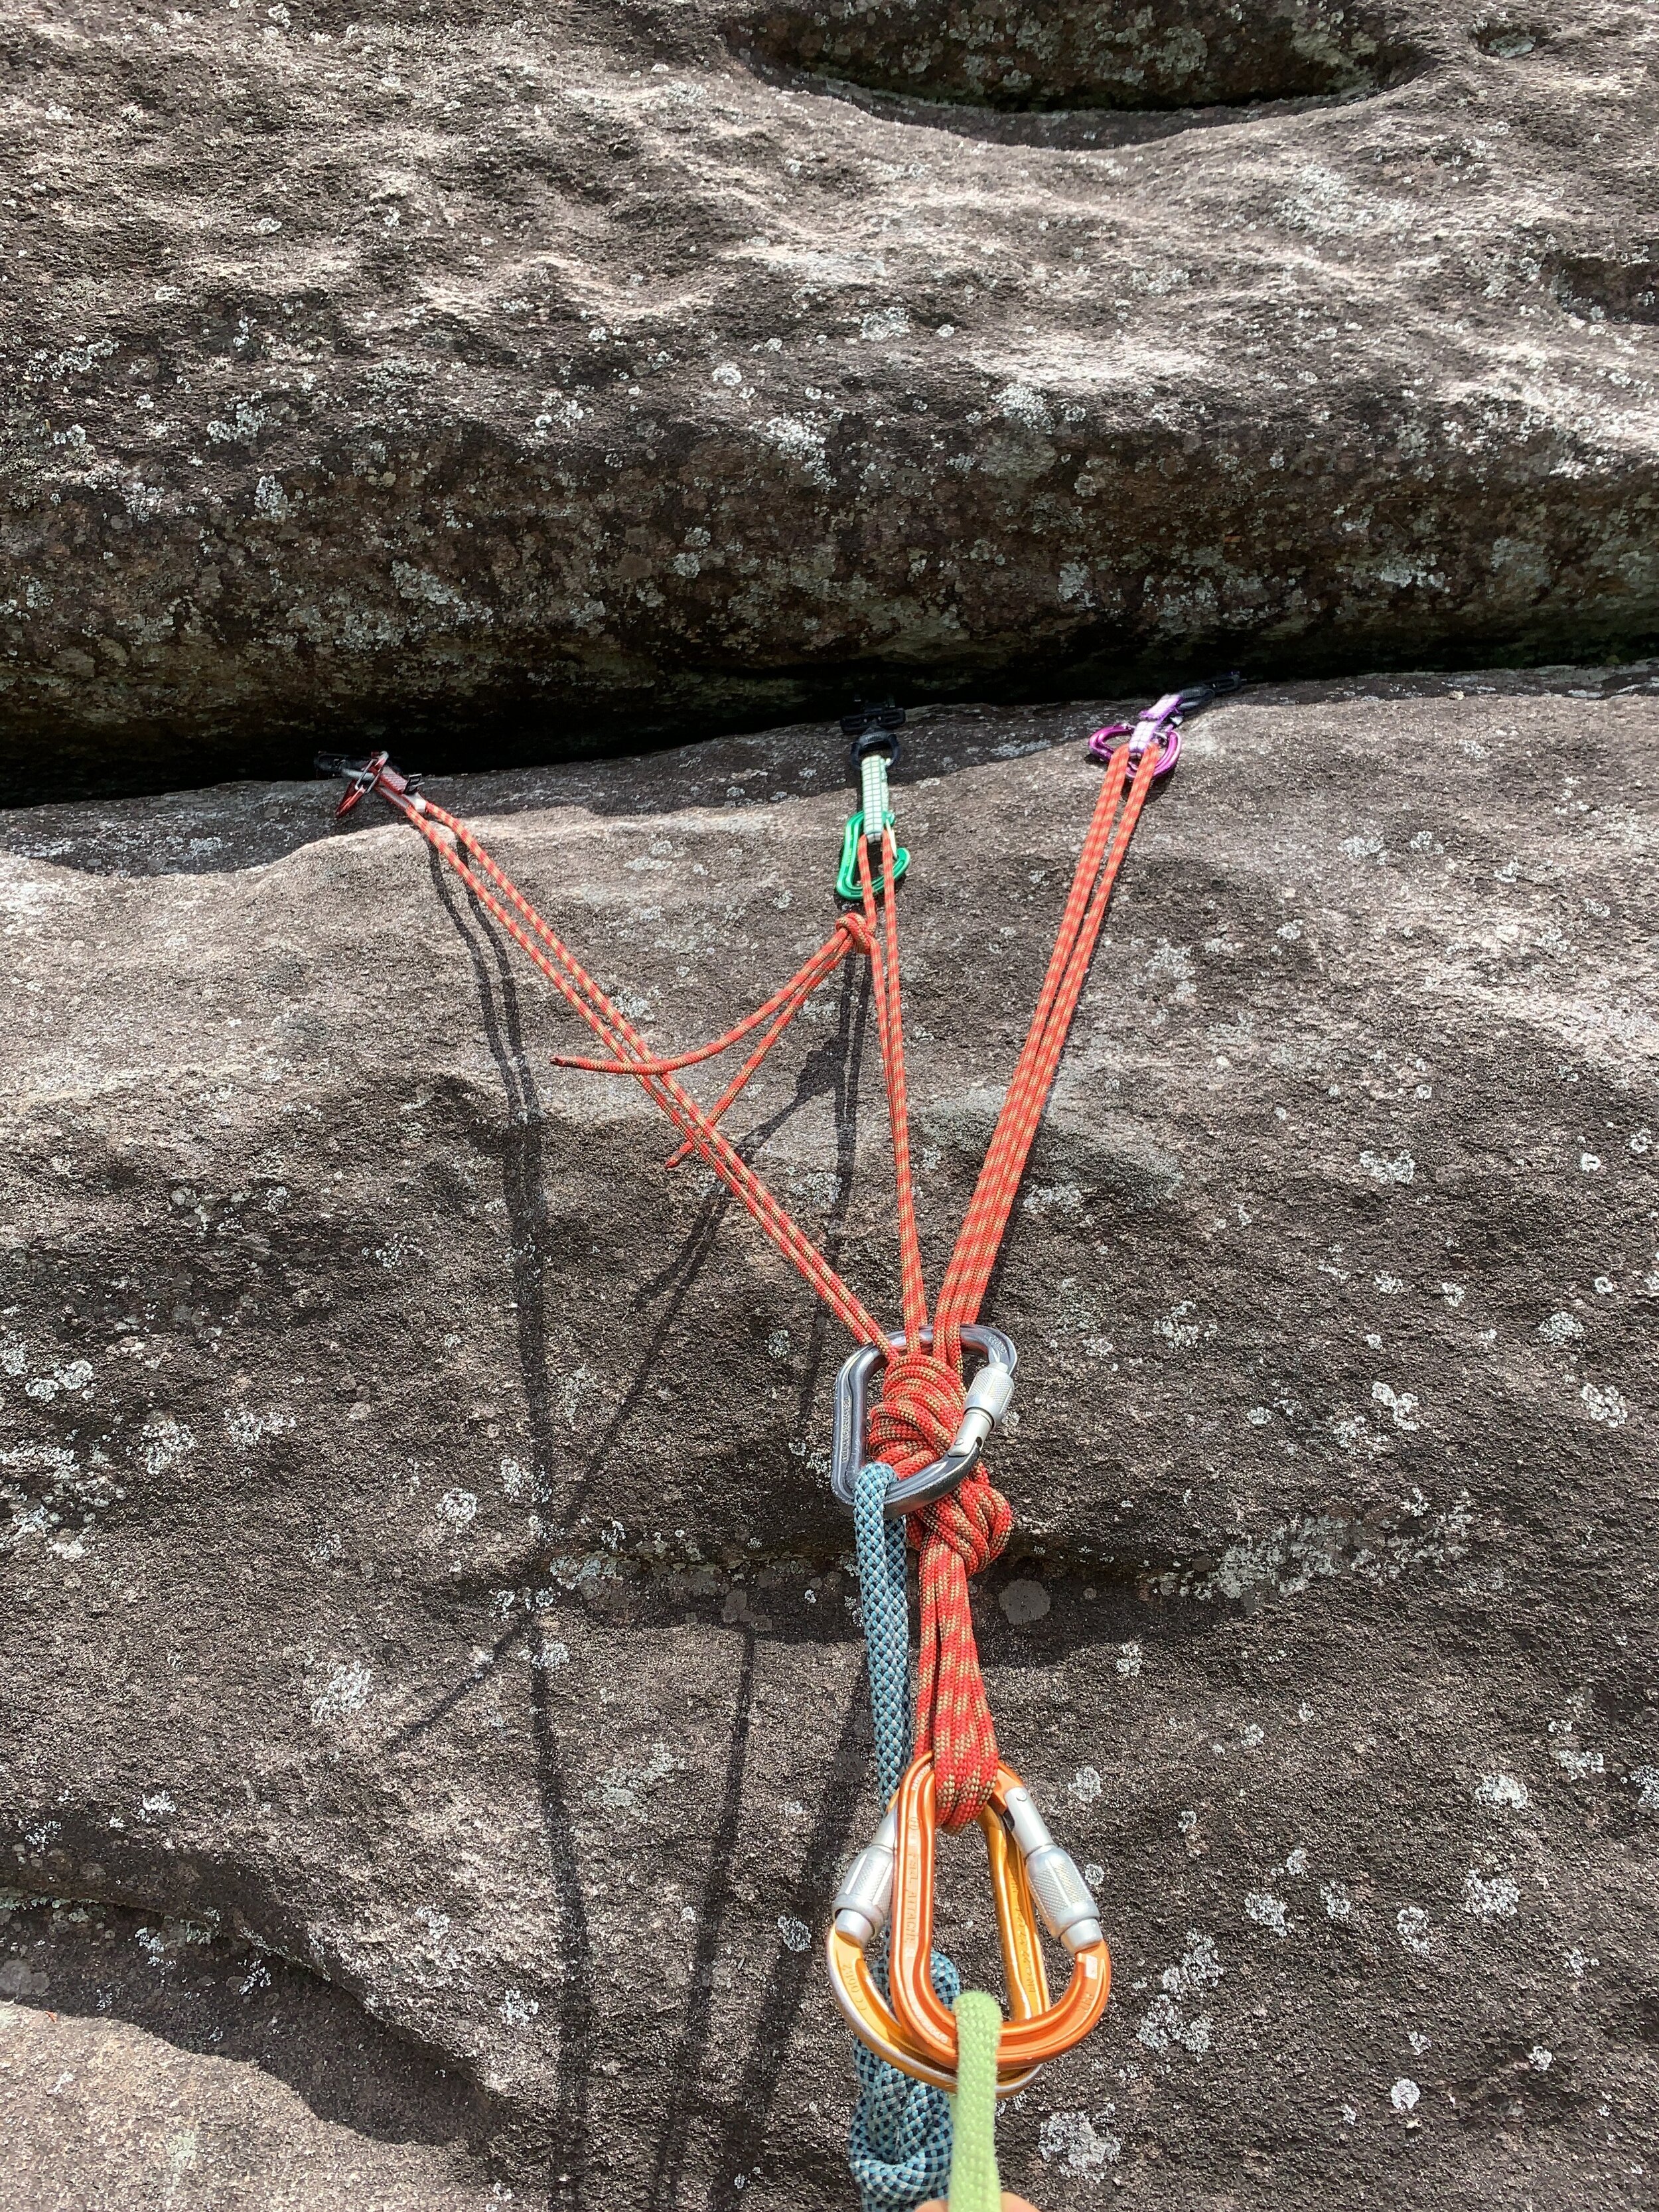
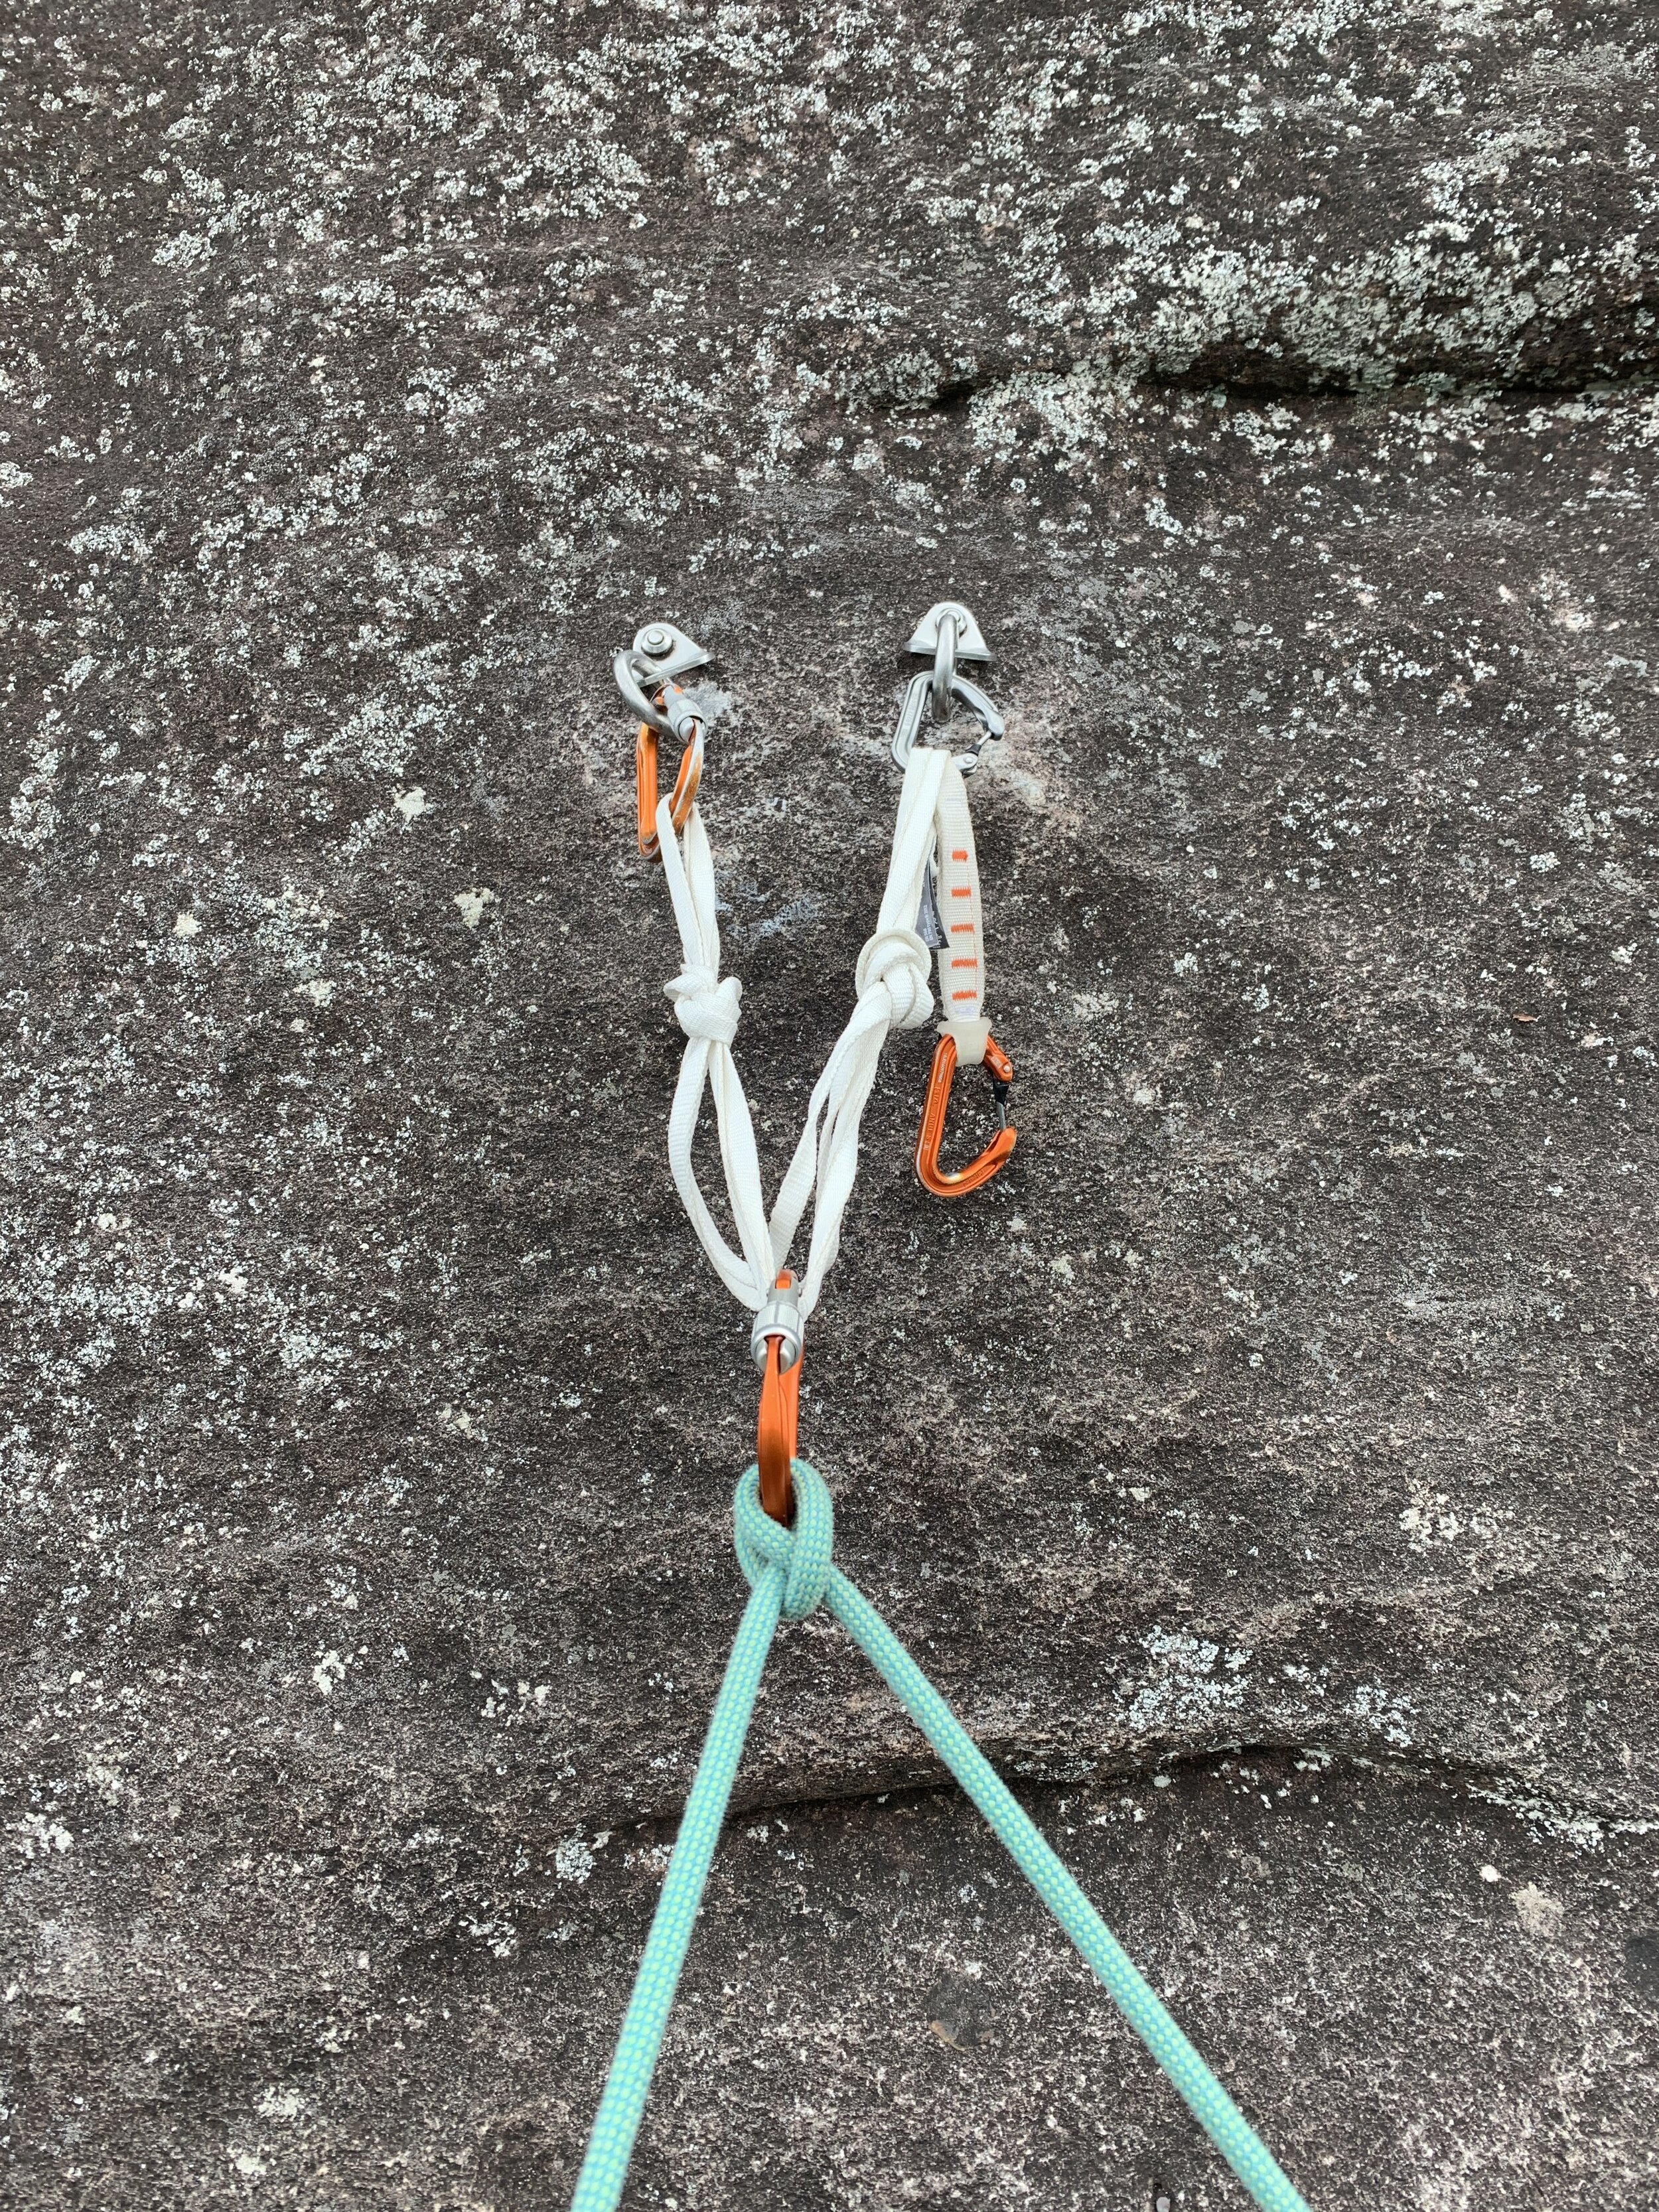
The master-point anchor
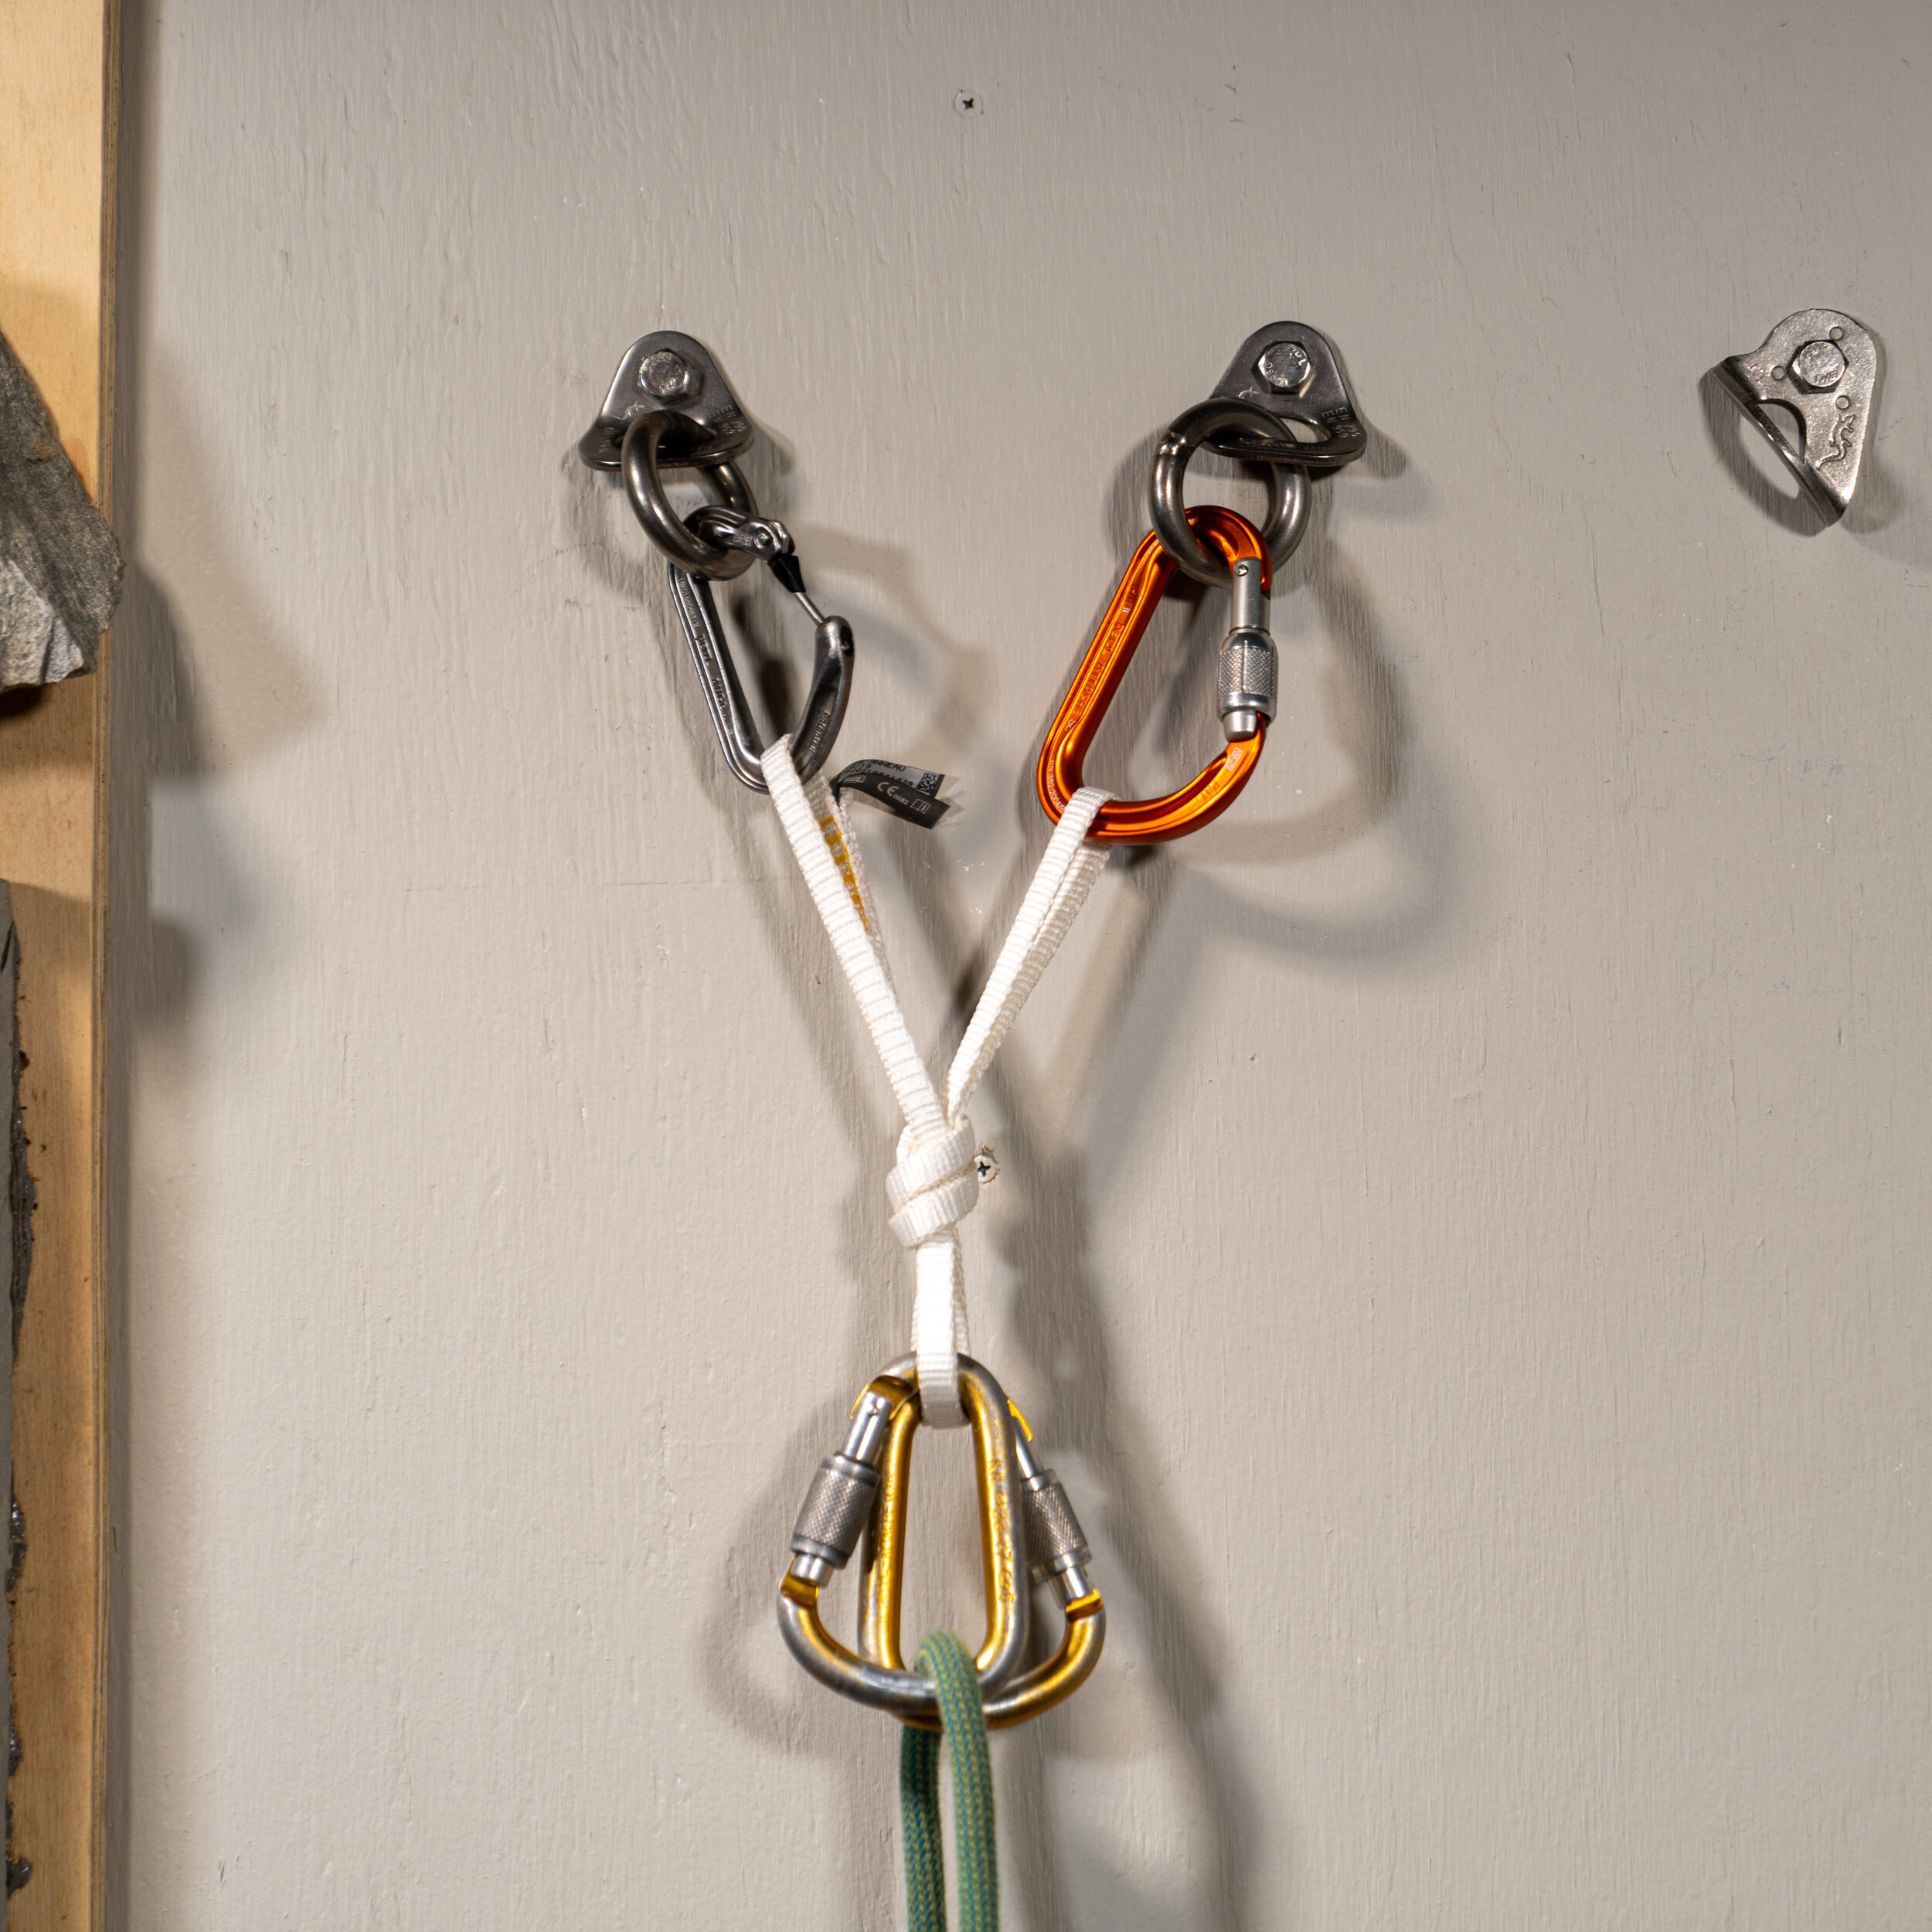
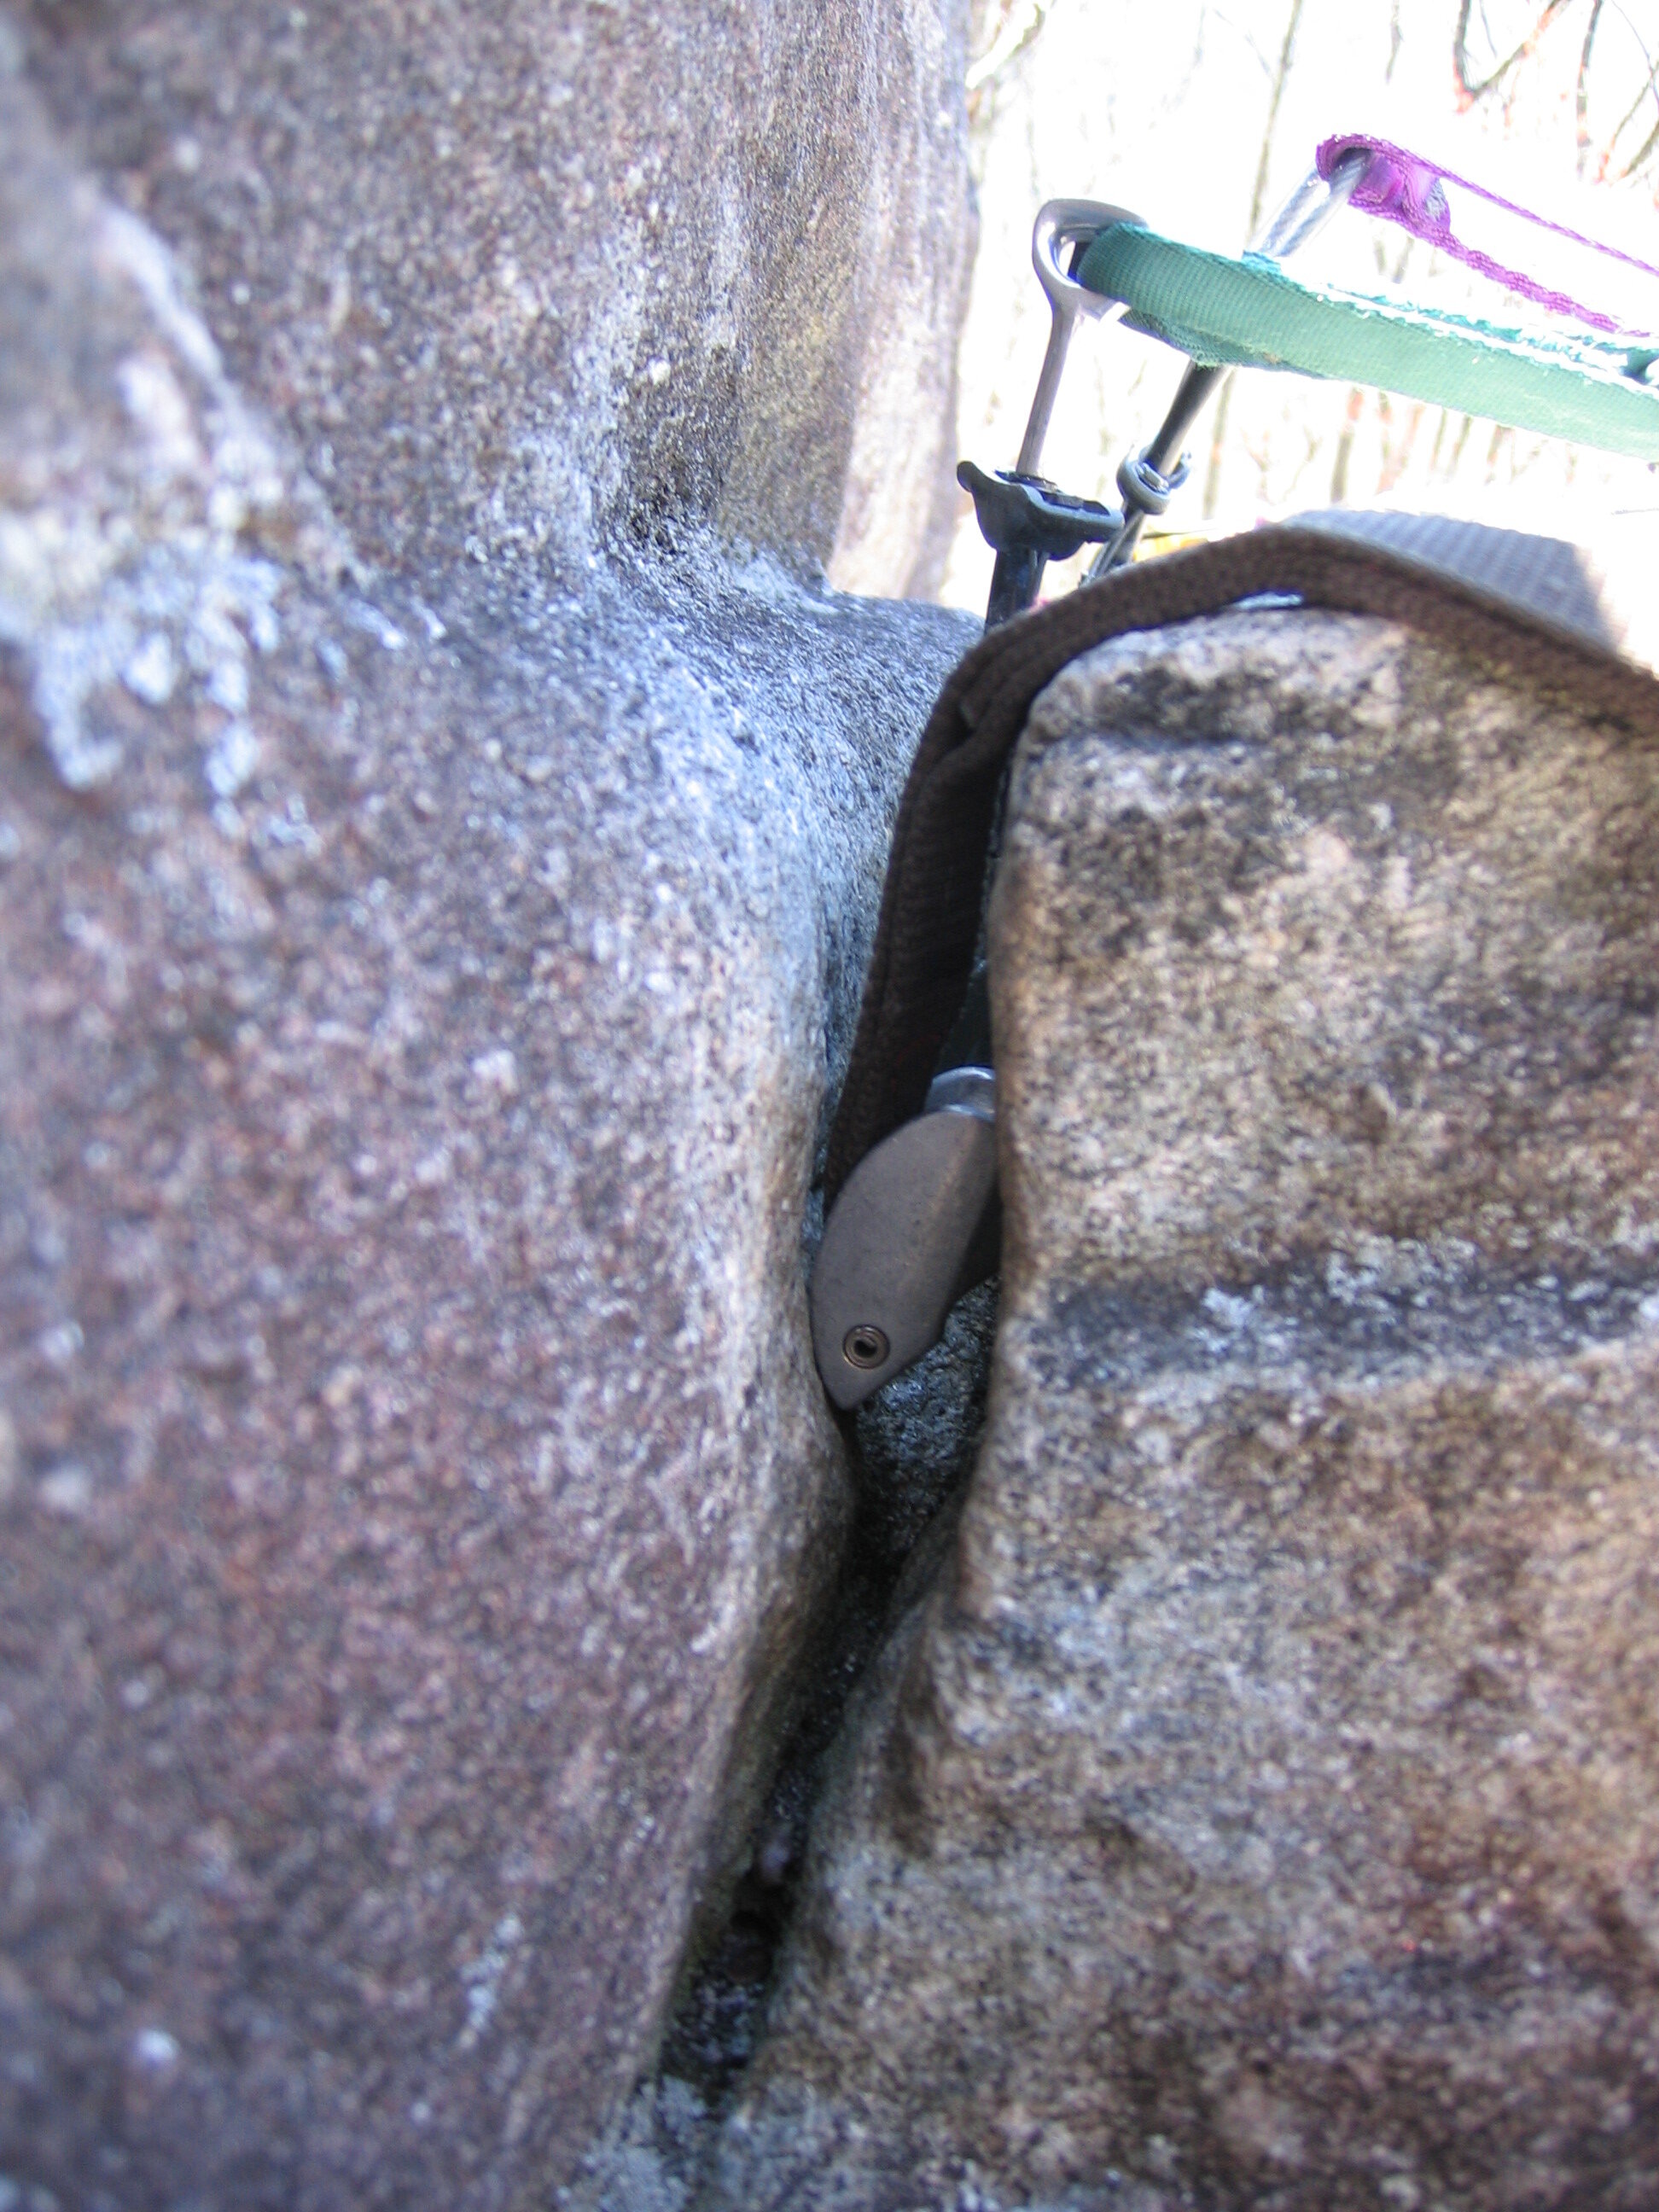
This anchor provides the most security. All points are redundant and lockers on all points can add more security for gate impediment. It provides a master point to clip into to clean the anchor which can be nice if you need to rappel. I choose this anchor when climbers will be top roping and or the need to be above the anchor might arise.
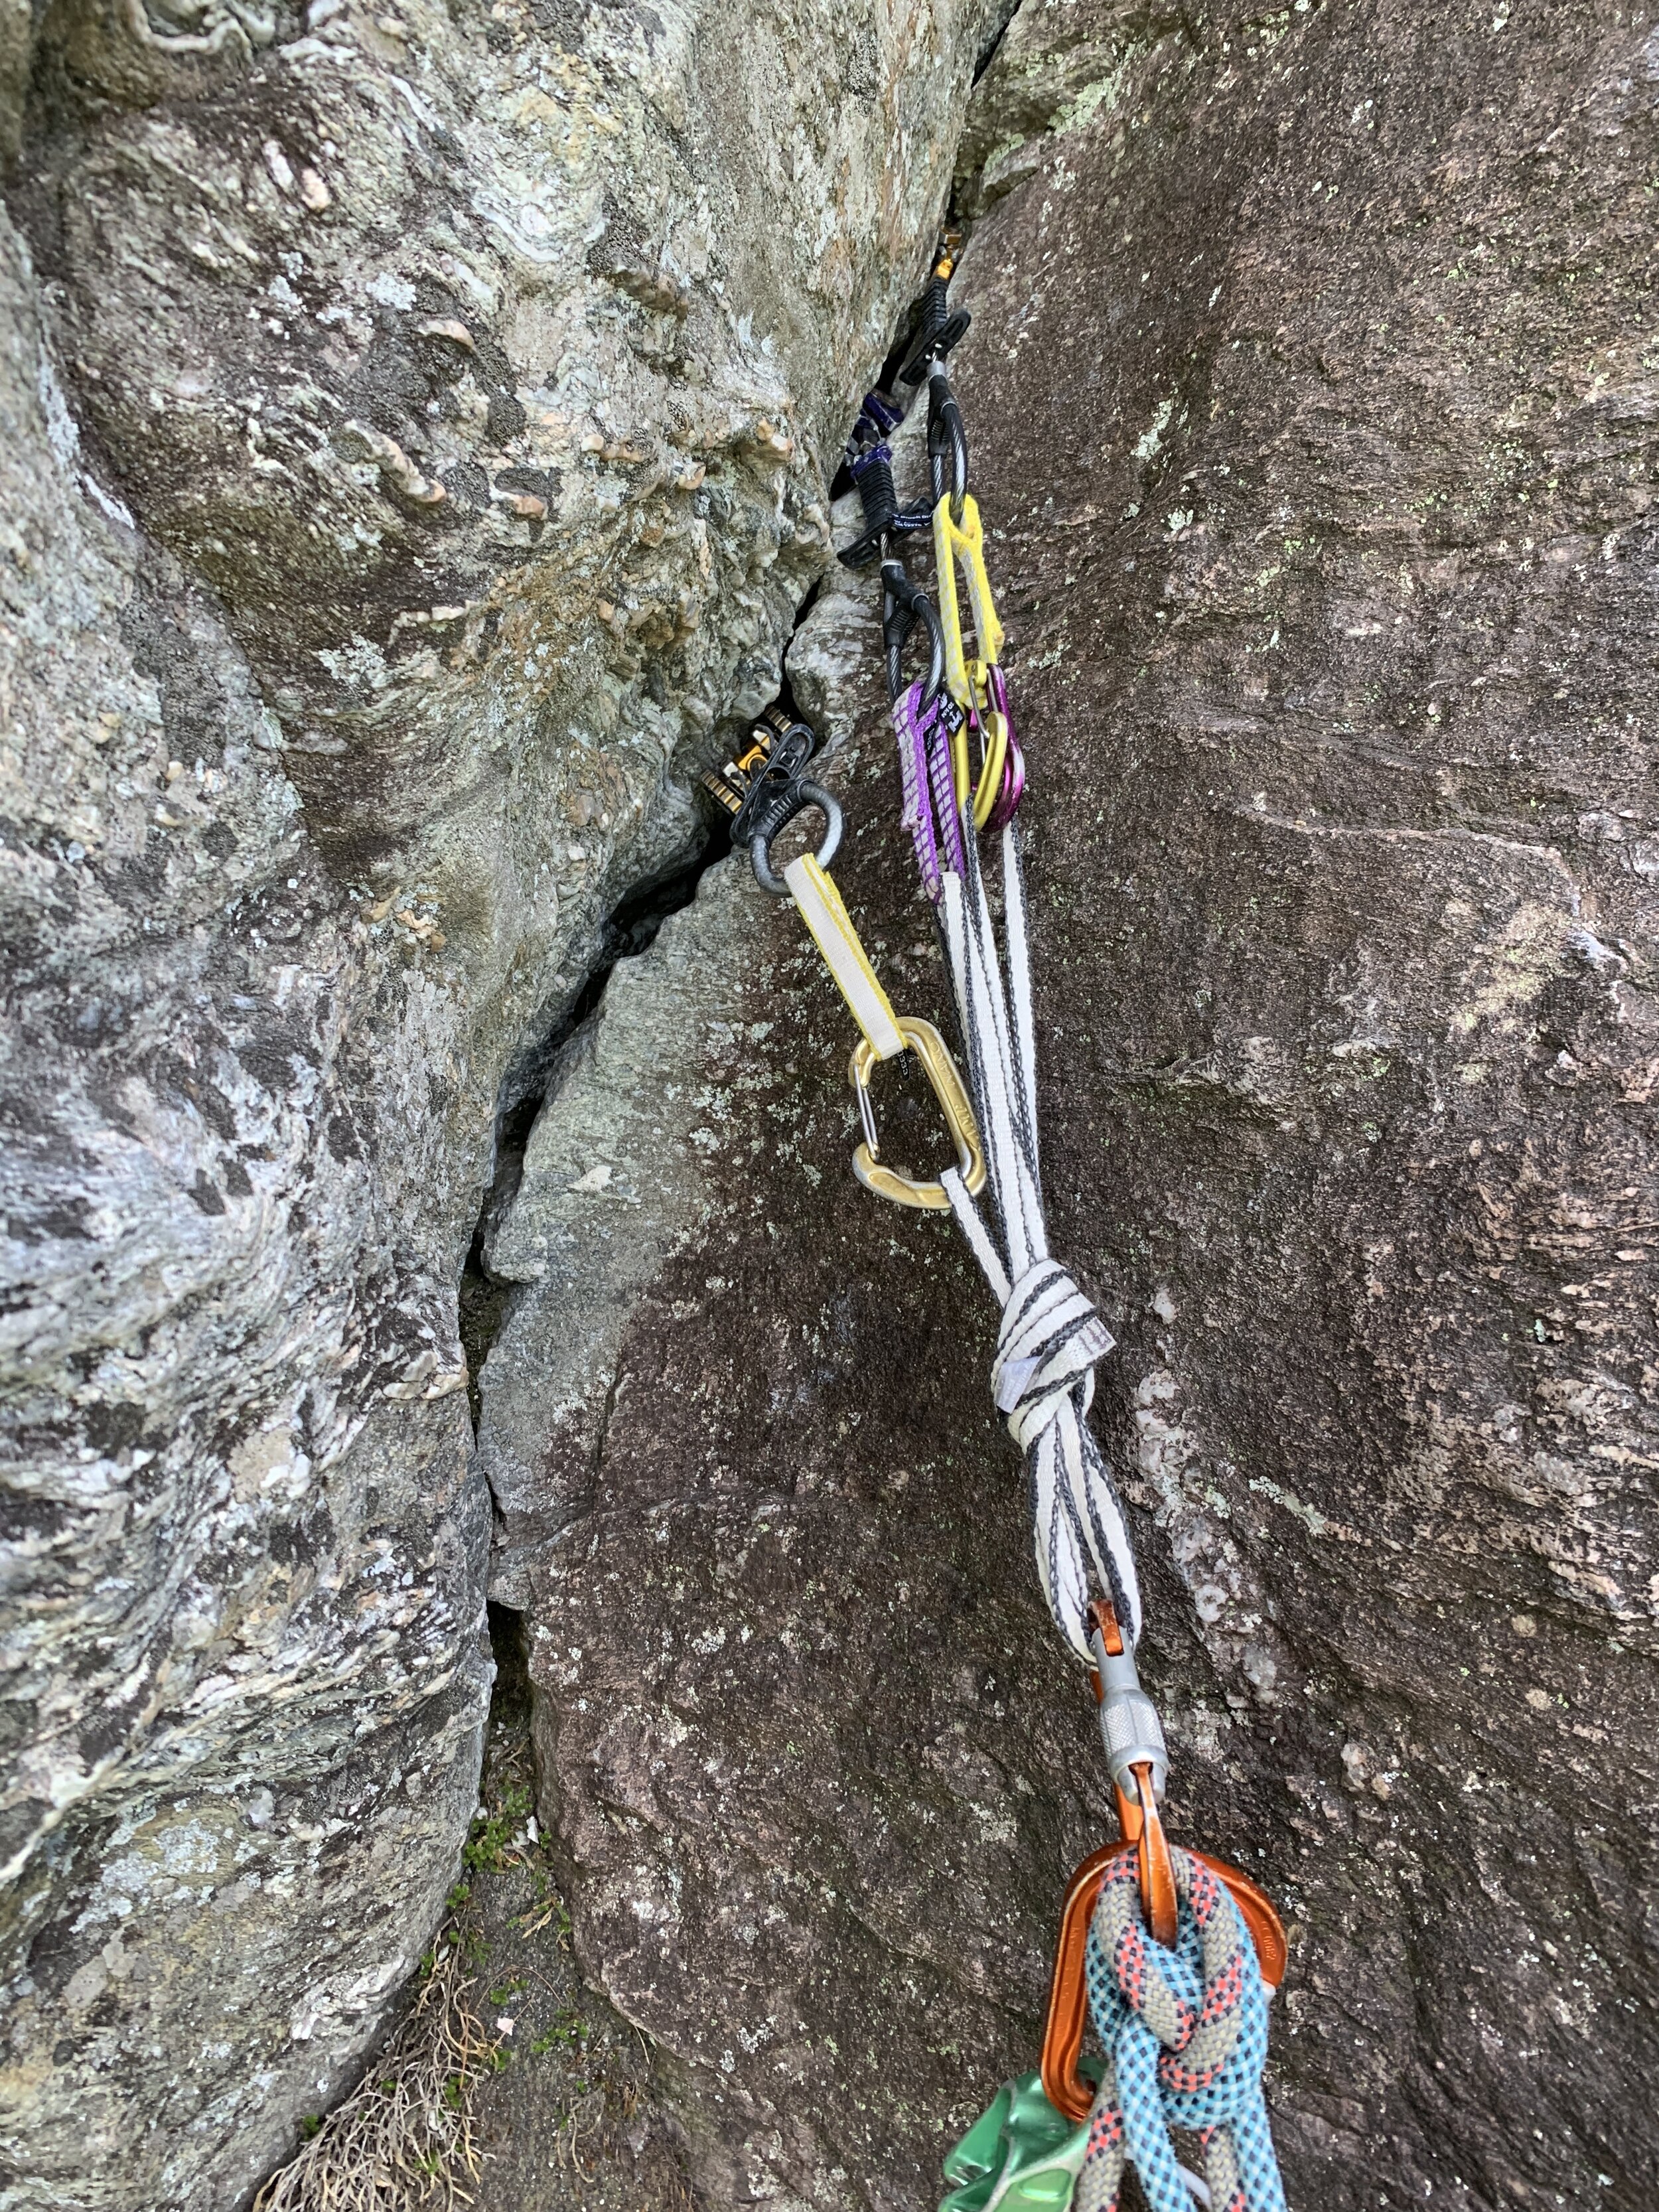
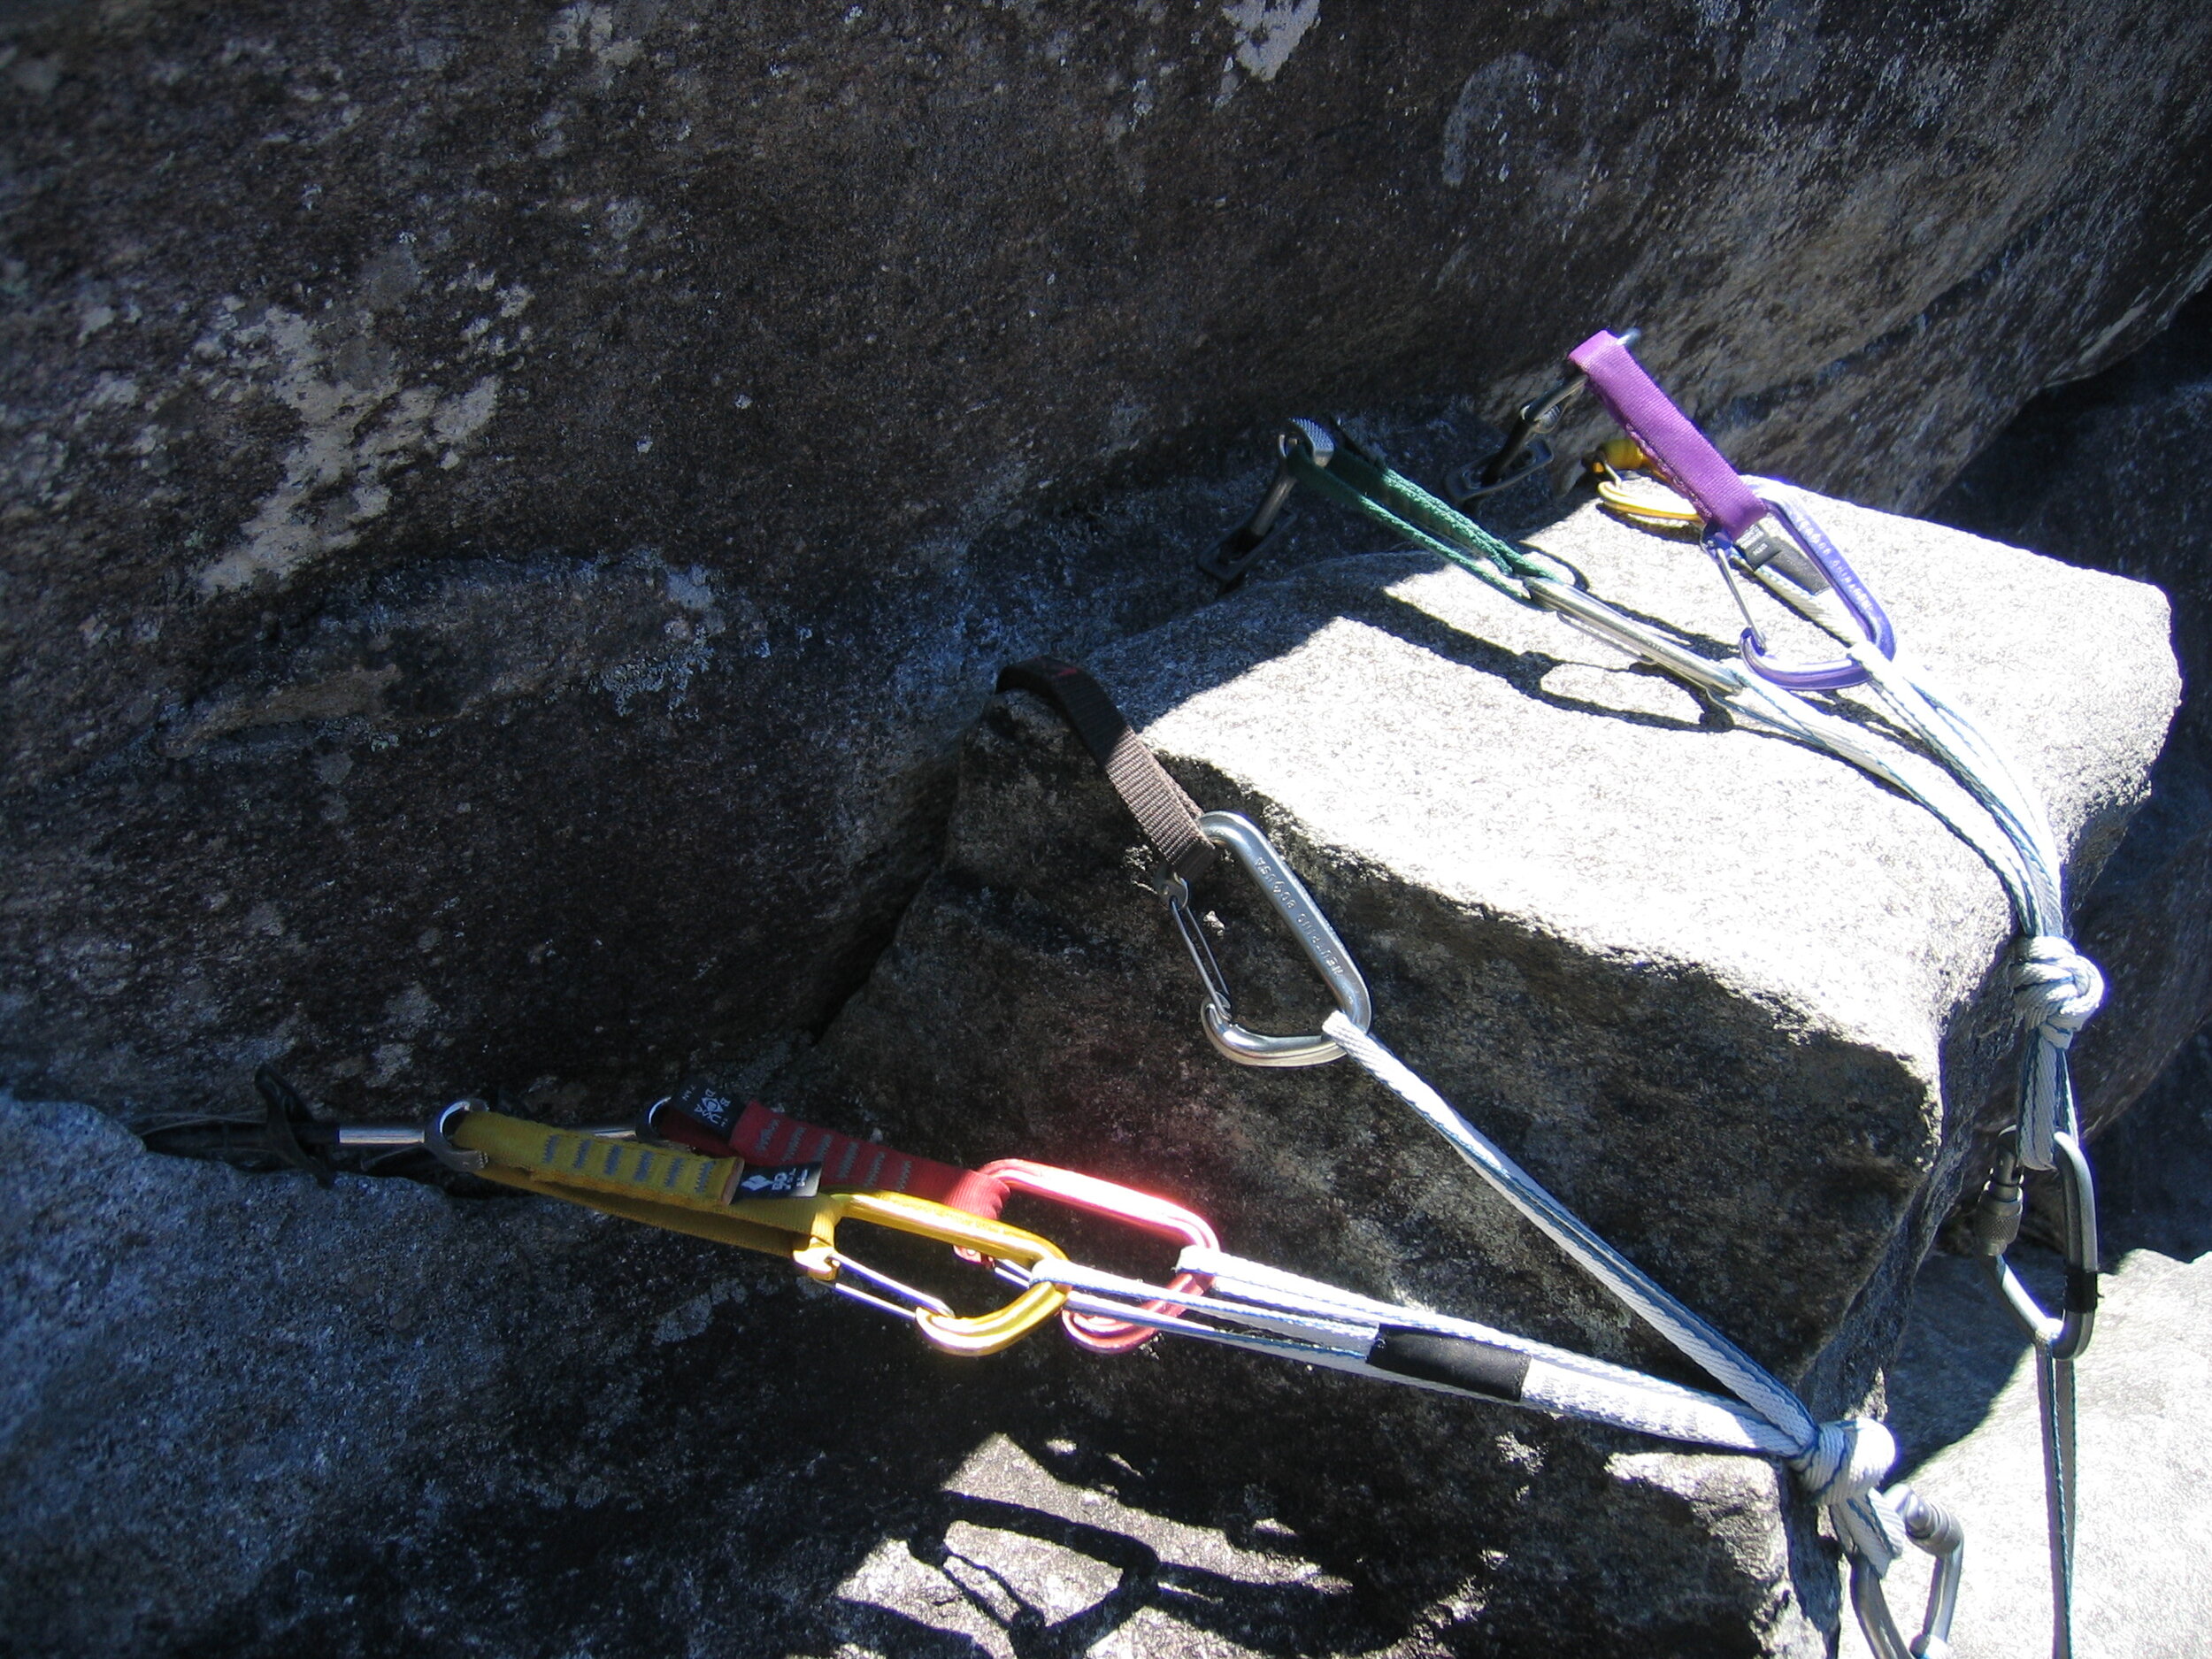
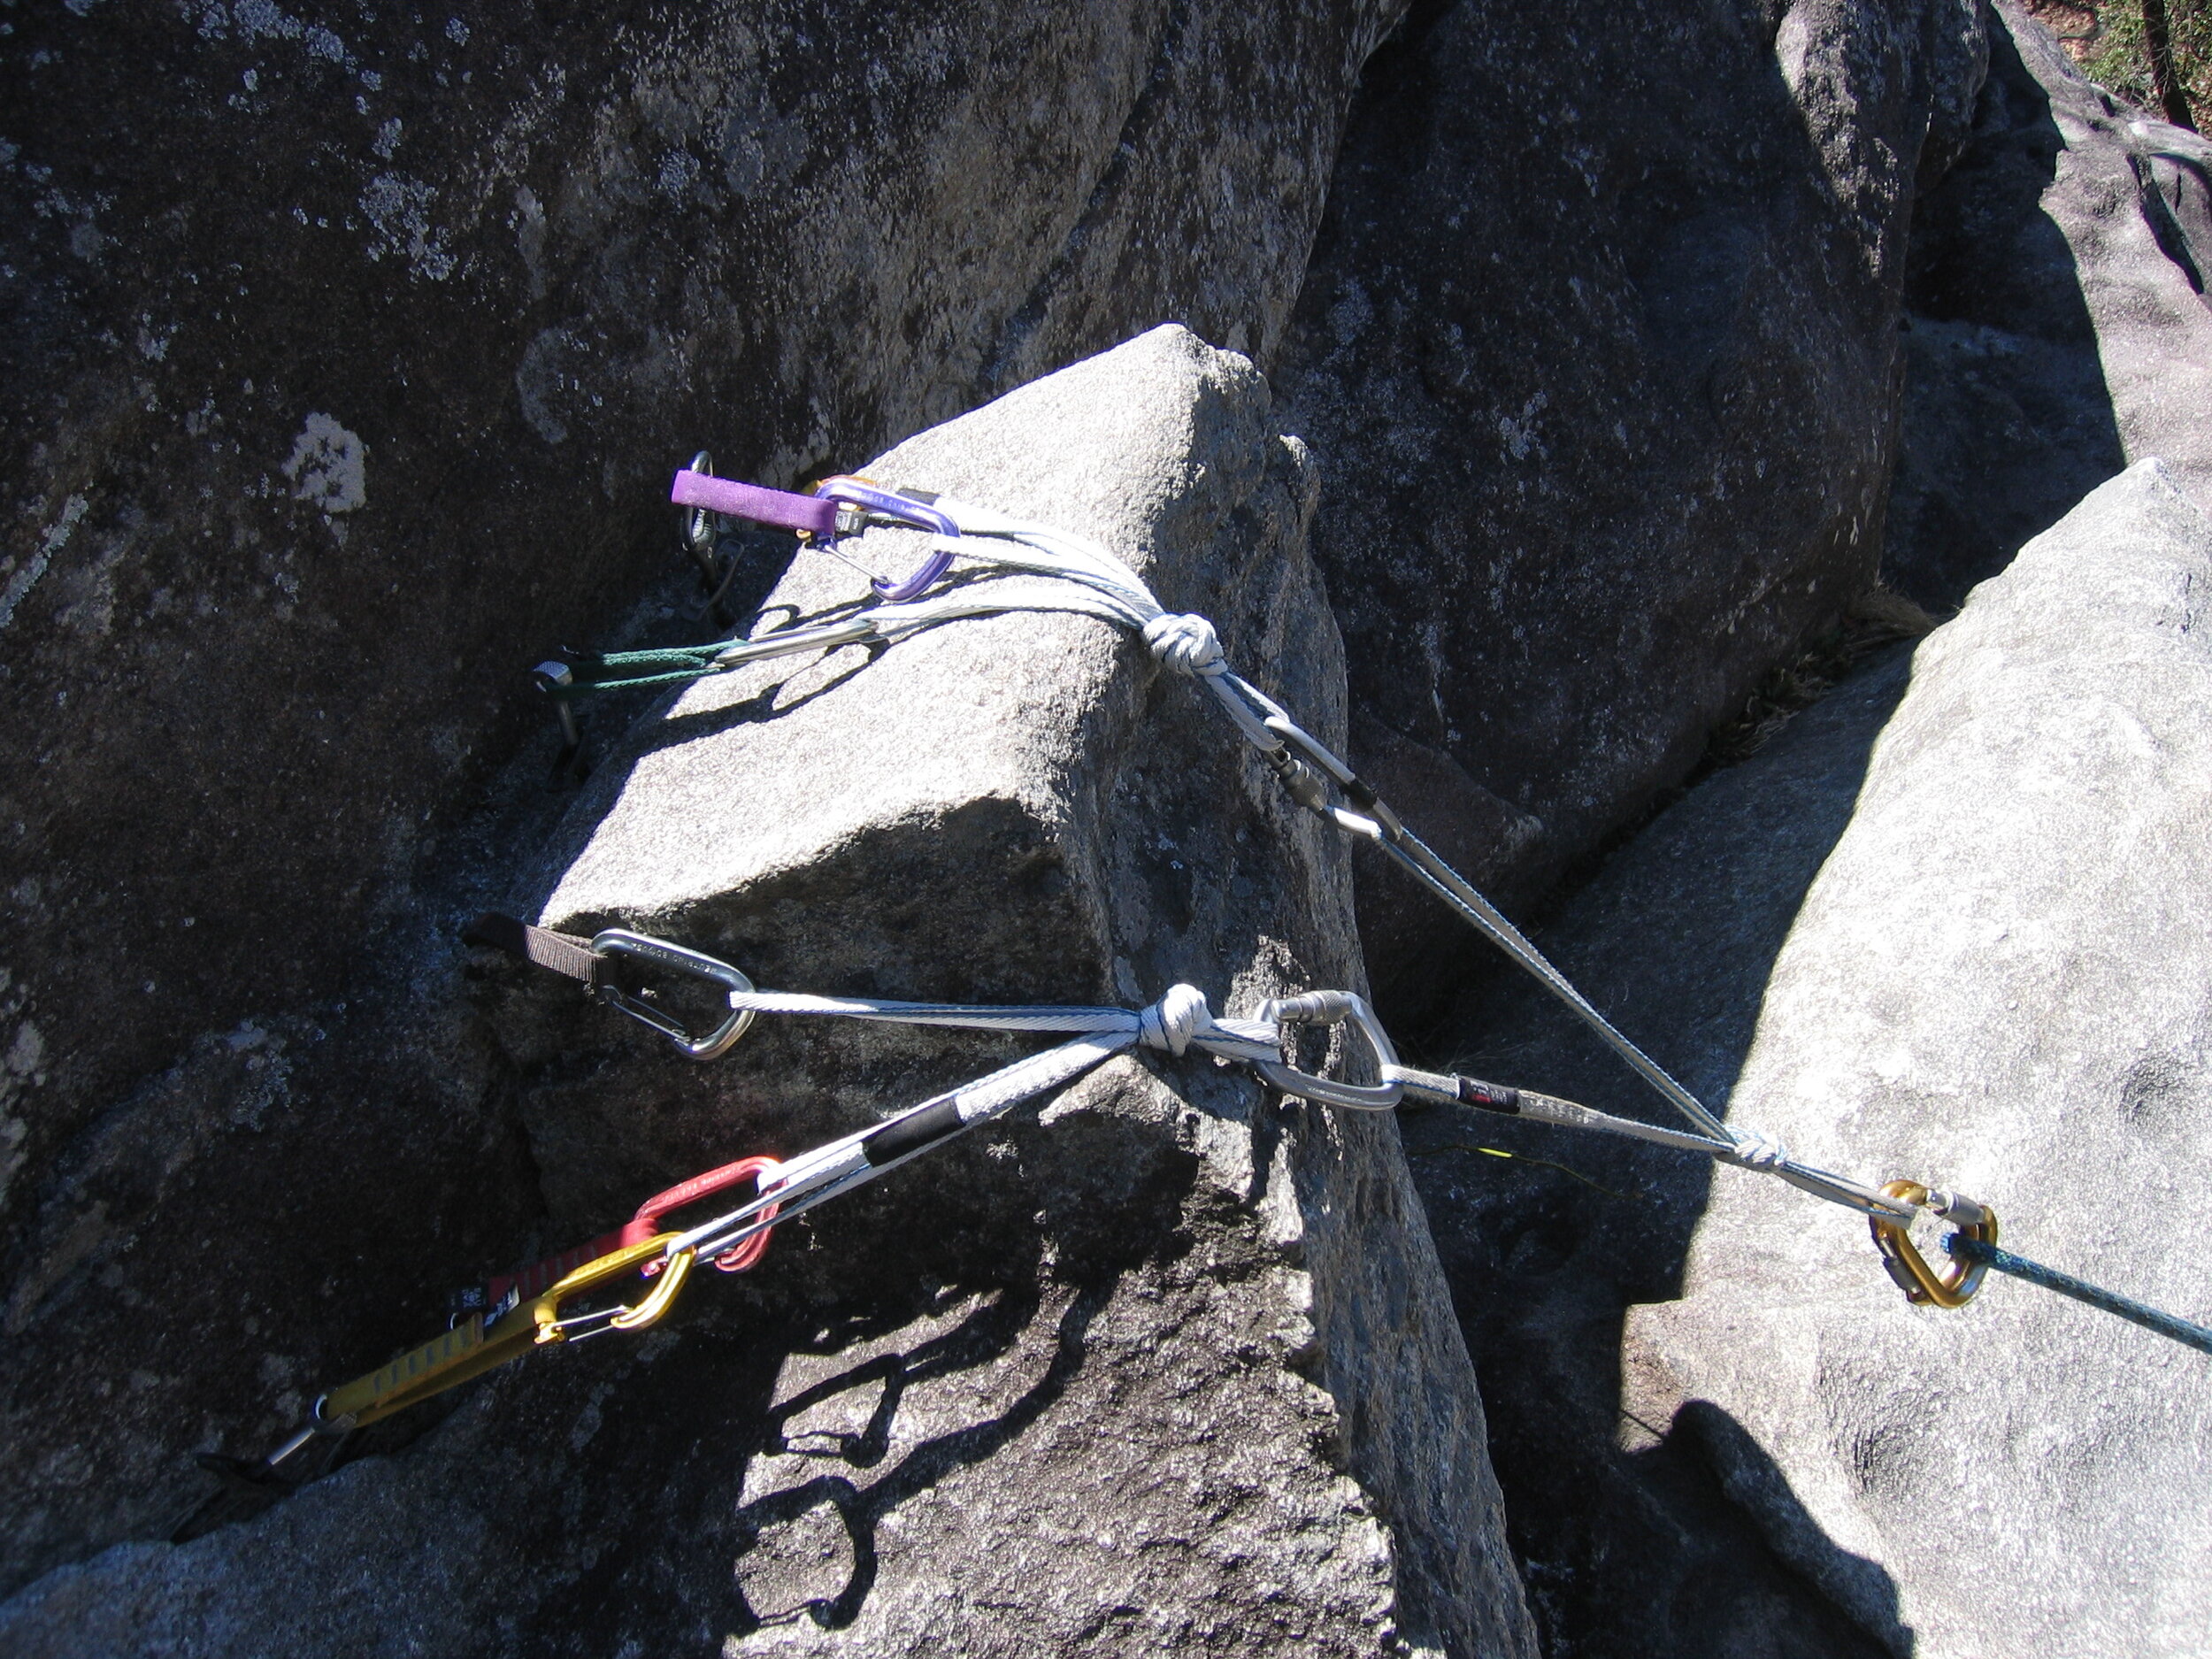
The master-point with a draw anchor

This method provides the security for the top rope but also a place to clip in for the climber that may decide they was to lead. I use this a lot when photographing climbing. It gives the photographer a great anchor to be secured too but also allows the climber a spot to slip quickly when arriving at the anchor. So this method provides the best of both worlds.


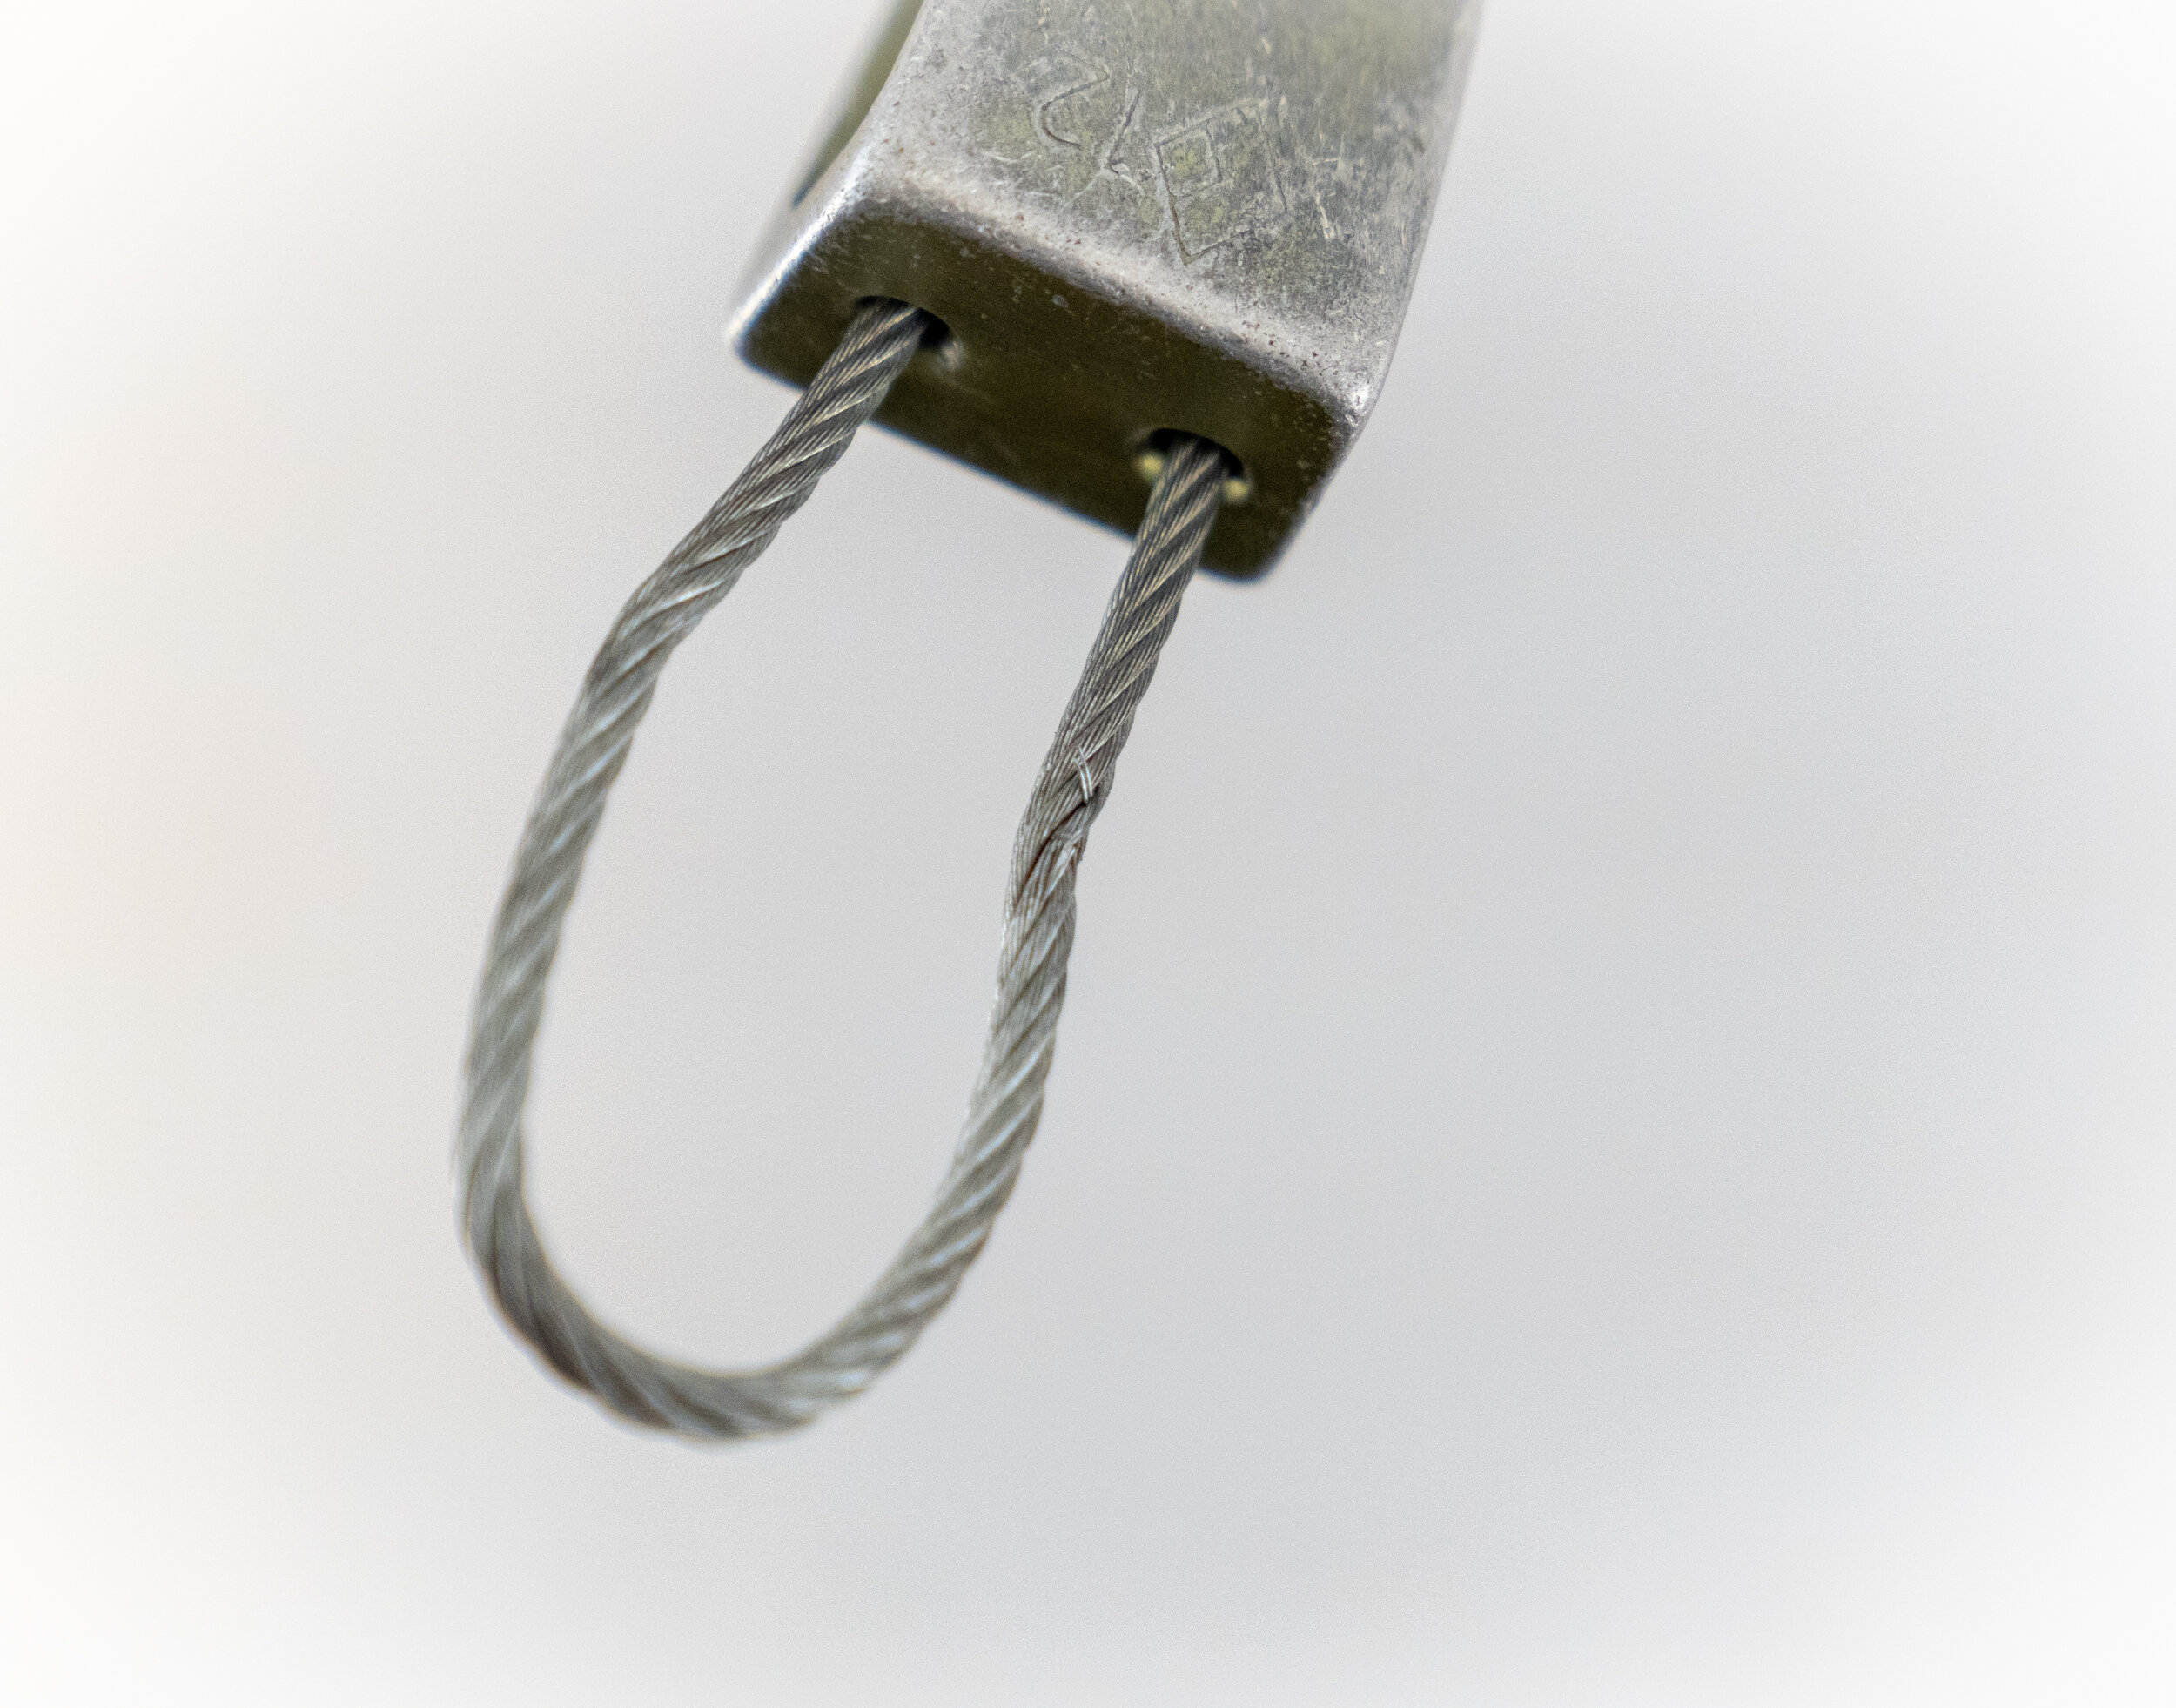
![IMG_1161[1].JPG](https://images.squarespace-cdn.com/content/v1/5de19304046bfb2883feb376/1599613342914-D2XNCQFOZCUPOW0I46A5/IMG_1161%5B1%5D.JPG)
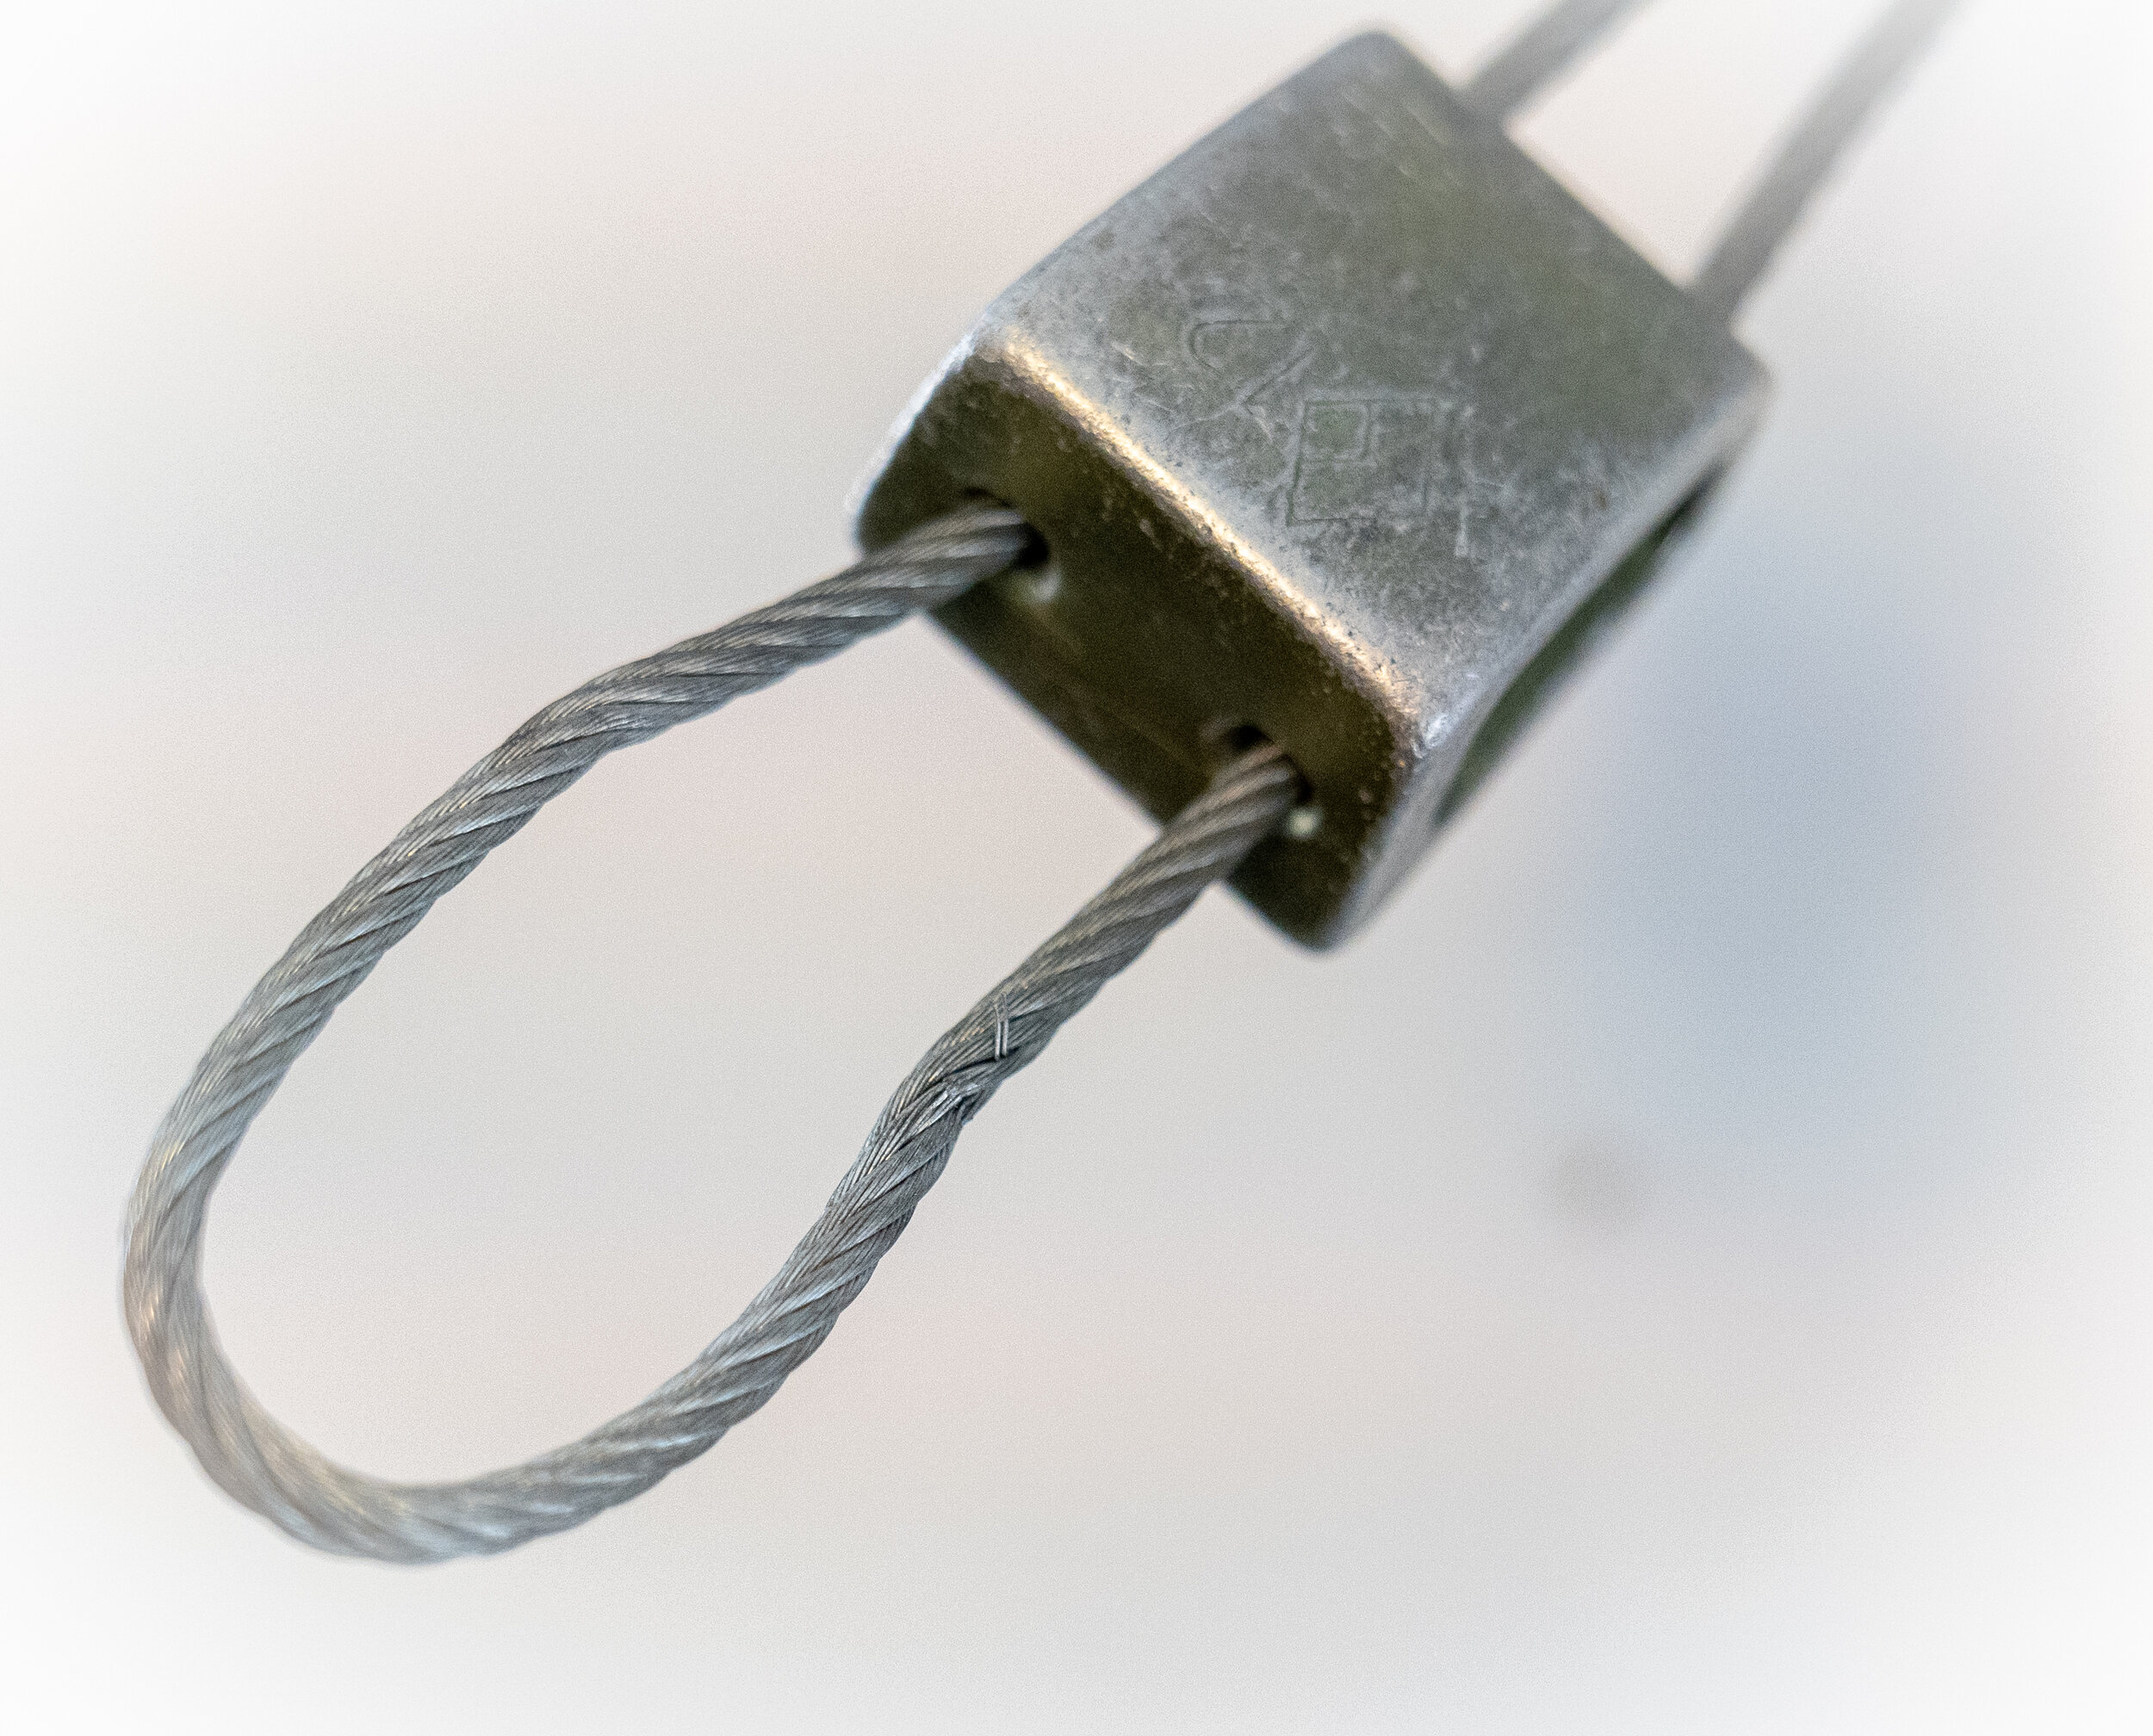
![IMG_1163[1].JPG](https://images.squarespace-cdn.com/content/v1/5de19304046bfb2883feb376/1599613347719-XB4NSW1MFKL5E0WOHTW4/IMG_1163%5B1%5D.JPG)