Ice Climbing in North Conway, NH: Unveiling the Best Winter Adventure

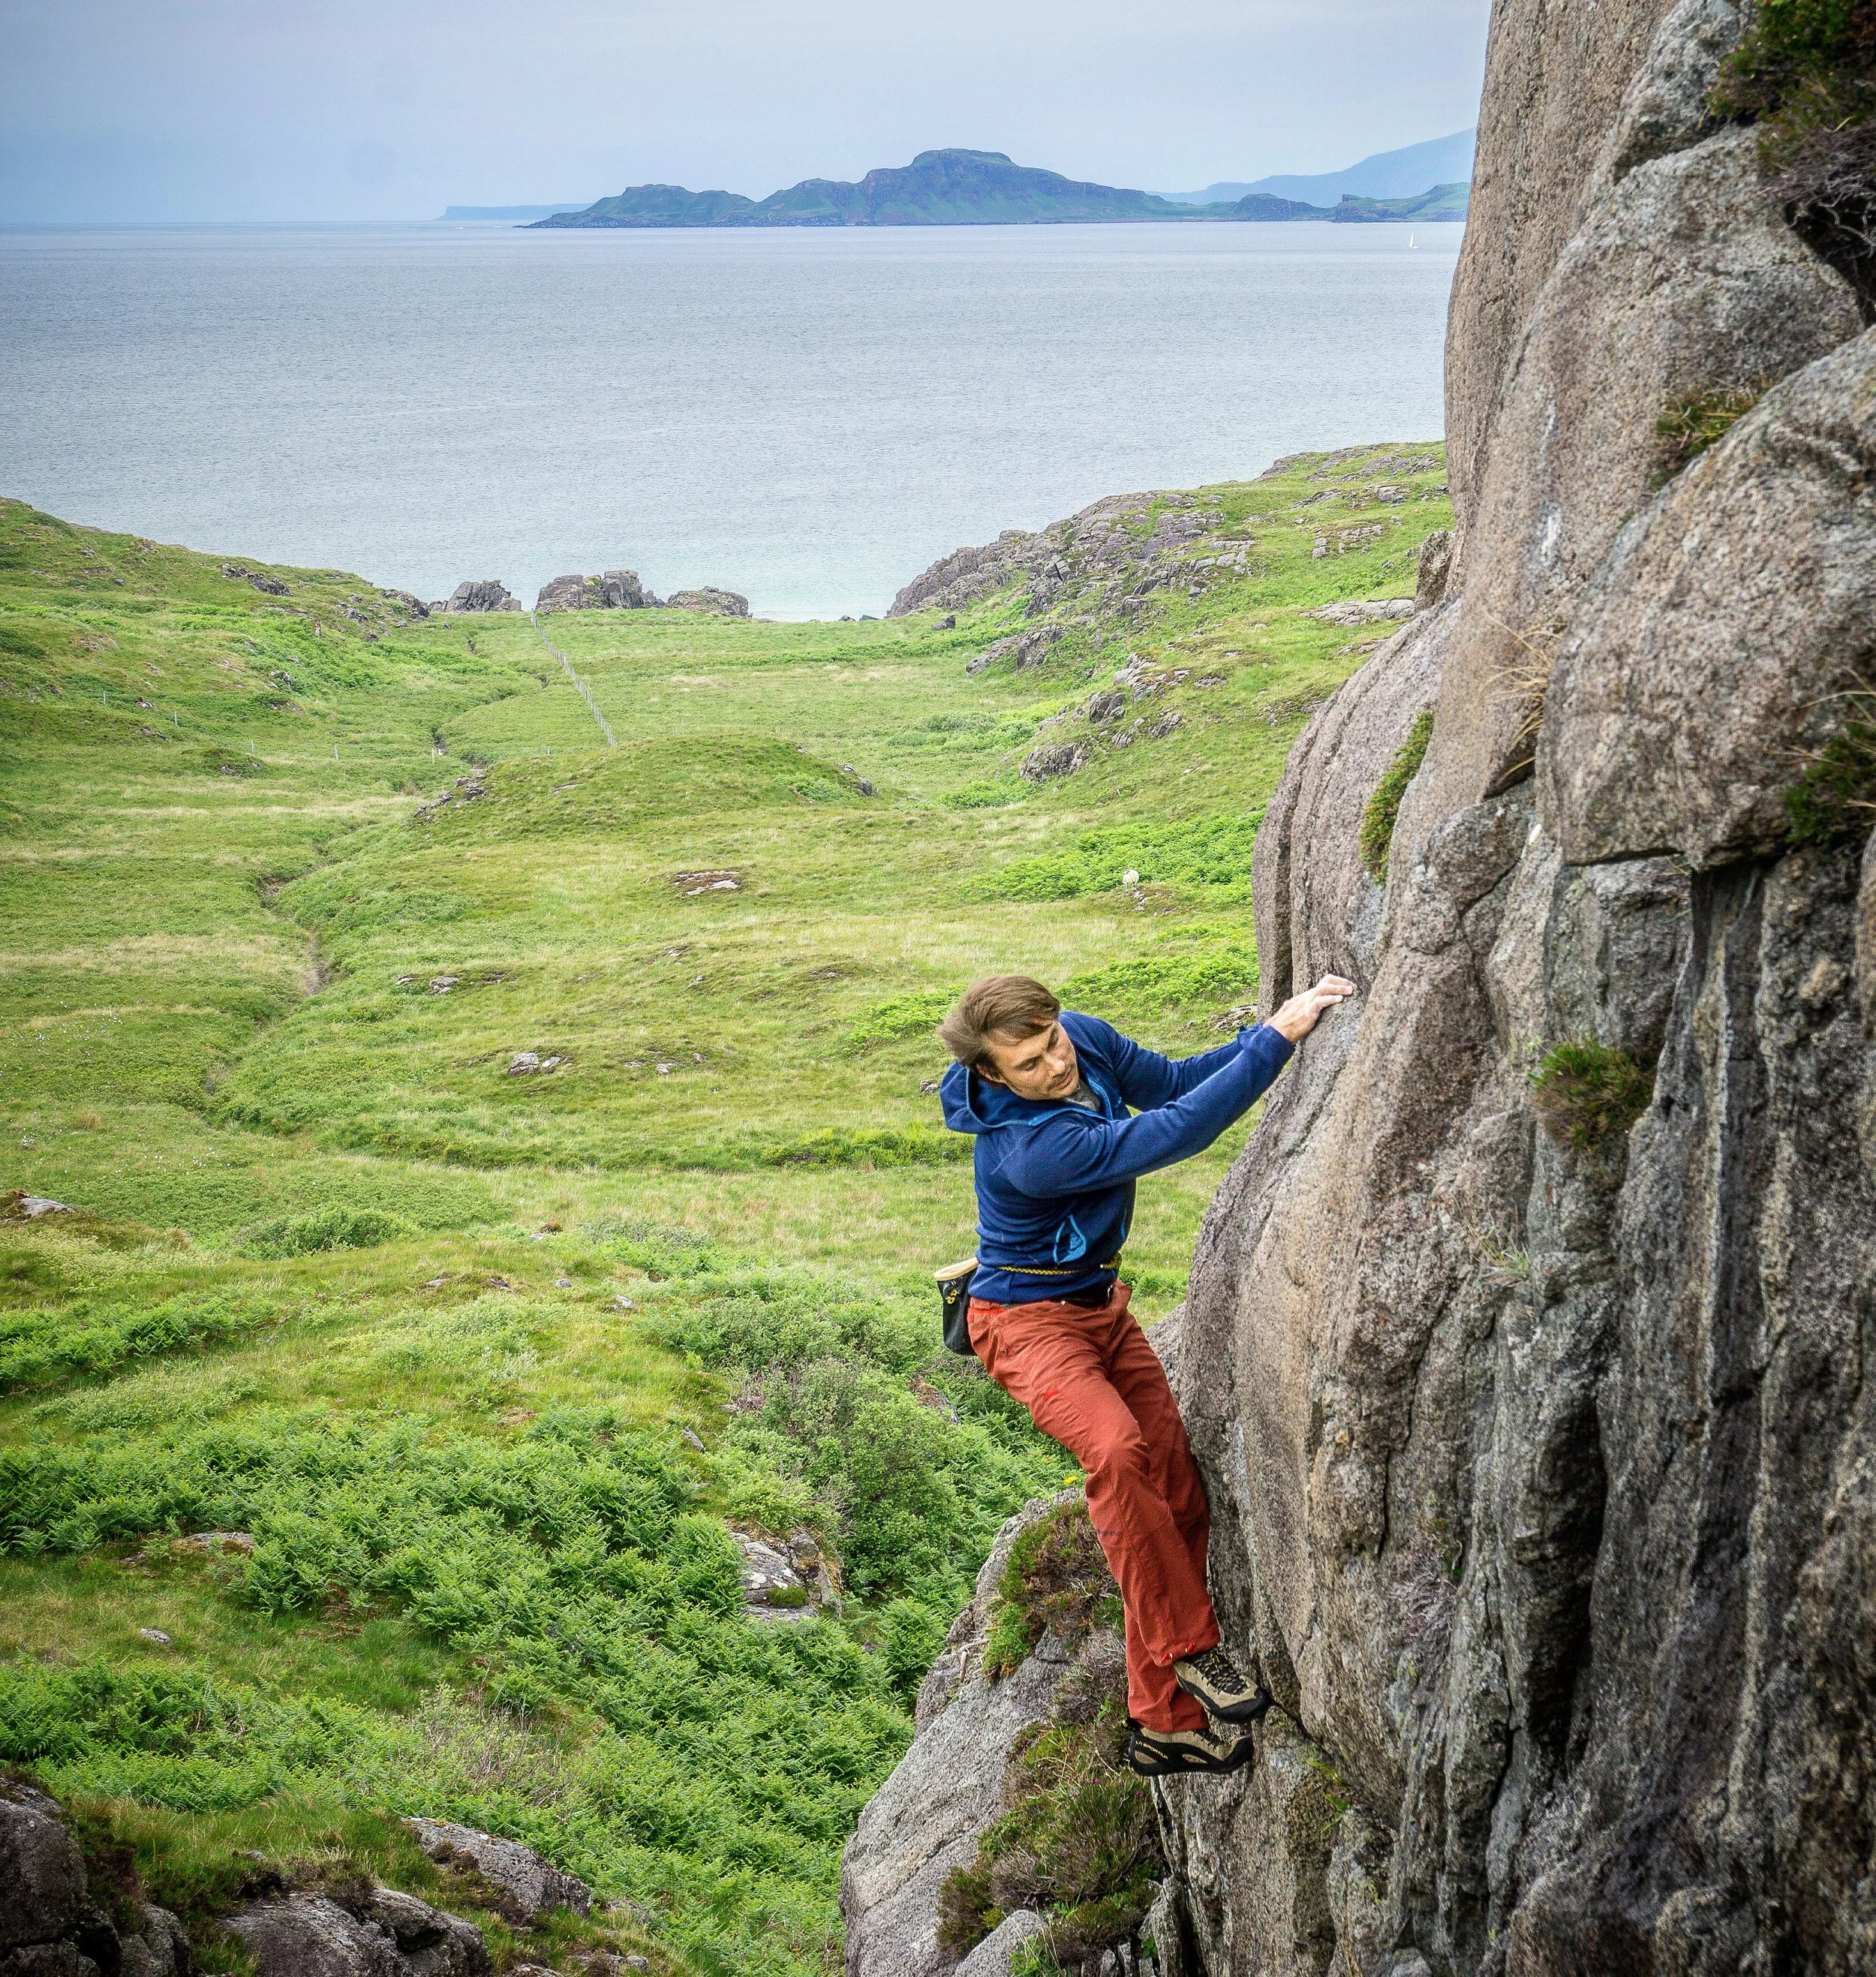
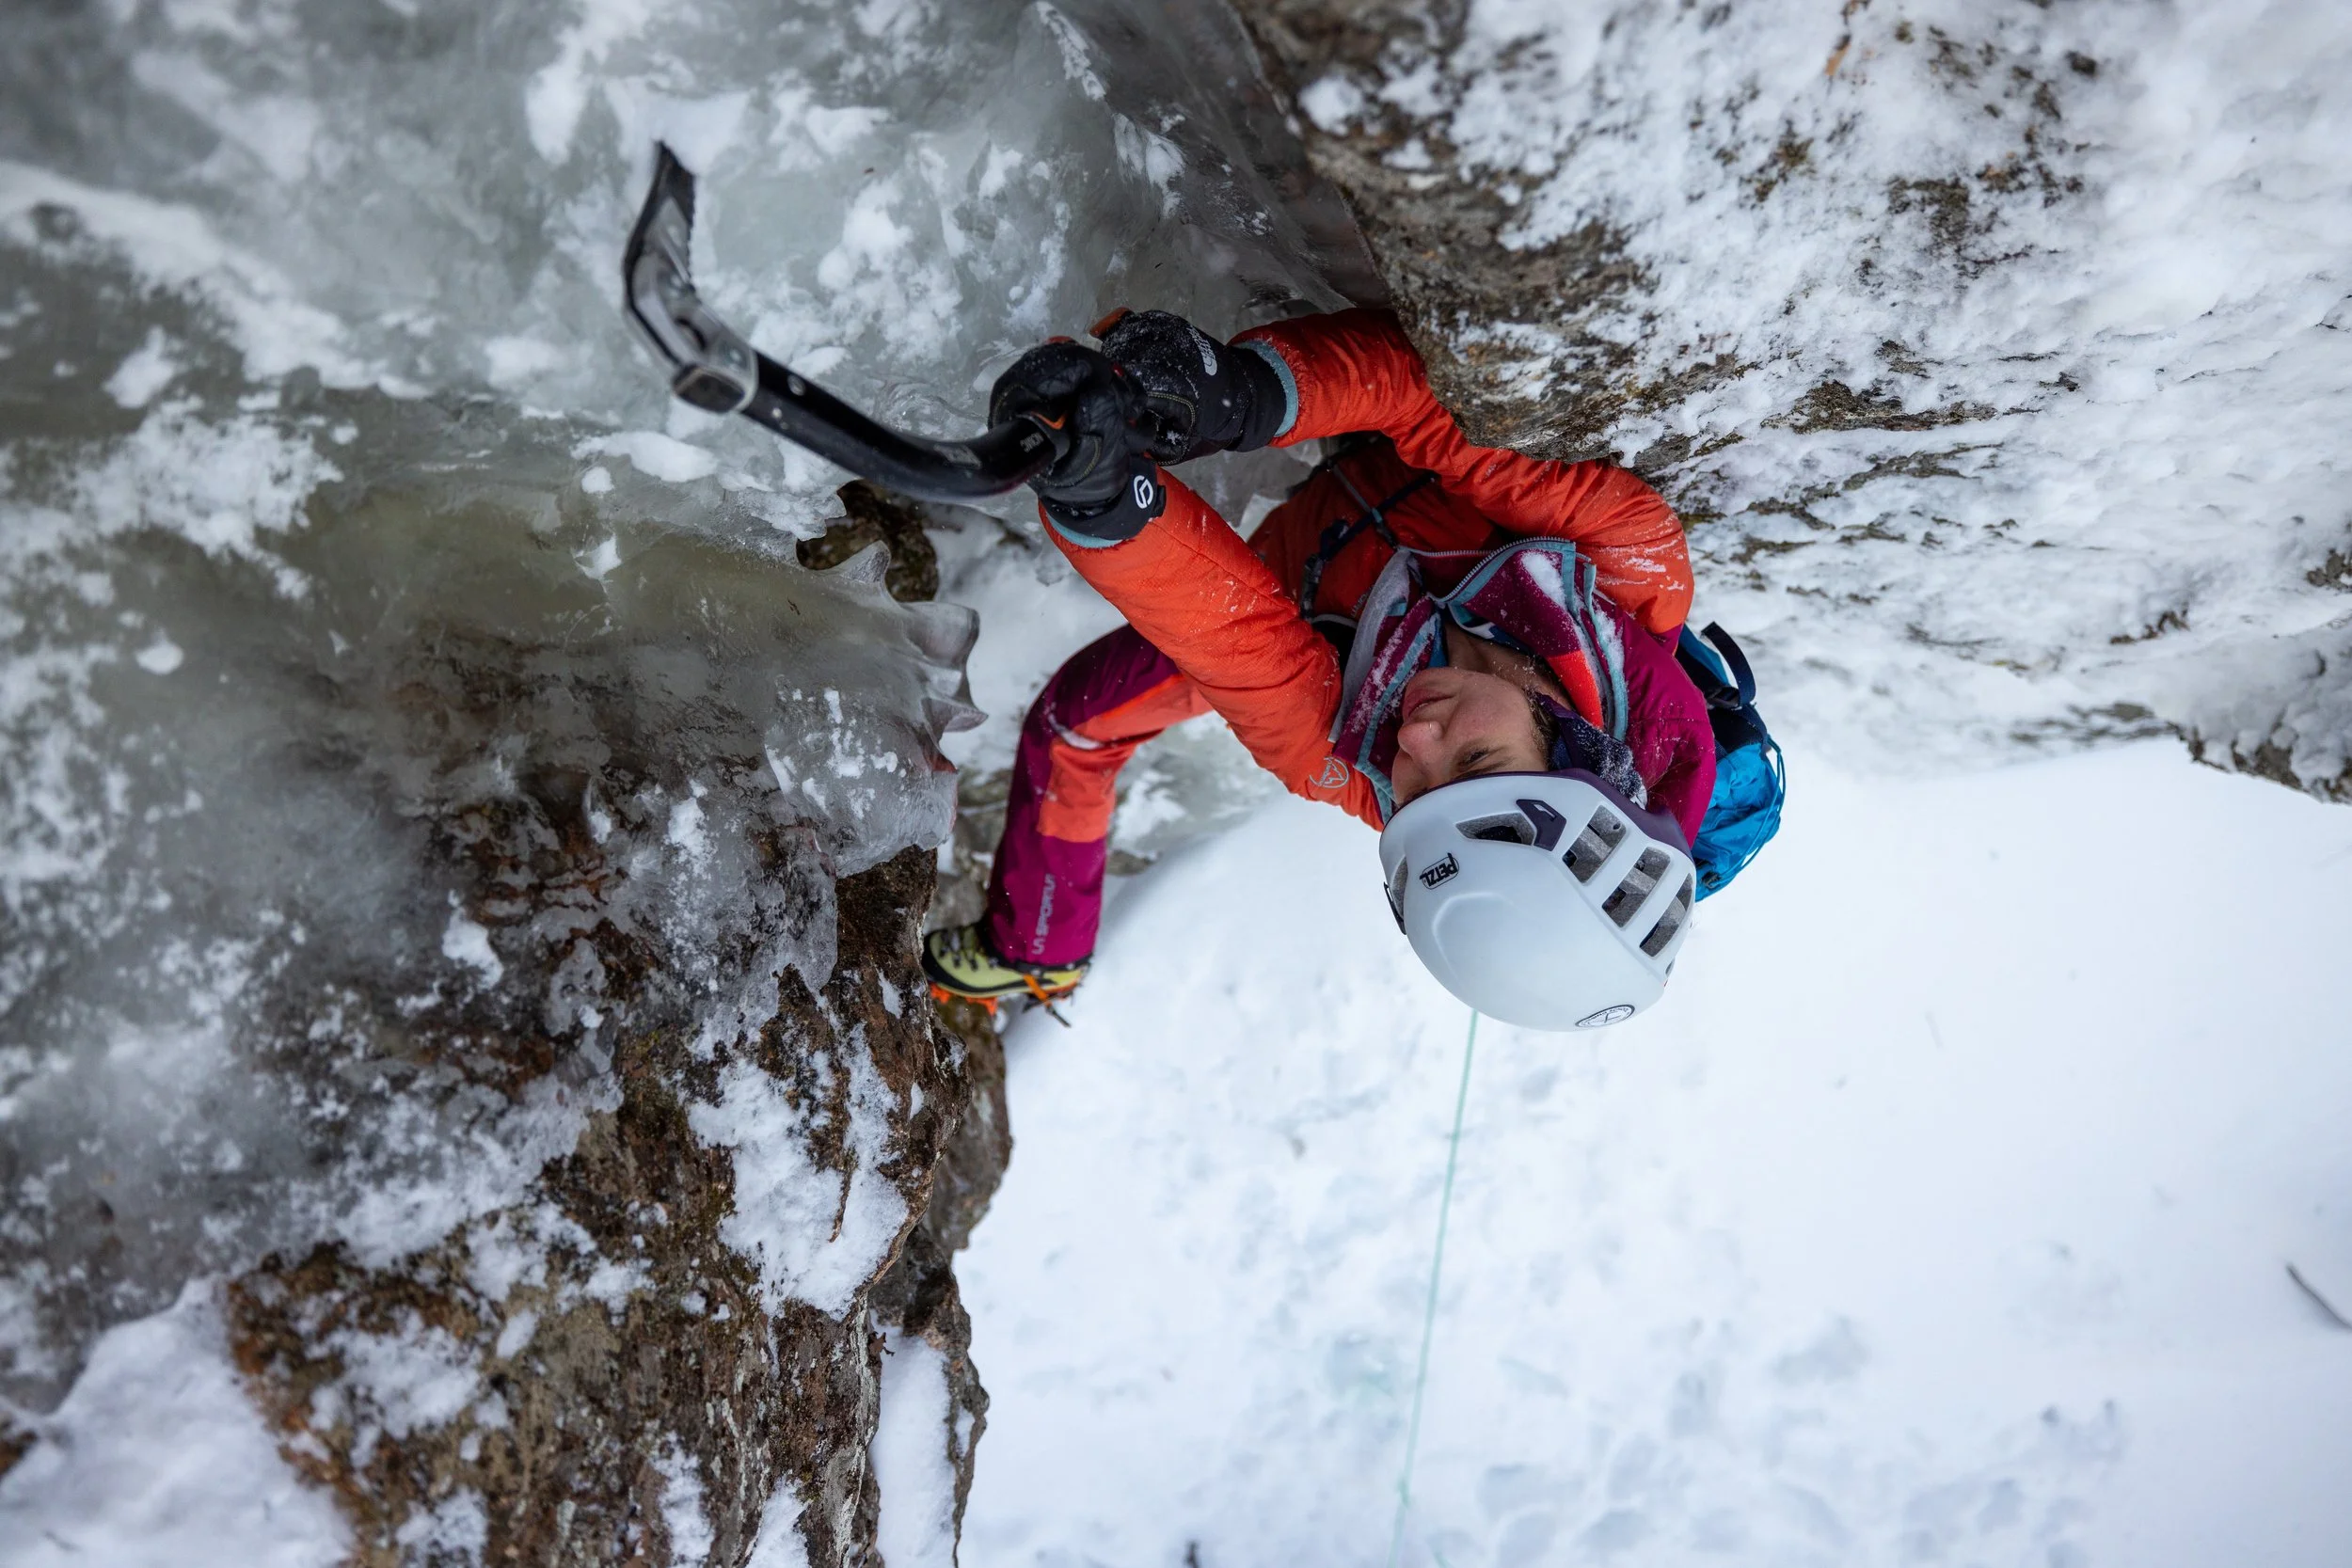
Ice Climbing on Pinnacle Gully, Mount Washington

Thinking about ice climbing this winter? Keep reading to find out why North Conway is the ultimate destination for ice climbing enthusiasts, offering a perfect blend of world-class climbs, accessibility, and stunning winter landscapes.


1.     Premier Ice Climbing in North Conway, NH:

With some of the country's best ice formations, this winter wonderland caters to climbers of all skill levels, promising a truly unique and exhilarating experience.

2.     Short Hikes, More Climbing:

Maximize your climbing time in North Conway with short hikes to classic lines. This proximity ensures less walking and more climbing, a crucial advantage during the shorter winter days. Make the most of your time on the ice and experience the thrill without all the work.


3.     Quality Over Quantity:

North Conway sets itself apart by offering a wealth of high-quality climbs. From beginner-friendly single pitches to challenging multi-pitch routes, each climb is exceptional. Classics like Repentance and Remission, along with alpine routes like Pinnacle Gully, provide a lifetime of memorable experiences.


4.     Accessible for All Skill Levels:

Regardless of your climbing experience, North Conway welcomes climbers of all skill levels. The diverse terrain caters to beginners seeking a learning ground and seasoned climbers looking for iconic challenges. It's an inclusive destination where everyone can find their perfect climb.

Beginner ice climbing with Pisgah Climbing School

 5.     Winter Wonderland Beyond Climbing:

North Conway's enchanting winter landscape, adorned with snow-covered peaks, enhances the overall ice climbing experience. Immerse yourself in the beauty of New England's winter as you conquer the ice-covered cliffs.


6.     Ice Climbing Instruction for Skill Enhancement:

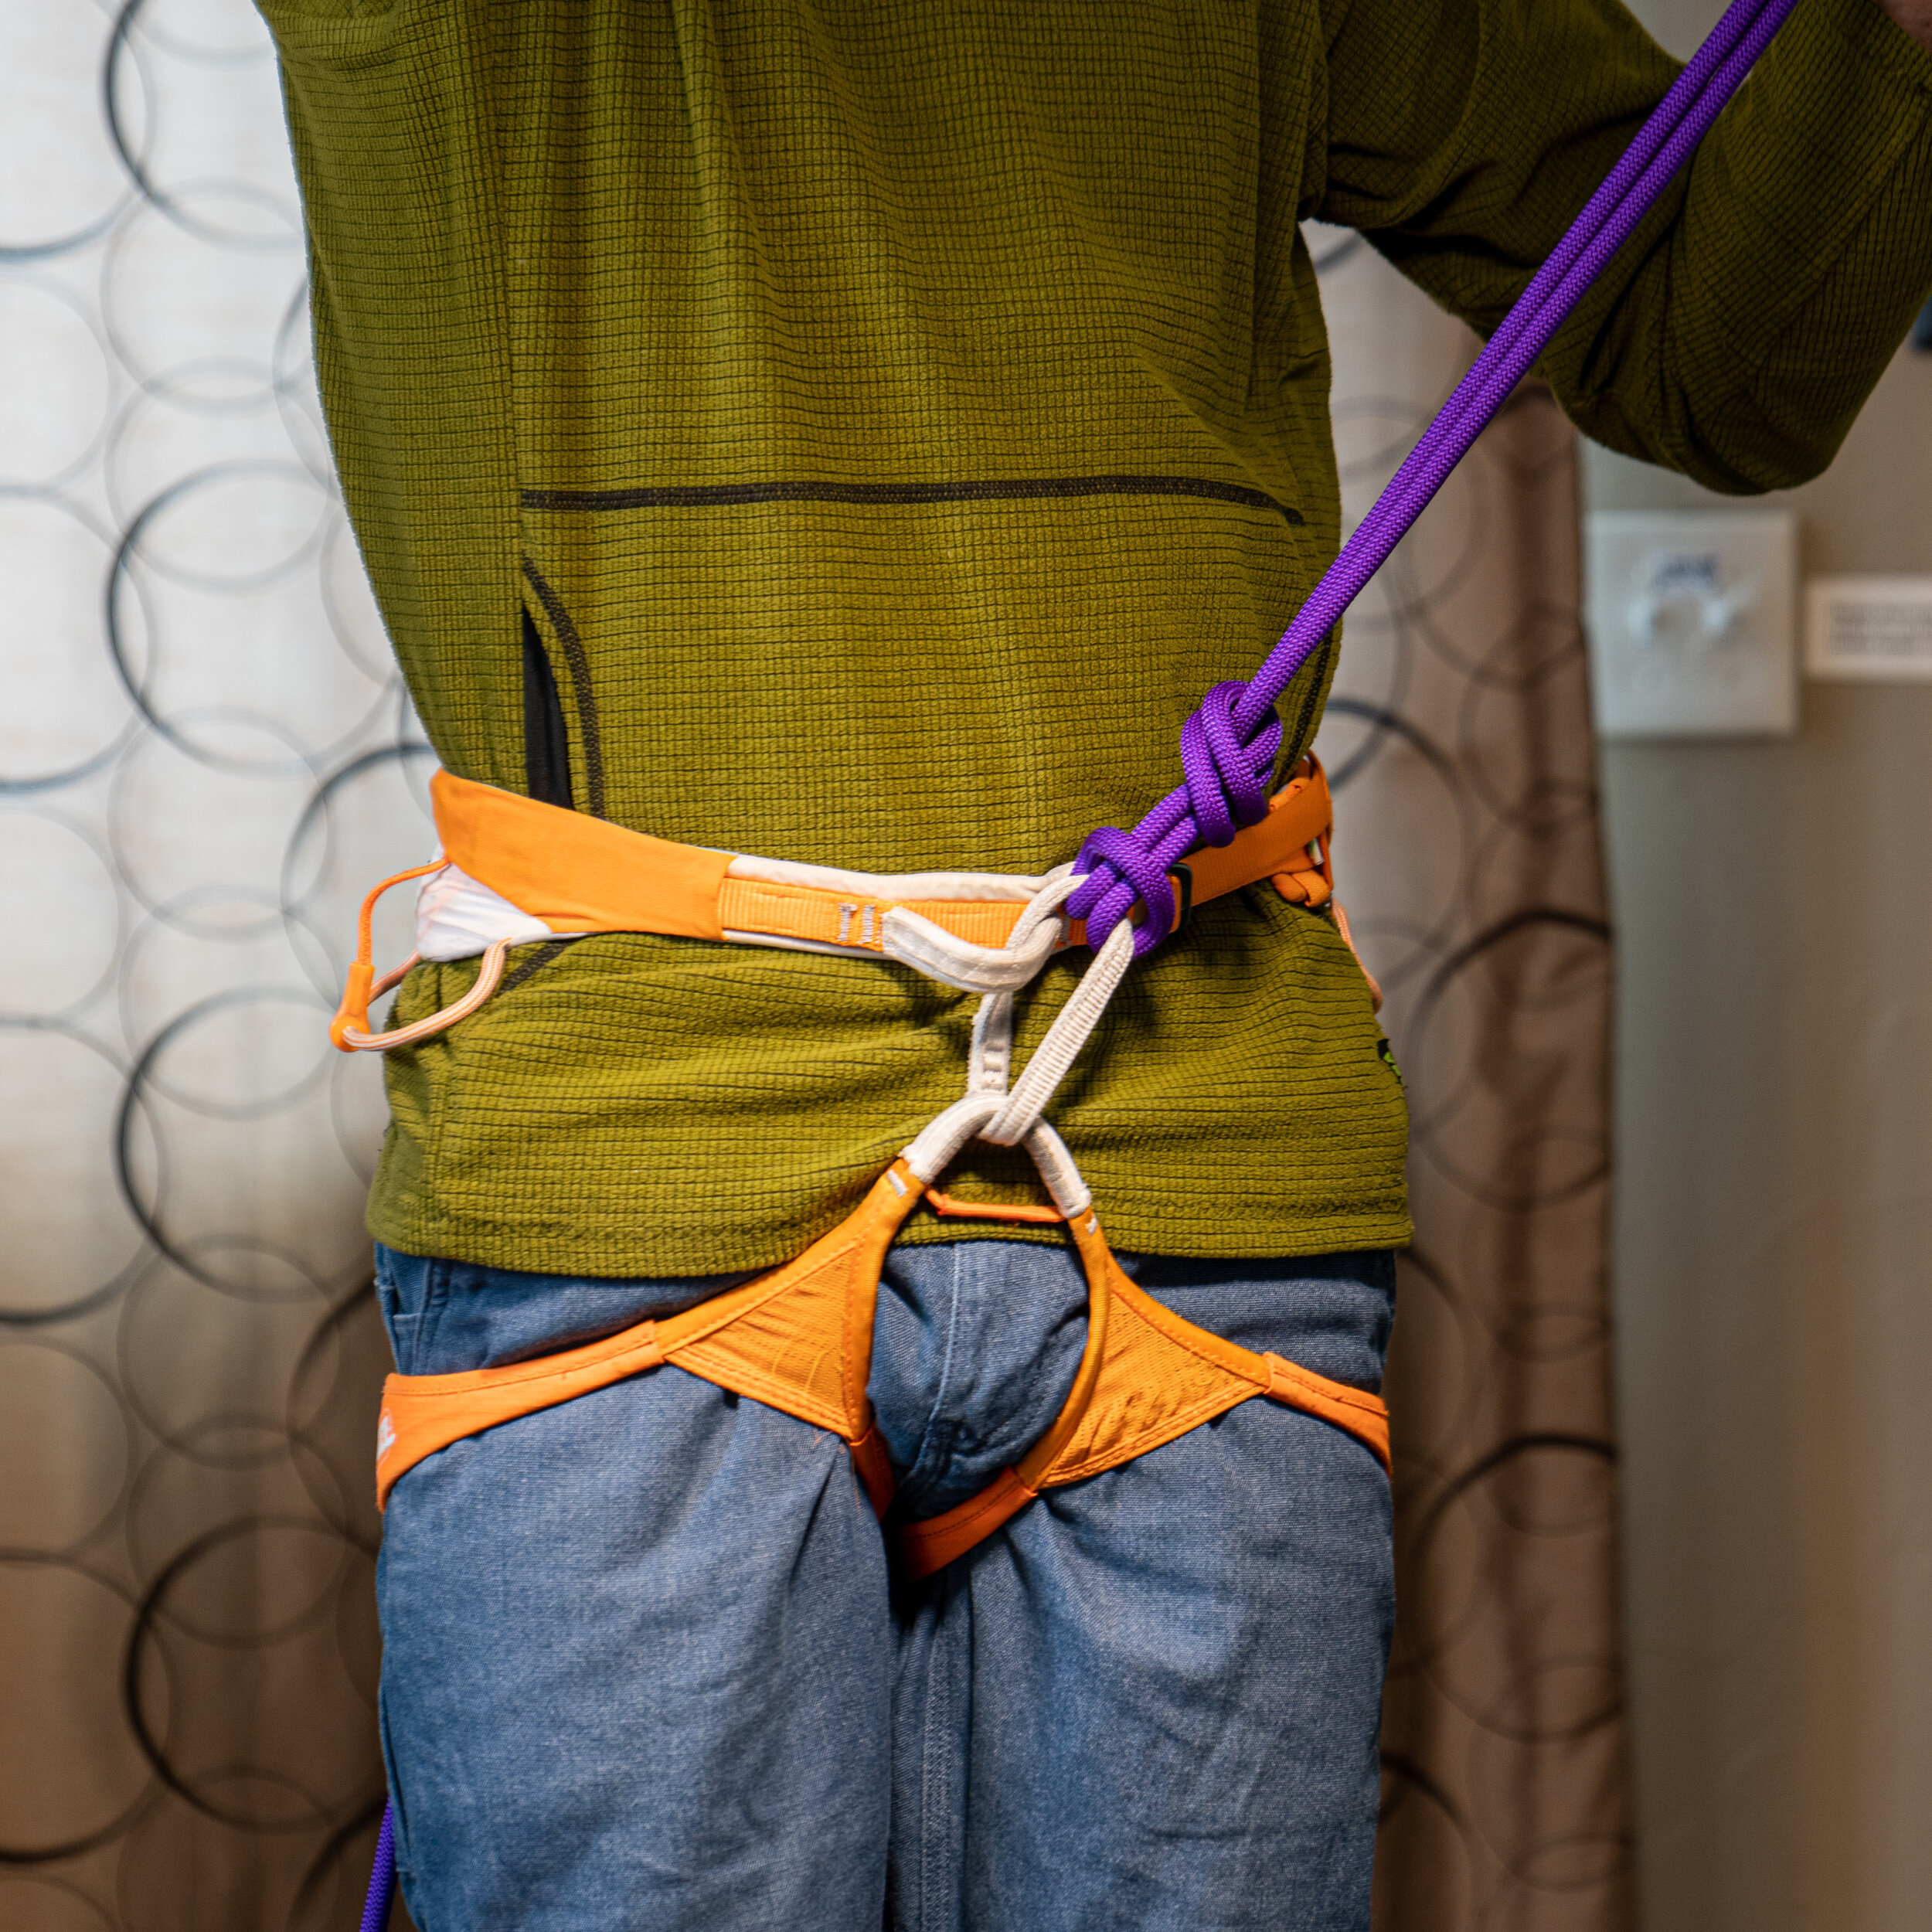
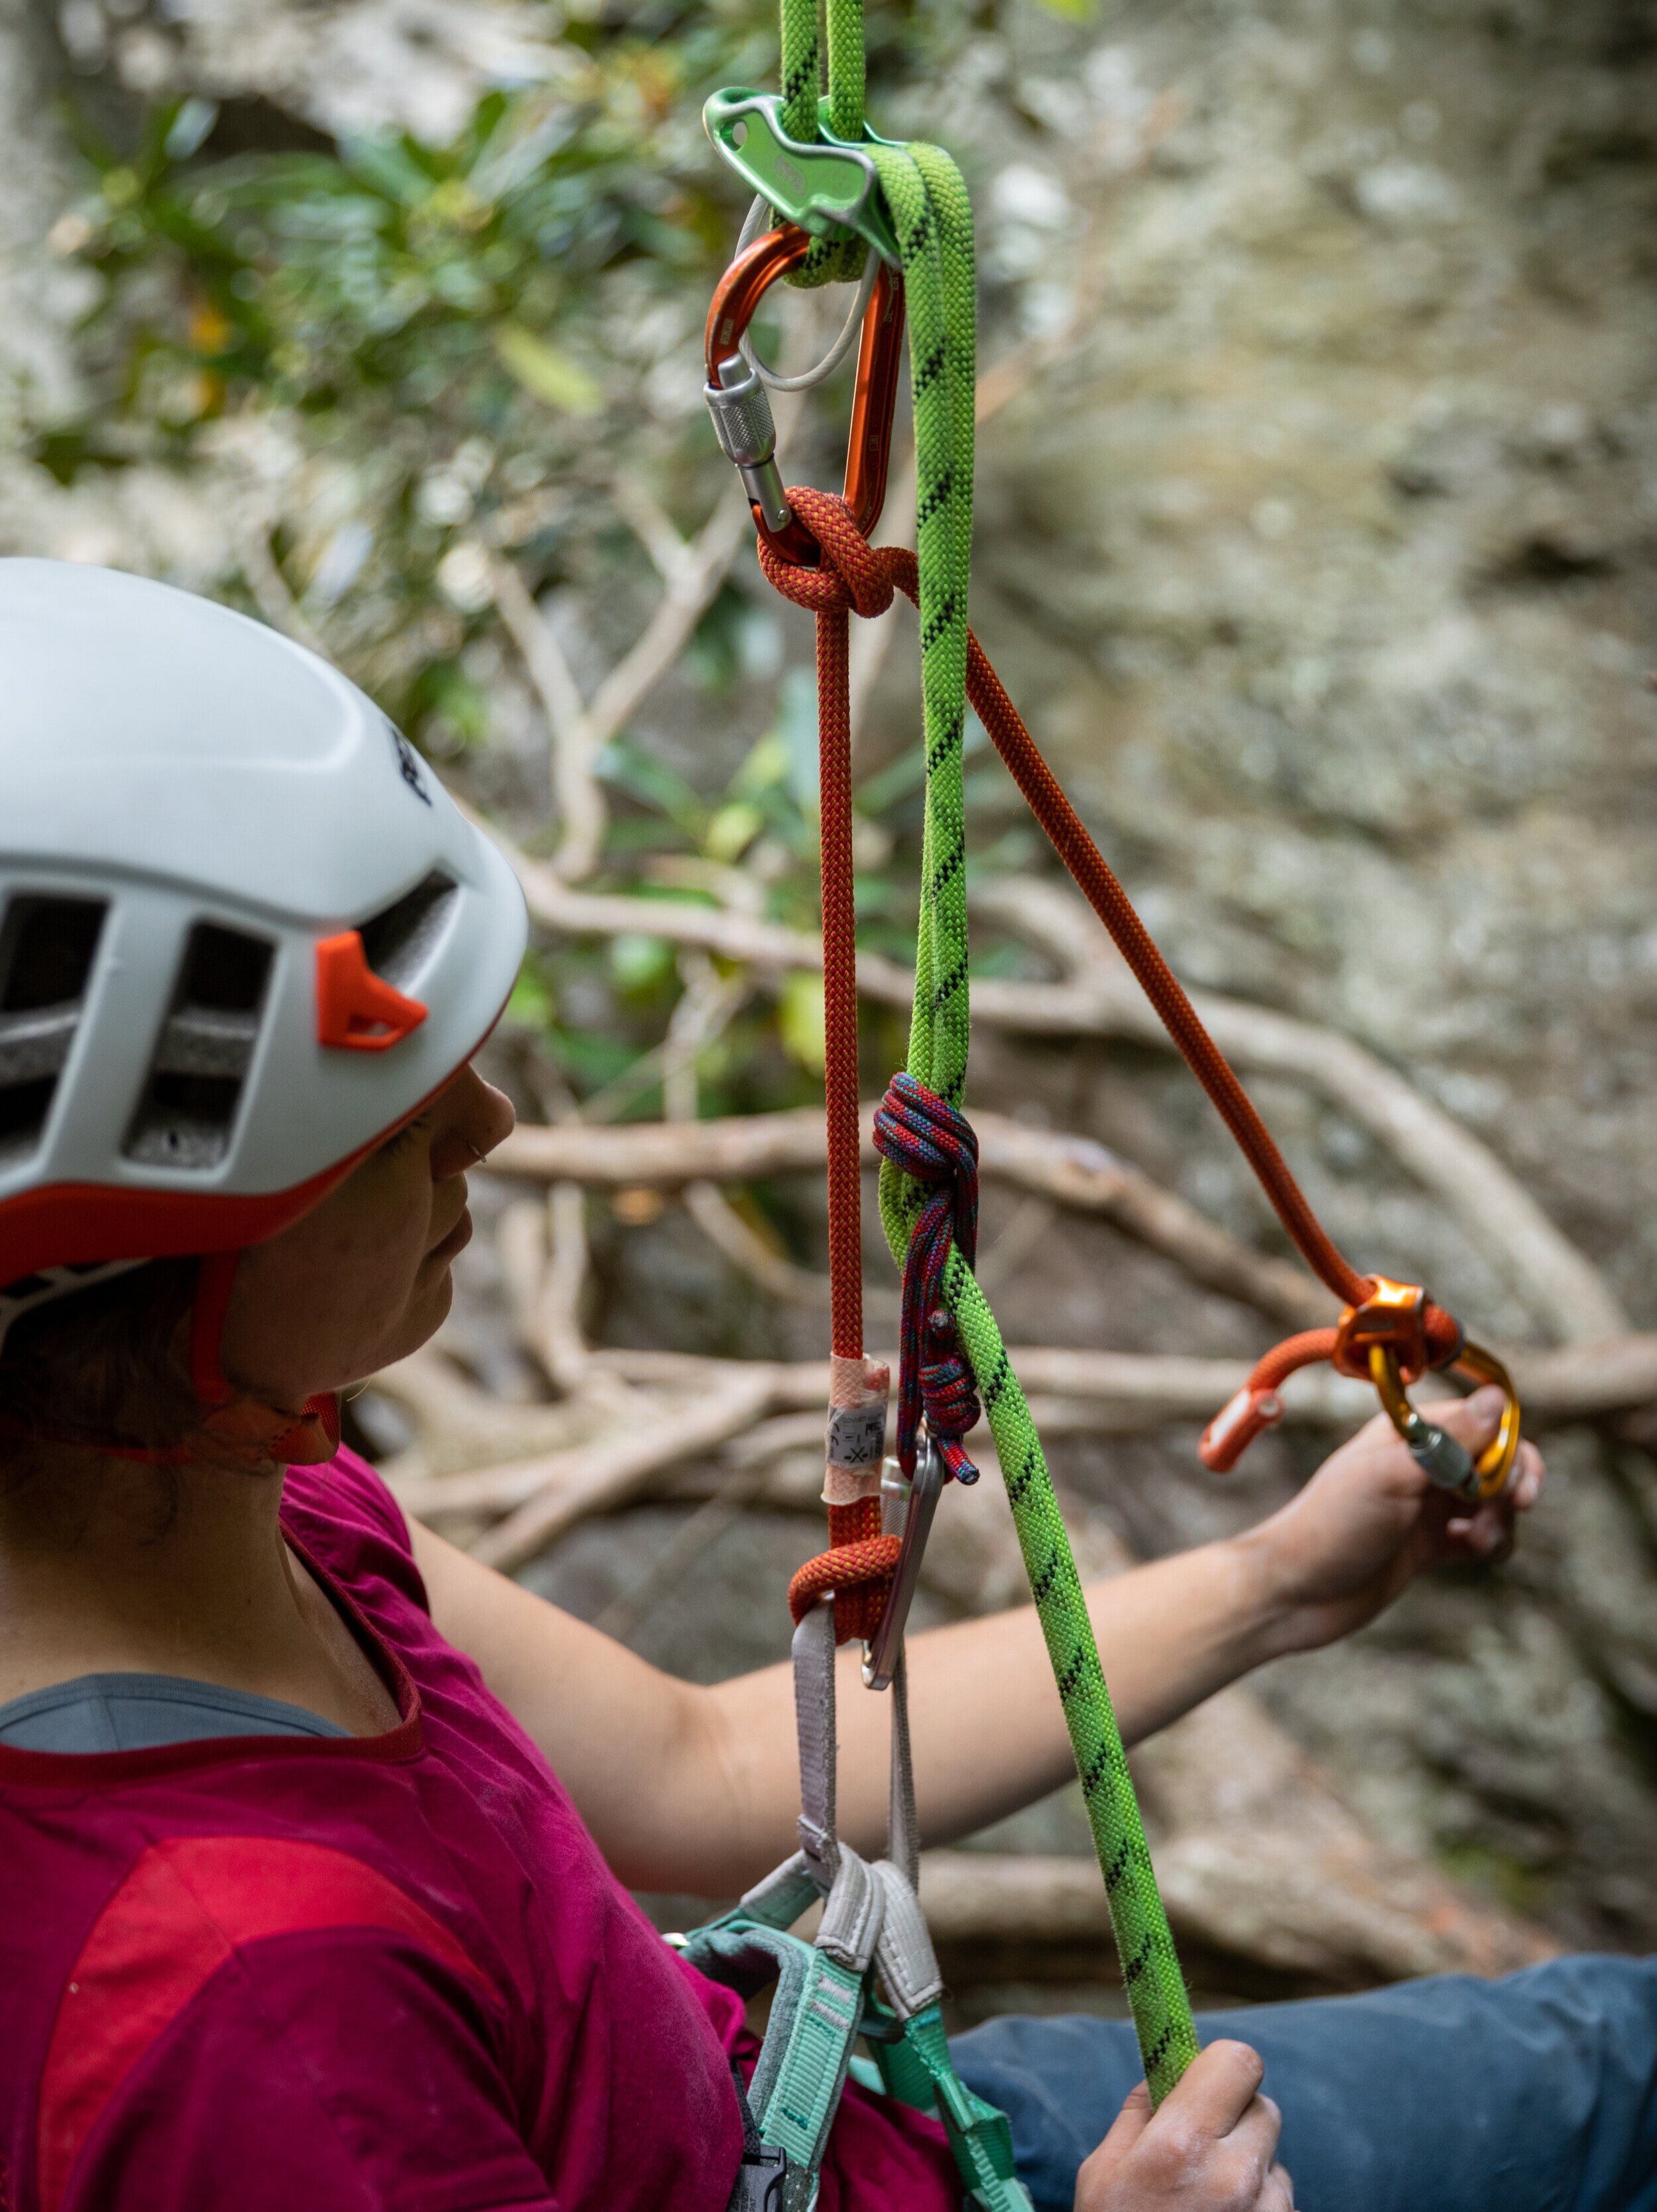
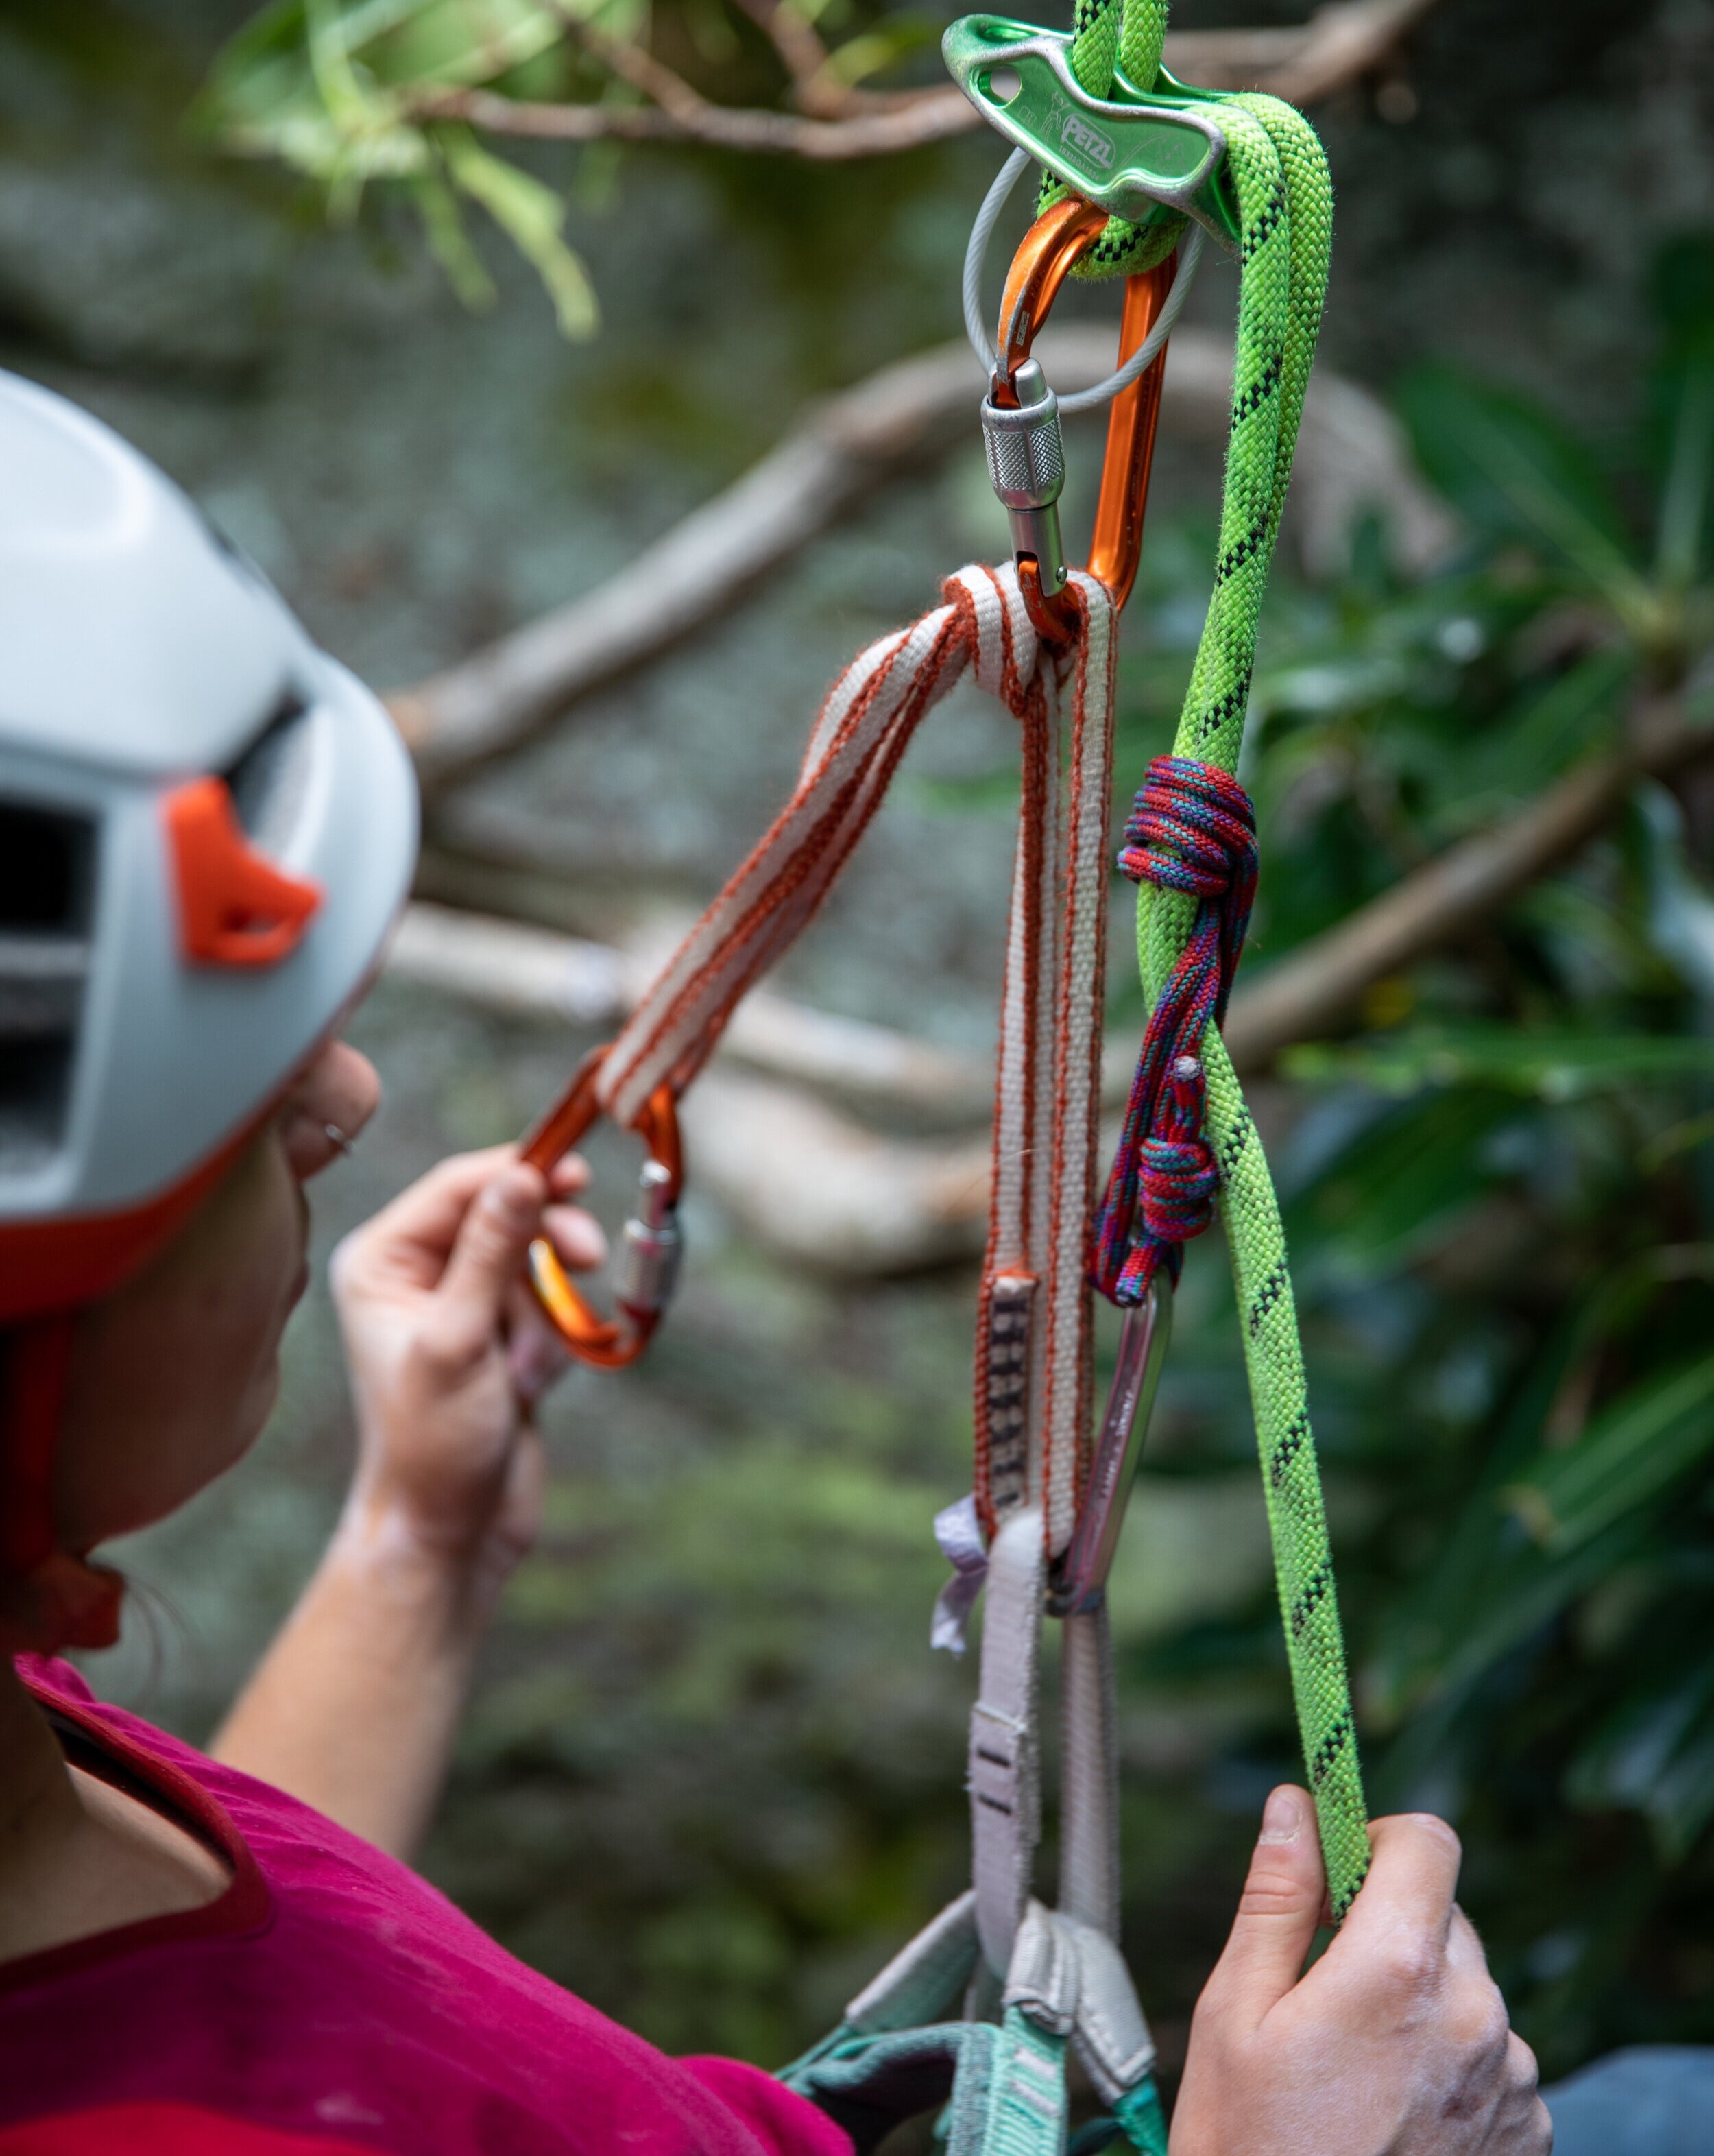
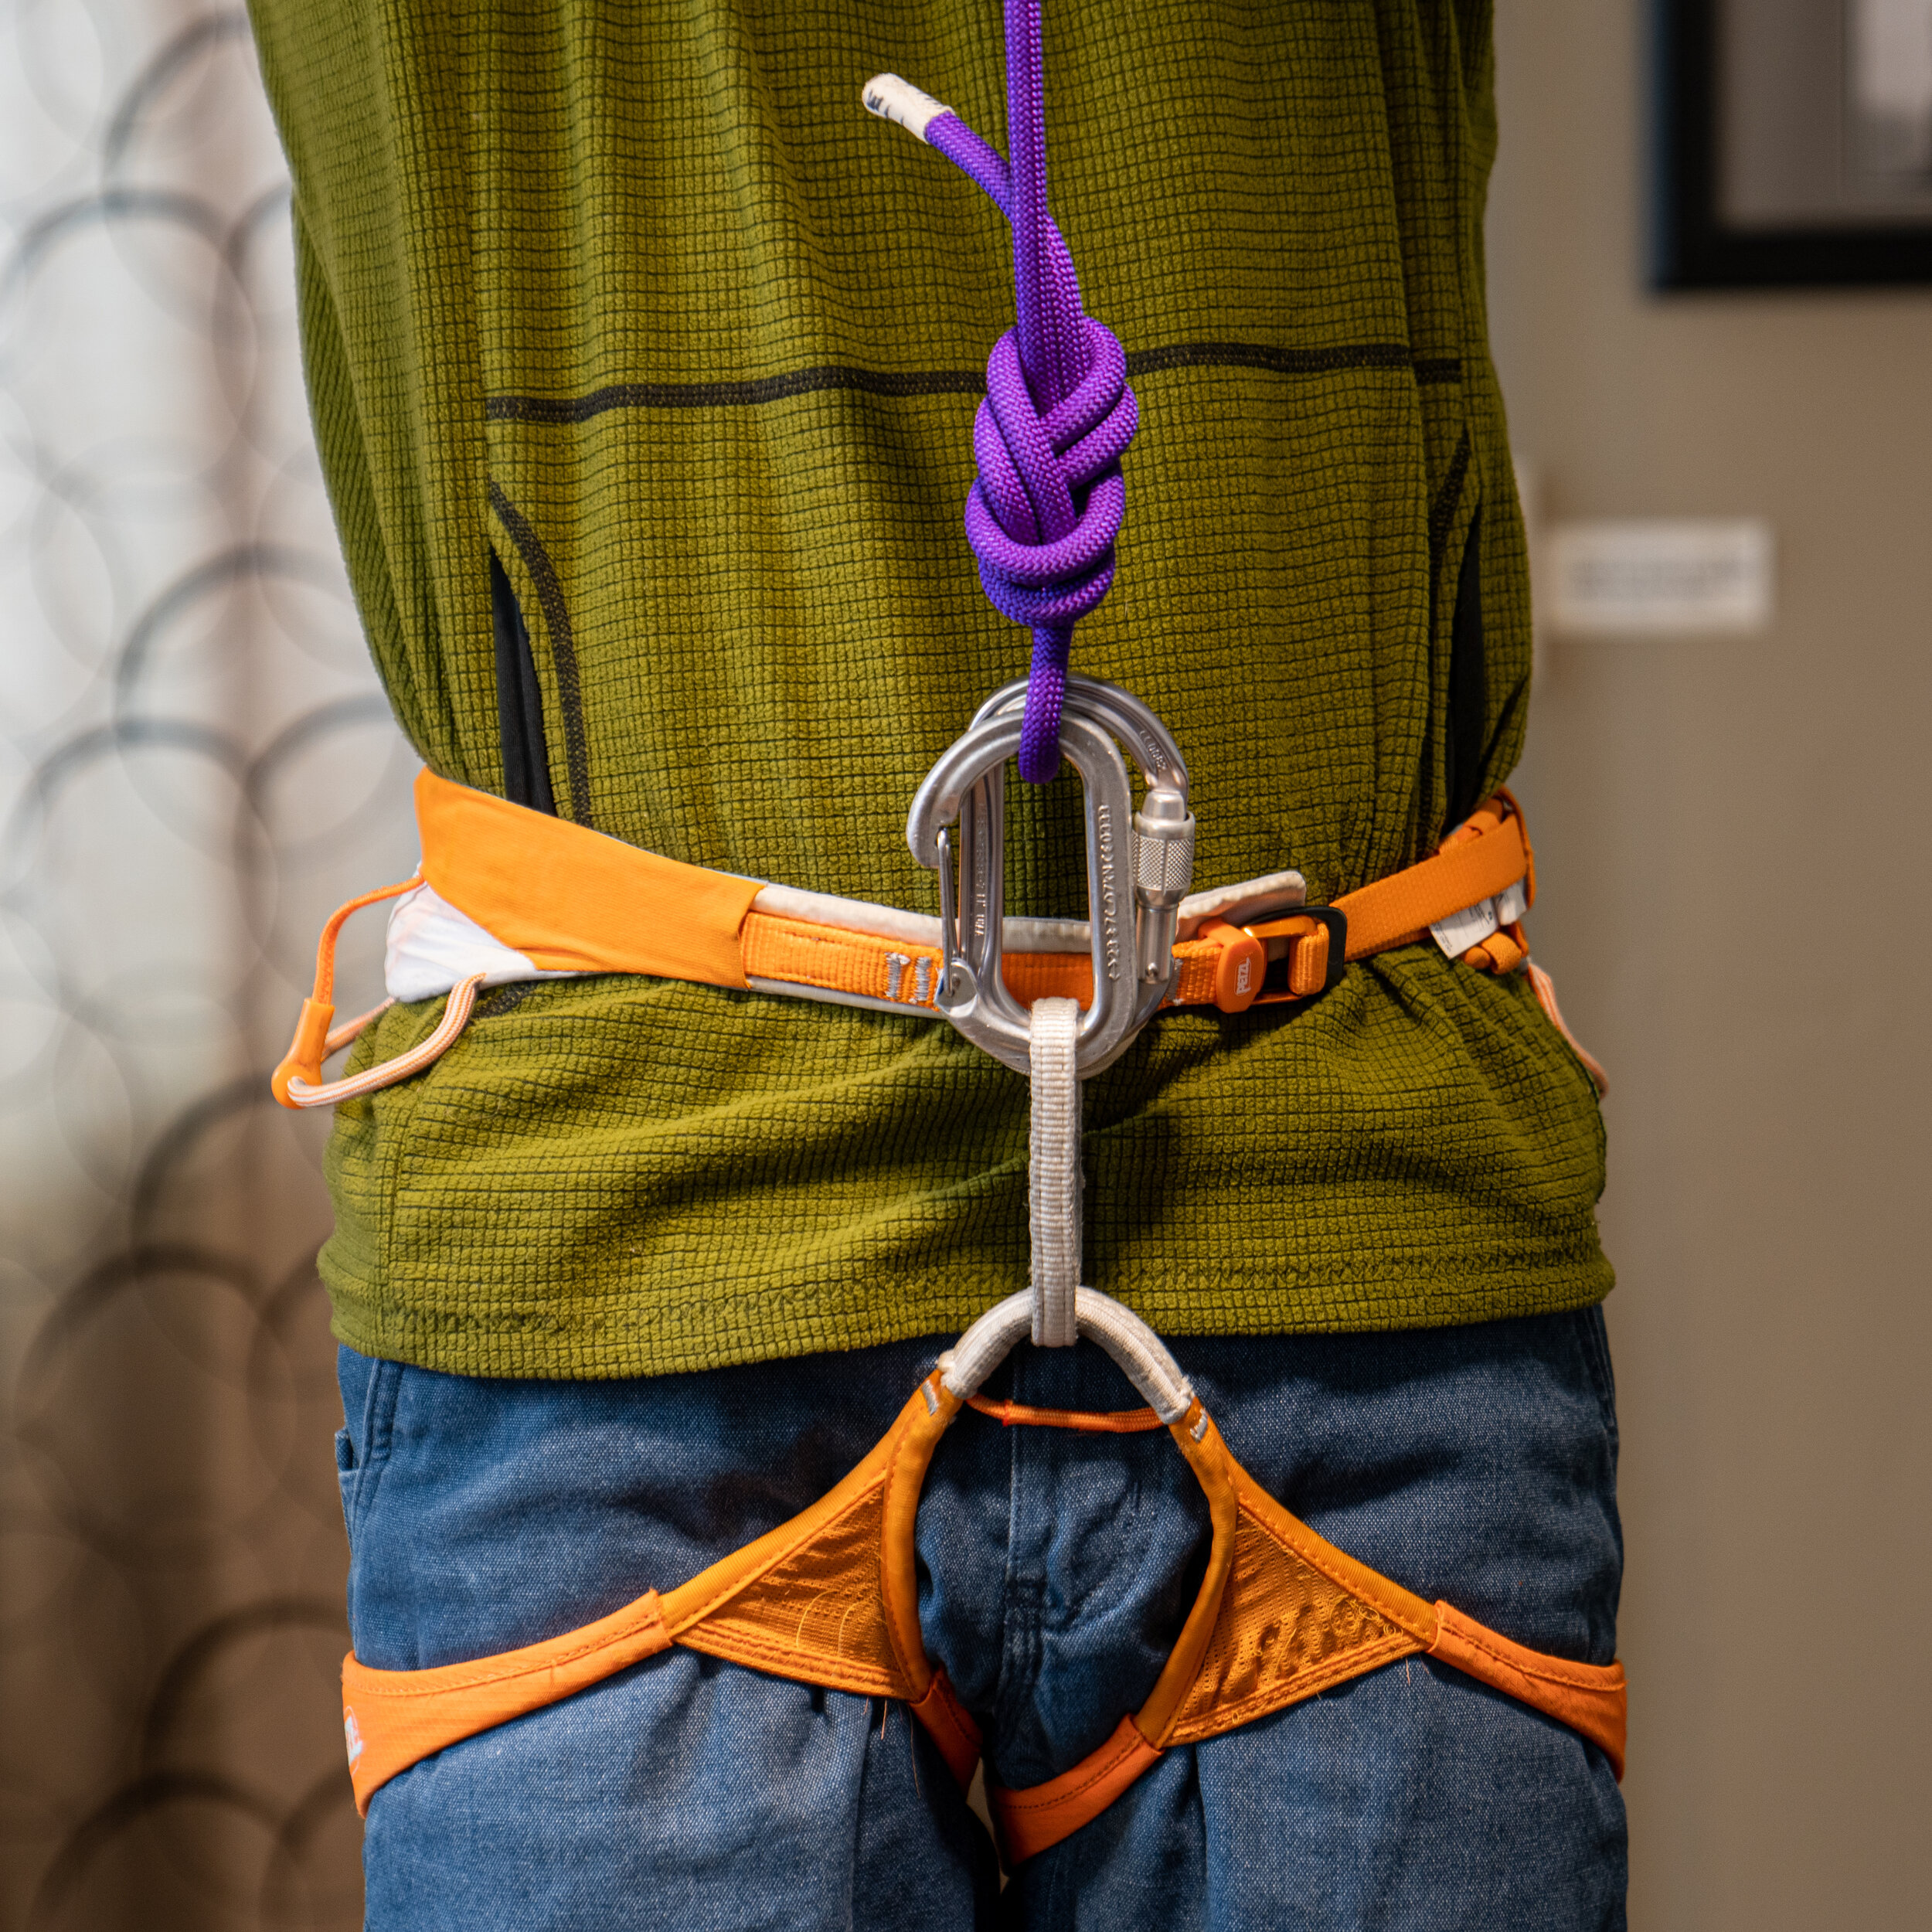
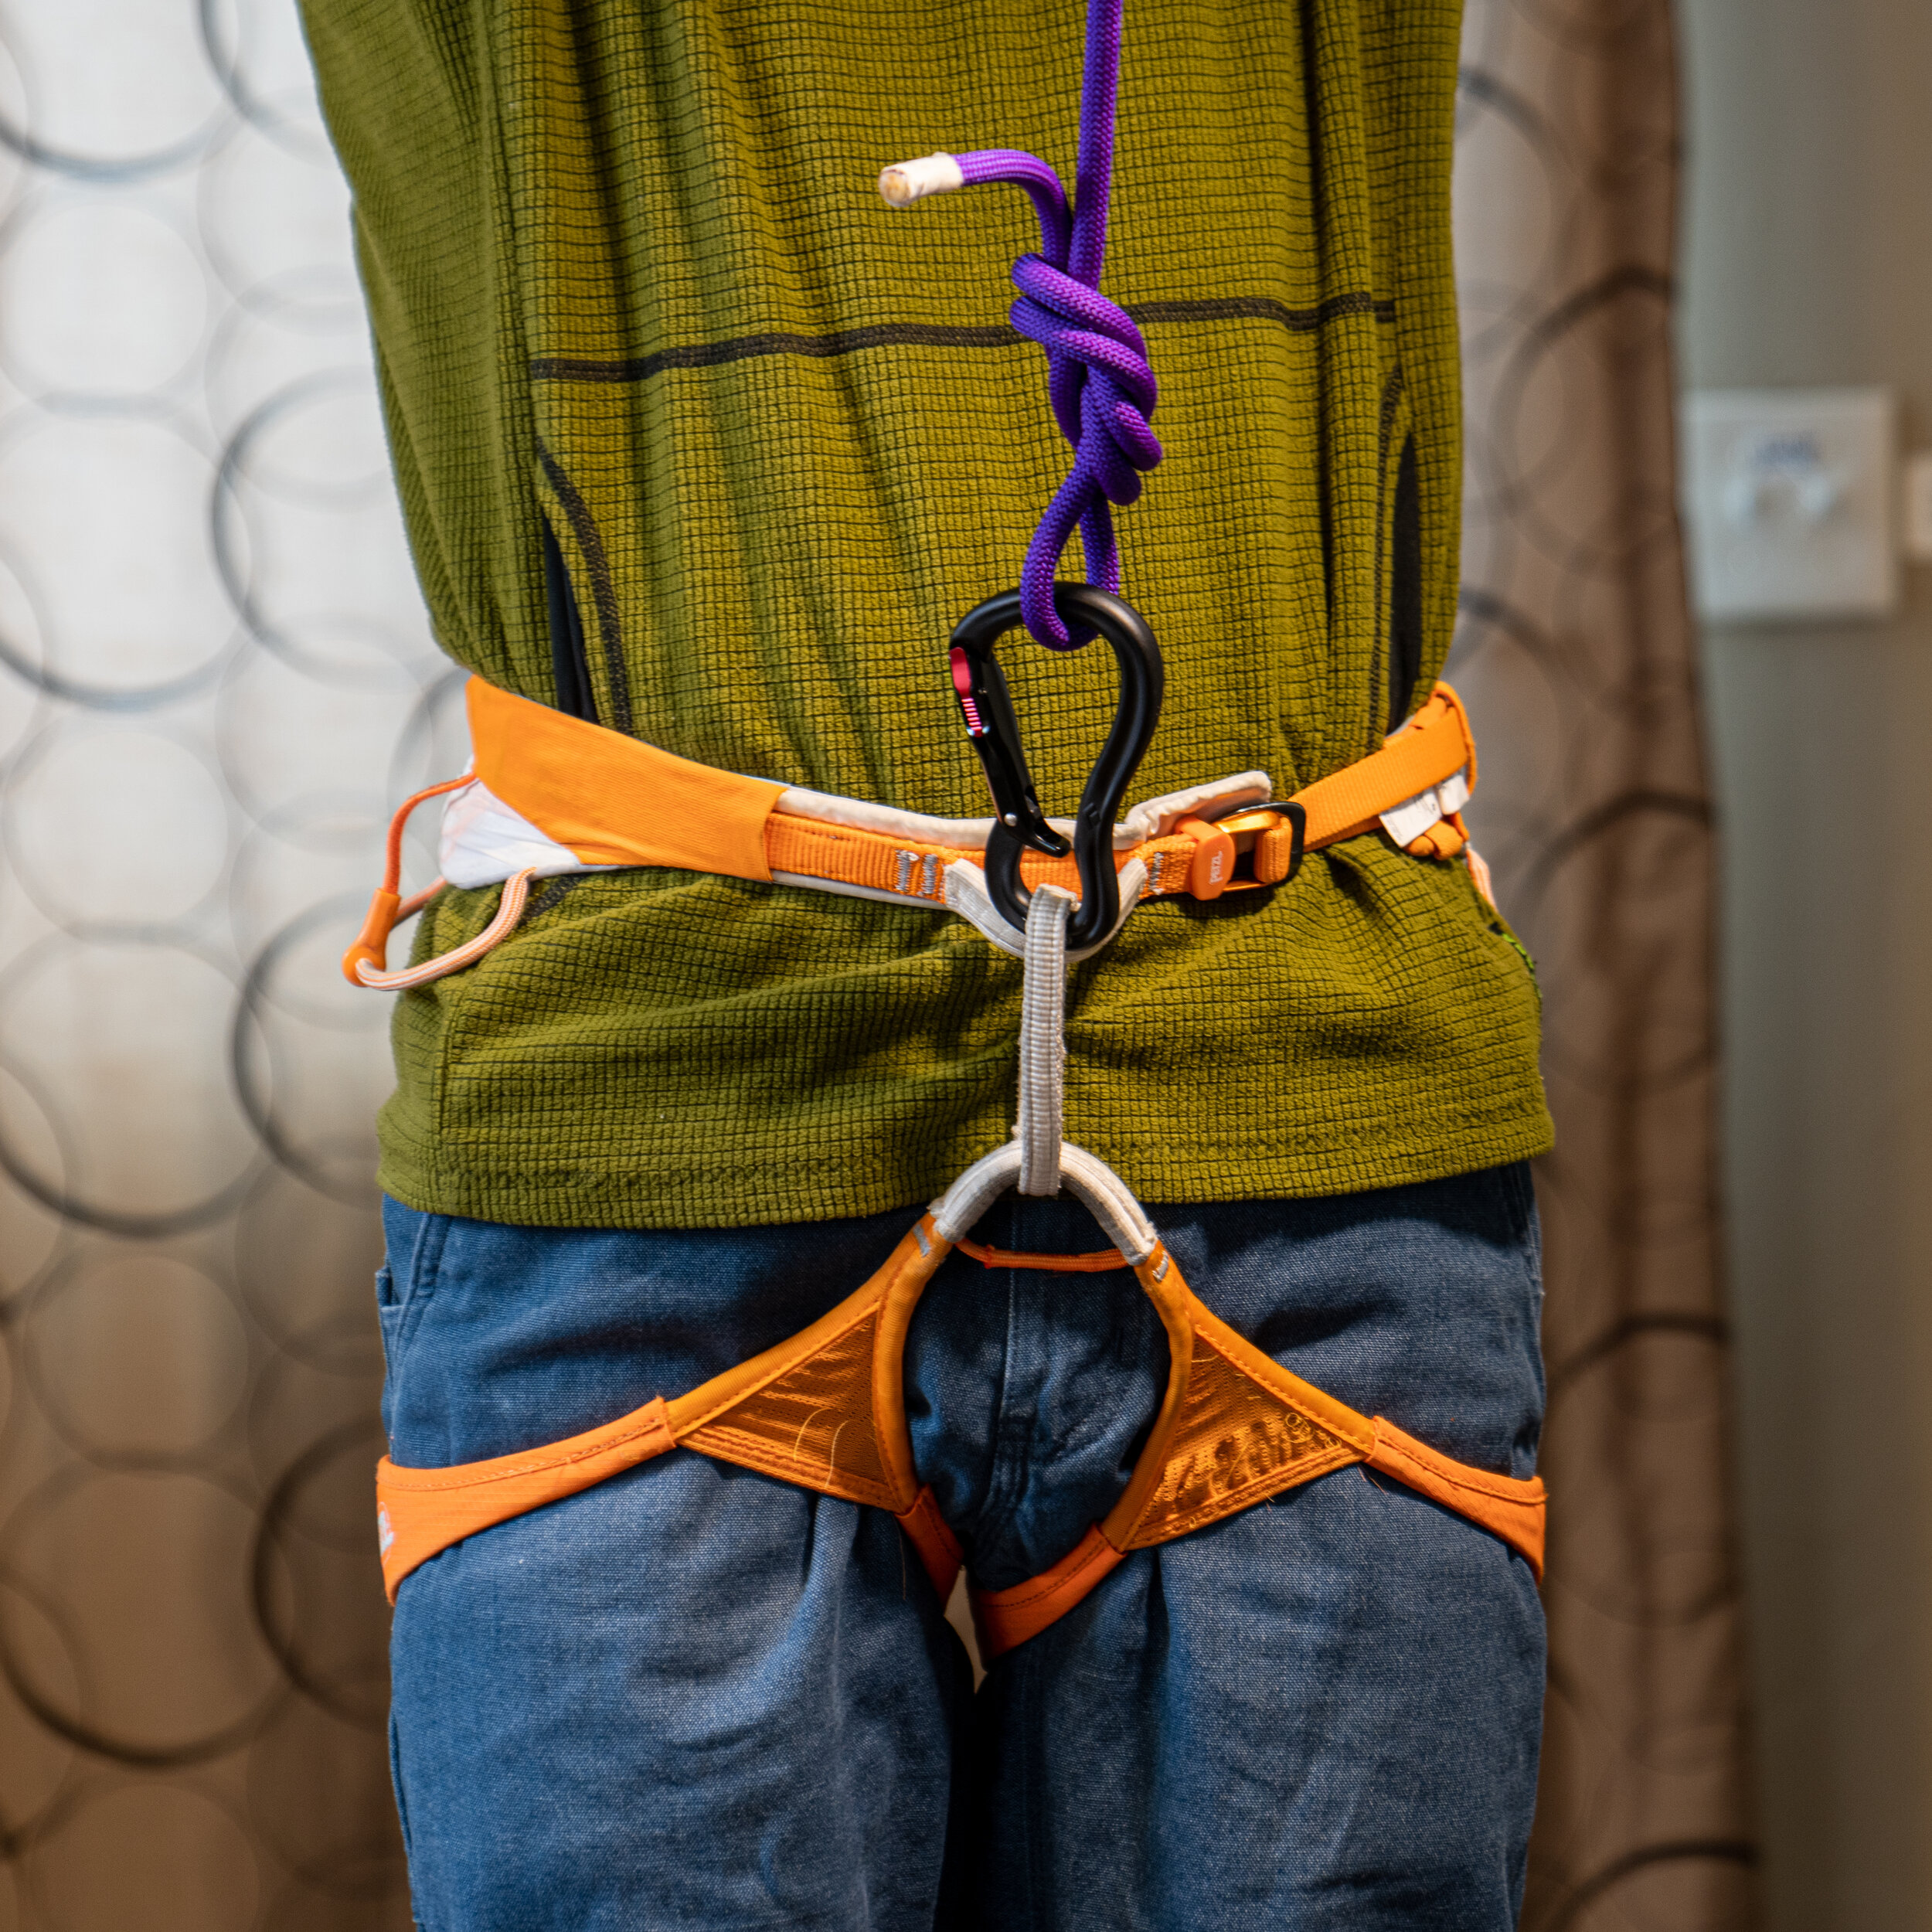
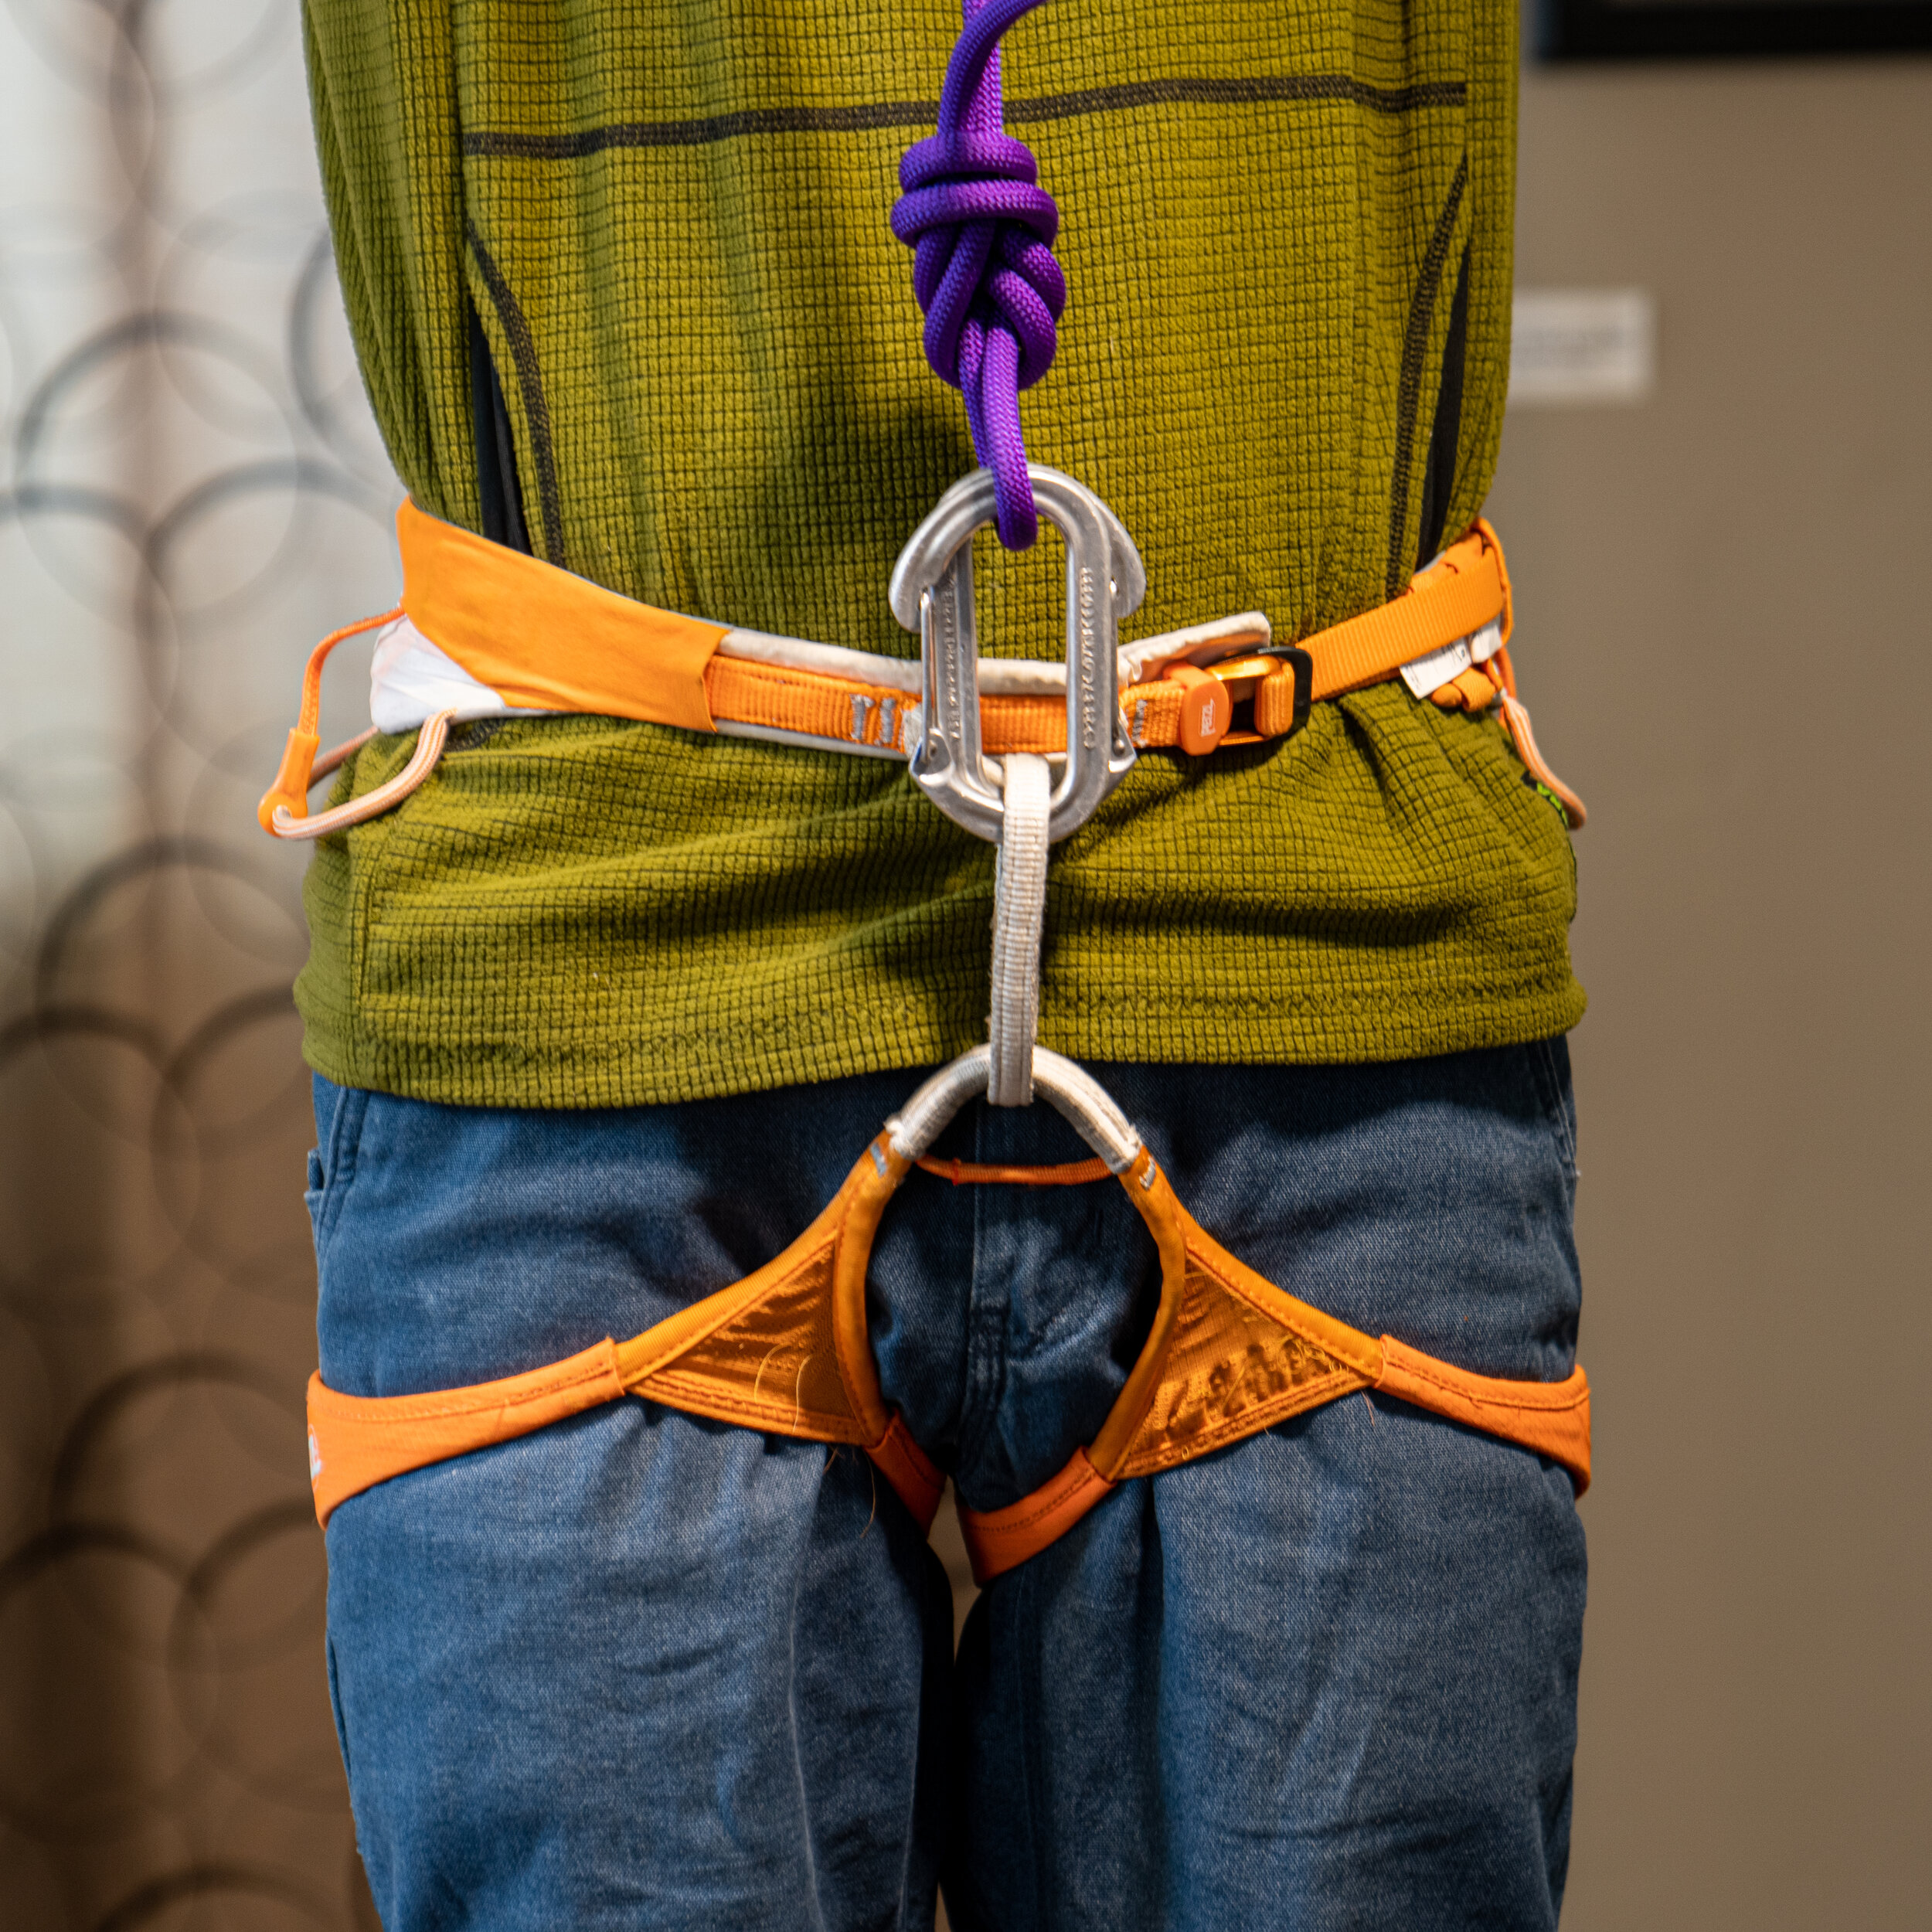
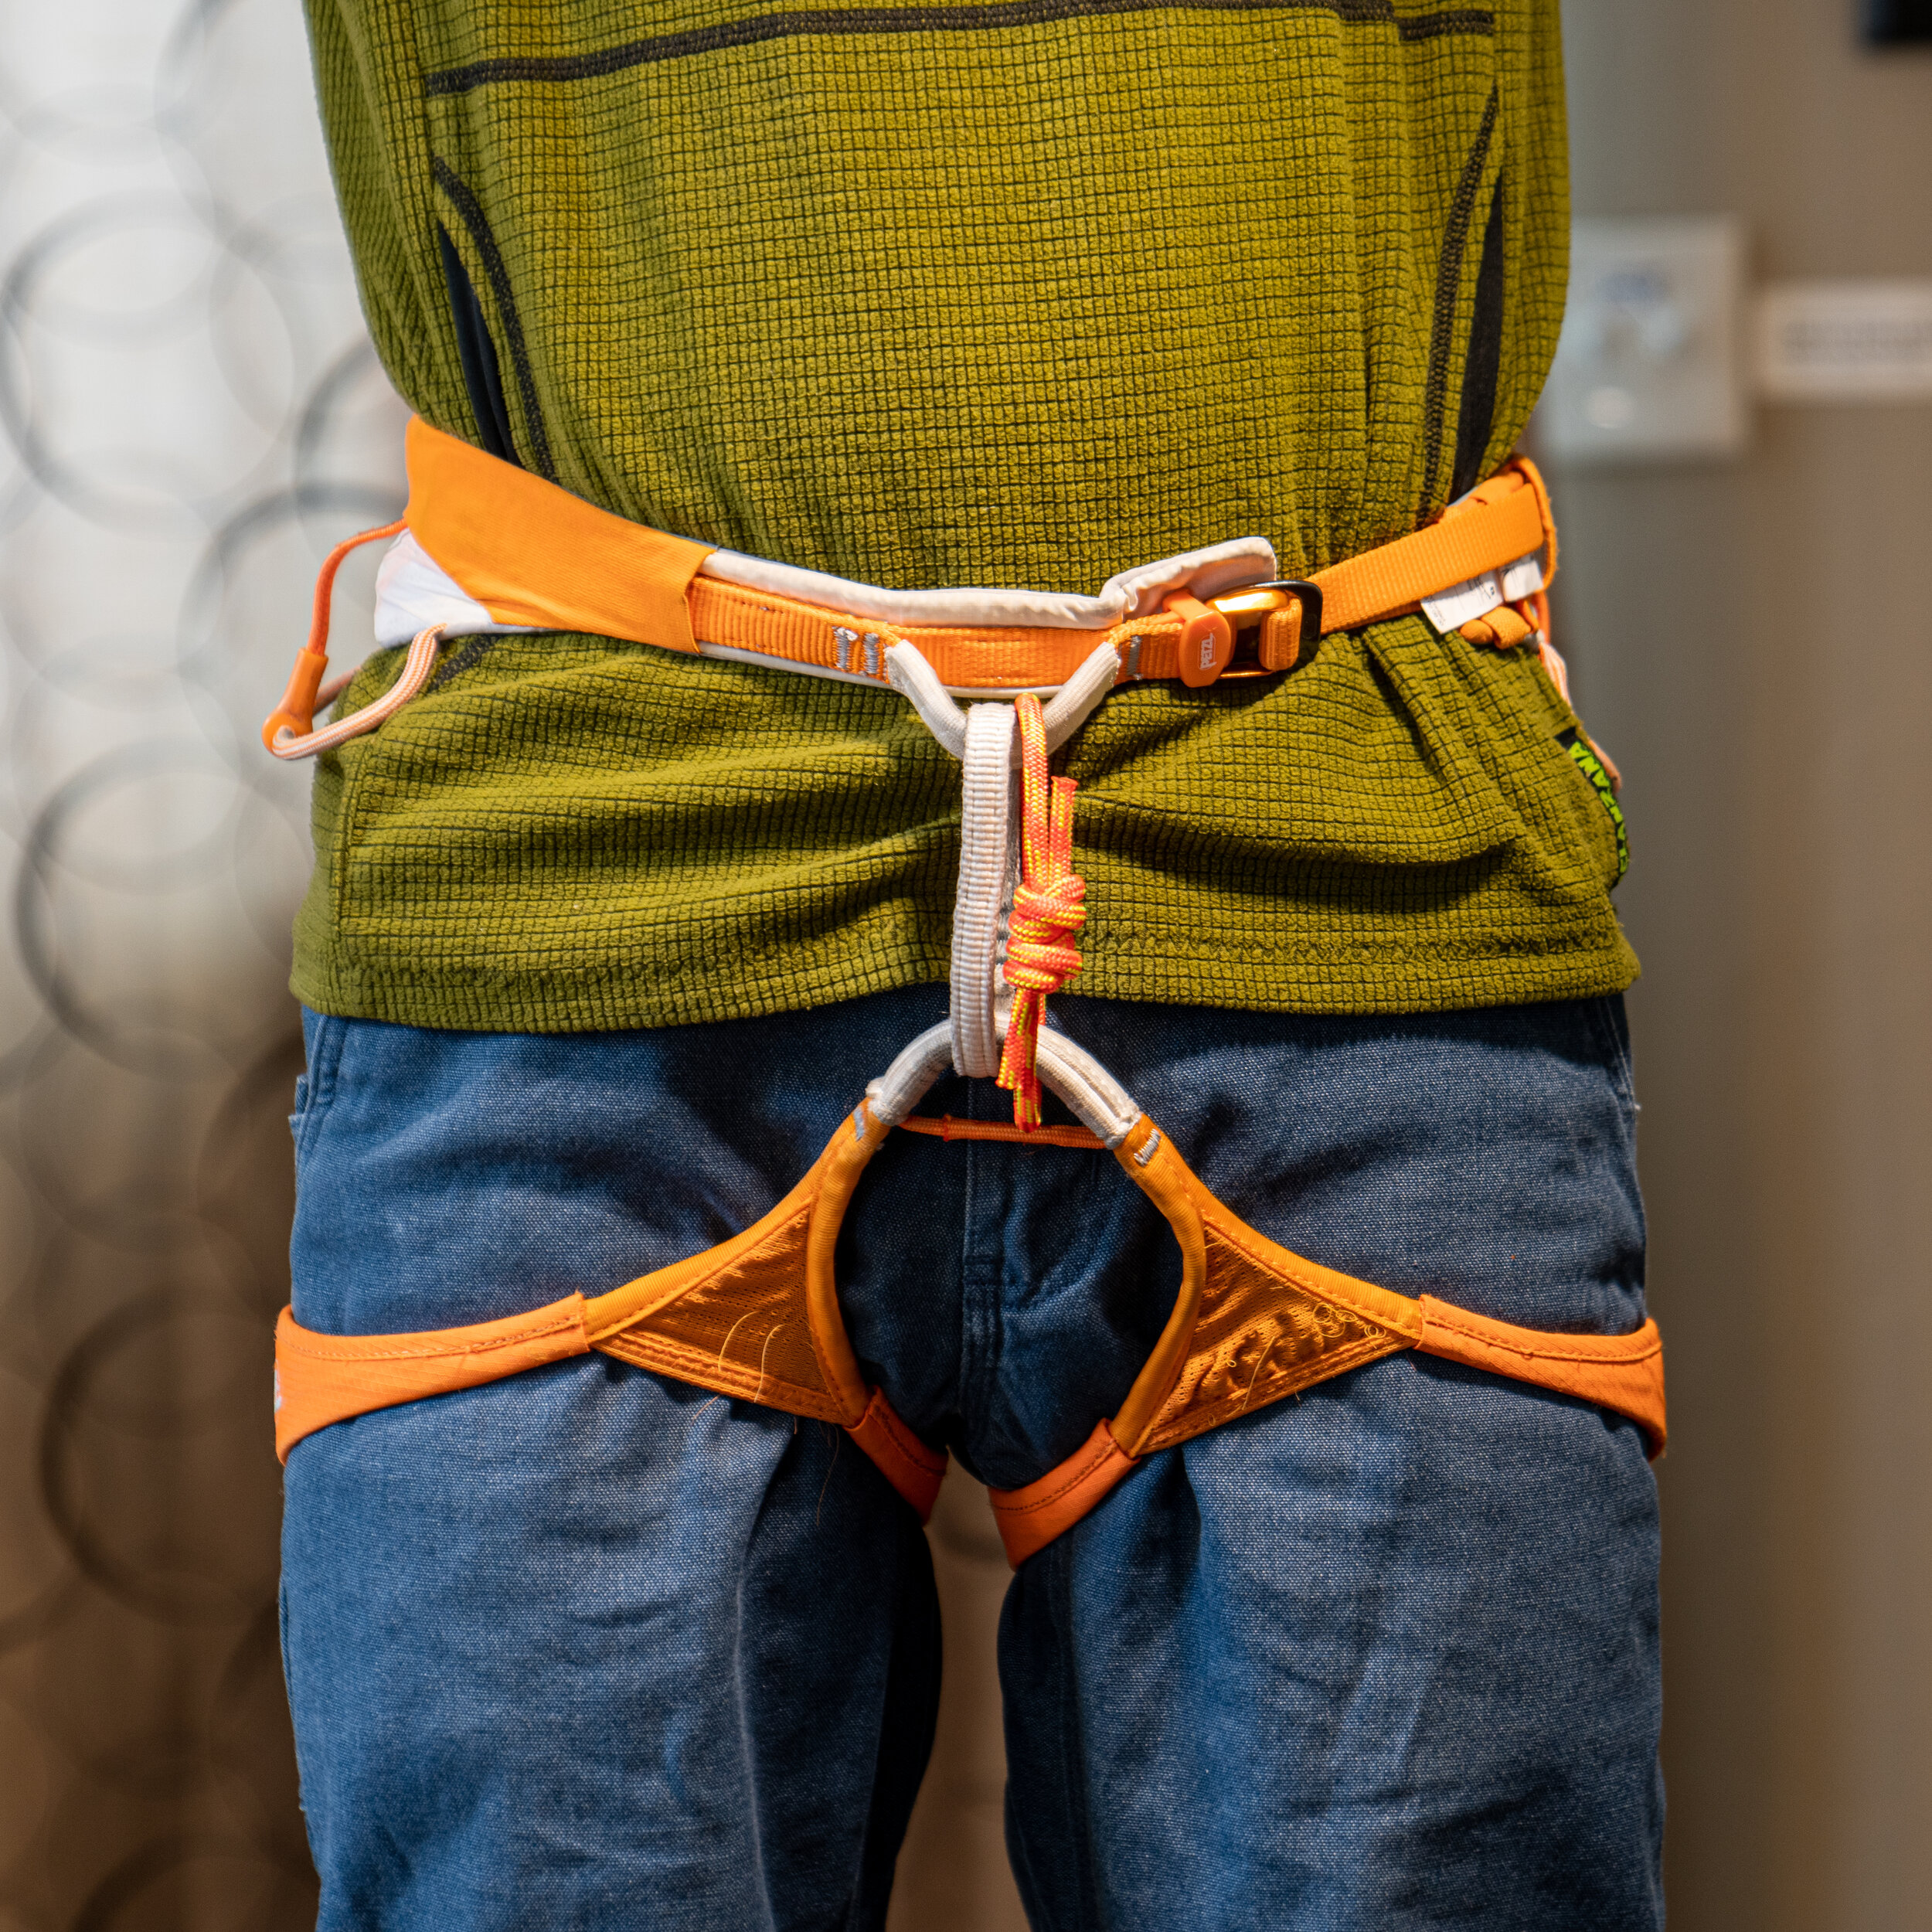
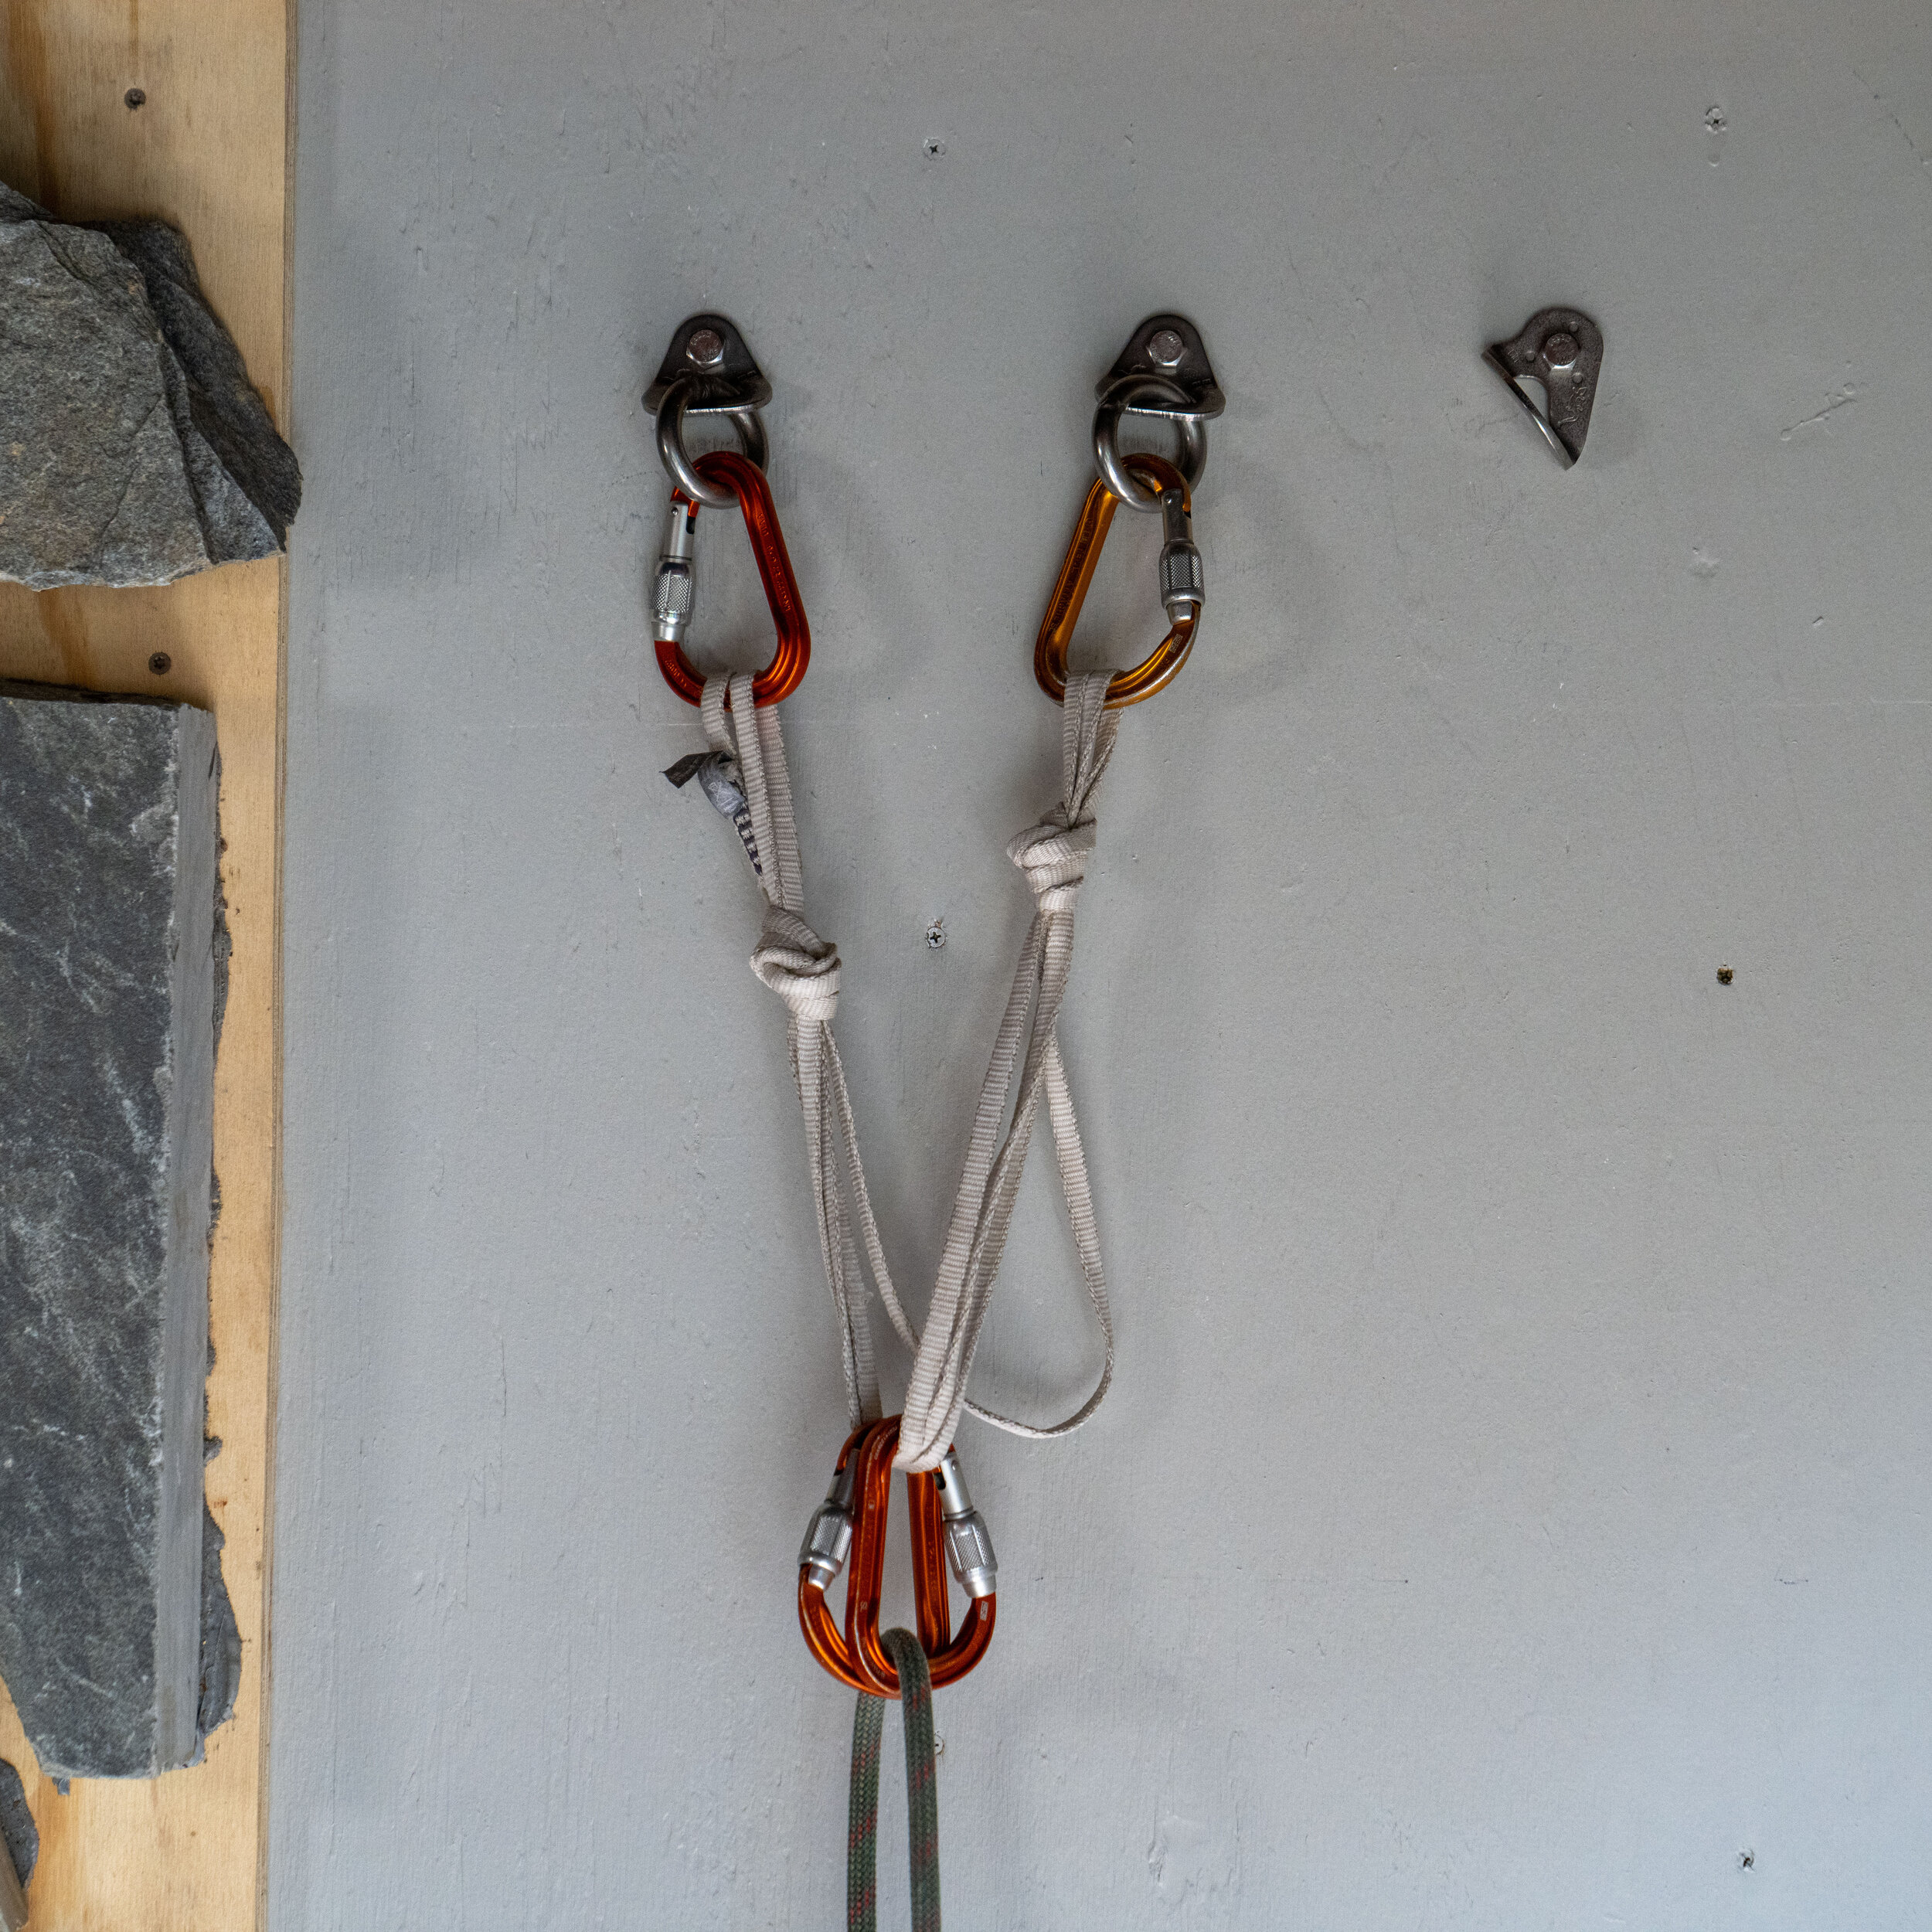
Elevate your ice climbing skills with expert instruction in North Conway. Book with Pisgah Climbing School to learn efficient movement techniques and safety protocols from experienced guides. Progress to confidently lead climbs while responsibly managing inherent hazards.

 Book Your Adventure Now!

Plan your ice climbing adventure with Pisgah Climbing School in North Conway, NH, this January and February. Beyond the thrill of climbing, immerse yourself in the natural beauty of winter in New England. Join the ranks of climbers who have embraced North Conway as the ultimate destination for a memorable and fulfilling ice climbing adventure.

Free Soloing (why you have to do it to be a climber)

Free soloing gets a bad rap in many parts of our world, but it is mostly misunderstood. The definition of free soloing according to Merriam-Webster is: a climb in which a climber uses no artificial aids for support and has no rope or other safety equipment for protection in case of a fall.It is important here to note that there is no grade associated with it. So class II scrambling without a rope and protection is technically free soloing.

free soloing in scotland

Somewhere in Scotland.

If you ask most climbers if they do or would free solo, most will say no; or maybe “hell no”, “never”, “that is dangerous”. What they have not pondered and should be asking themselves is how do they get to the first piece of protection then? Sure you can stick clip on a sport route, but what about a trad route? There are routes in North Carolina that you have to free solo the first pitch. Here is the route: https://www.mountainproject.com/route/105965582/original-route-aka-gom-jabber They will say you can get a couple pieces of gear, which is true. They are in loose rock that will never hold. So we start to manage our risk by placing gear when we feel it is necessary based on our own movement ability and risk acceptance.

This brings me to my biggest point of free soloing. Many climbers climb with a rope and do not realize they have no way of being “caught” by their partner and the rope before hitting the ground. They are free soloing! They have a rope on, they have gear in, but it is either too far below them or worthless and will never hold. This is exactly what happens on the route mentioned above.

Speed is a necessity on bigger routes and in alpine terrain. Climbers “scramble” pitches on big routes all the time and never would say they are free soloing. A good example is accessing the Diamond on Long’s Peak. The North Chimney is commonly soloed and the parties that rope up can be slow and create more rock fall if not very diligent with rope management. This is so common that Mountain Project actually recommends to “consider soloing when possible”.

https://www.mountainproject.com/route/112009323/north-chimney

Many ice climbers solo as leading ice is mostly a no fall sport. Photo: Austin Schmitz

So I’m not really trying to get climbers to “start” free soloing. But what I’m saying is that you probably already are! I also don’t believe you have to free solo to be a climber. Hell, I don’t even think you have to lead to be a climber! But I do think some care should be taken into truly understanding the activity you are engaging in.

Here is a video that Jason Schmaltz of Atlanta Rock Climbing School put together last year:

There is risk and reward in everything. One must choose their own path...

2023 AMGA Single Pitch Instructor / Climbing Wall Instructor Course and Exam offerings

AMGA Single Pitch Instructor

AMGA SPI Courses:

Feb 10th-12th Big Rock, SC

Register here: Pisgah Climbing School


April 14th-16th Marquette, MI

Register here: Michigan Ice Fest

April 3rd-5th Camp Carolina, Brevard, NC

Register here: Pisgah Climbing School

May 26th-28th Crowders Mountain, NC

Register here: Whitewater Center

Aug 11th-13th Red River Gorge, KY

Register here: Pisgah Climbing School

Sept 1st-3rd Crowders Mountain, NC

Register here: Whitewater Center


AMGA SPI ASSESSMEnts:

April 17th-18th Marquette, MI

Register here: Michigan Ice Fest

Sept 4th-5th Crowders Mountain, NC

Register here: Whitewater Center

AMGA CLimbing wall Instructor


AMGA CWI COURses:

March 10th-12th Charlotte Whitewater Center, NC

Register here: Whitewater Center

Aug 18th-20th Whitewater Center Charlotte, NC

Register here: Whitewater Center

2022 American Mountain Guides Association SPI (Single Pitch Instructor ) Course Schedule

AMGA SPI Course Schedule Fall 2021

North Carolina AMGA Single Pitch instructor Courses:

October 15-17th Register here

Michigan AMGA Single Pitch Instructor Courses:

September 15-17th Register Here

Michigan AMGA Single Pitch Instructor Assessments:

September 18-19th Register Here

The American Mountain Guides Single Pitch Instructor program is the minimum standard for climbing instruction in the United States. The course teaches many skills on how to facilitate individuals and groups in a single pitch climbing setting. There is a heavy focus on teaching and client care as well as topics like Leave No Trace. It is recommended that students take time to practice between the course and assessment. This time will very based on each students needs and access to practice the skills learned.

The Belay Loop (ways to attach to it)

The belay loop on a harness still has so many misunderstandings and misnomers about it in both climbing and rescue cultures. We like to put things in a box and this really creates problems in both of these worlds.

So the question comes up a lot about how to use the belay loop. The obvious answer is “to belay”. What about tying in? What about attaching a tether to rappel? It this safe?

It is actually safe. In fact there are many ways to attach to a belay loop and for many different applications.

Here are some examples:

This first one is the simplest of all. Just the figure 8 follow thru. So why might we tie in like this? I do it a lot when ice climbing on the last pitch of the day when I need to clean the route but don’t want to take off a big puffy. This way I don’t miss my two tie in points that I usually use.

_DSC1621.jpg

Now of course many folks will worry about wearing out the material. I would say this is a concern, but no more so than any other part of the harness. The belay loop is as strong and redundant as anything in the climbing system can get. So even with some wear it would be fine. However the loop rotates. So you are not going to wear it in one spot for very long. If you compare it to the bottom “tie in” point, that doesn’t rotate; it should last as long or longer.

We are also untying it every time we climb. Think about all the people we see have a P.A.S. attached to a belay loop and never take it off. This is girth hitched and does not allow for rotation. But we do not see too many people worrying about this…

The next method uses the girth hitch. I have seen folks use this as an attachment on a glacier. It is good because it has minimal gear, but not so good because it is hard to get out of. This latter characteristic is actually why I would use it though. If you have a younger person on a rope and do not want them fiddling with anything, this can be a great attachment to put your mind at ease.

_DSC1626.jpg


This style does lock the knot into one place. The wear should be minimal for the day though and really not even something I am worried about. The over hand knot allows some isolation of rope pull from the person in the front and the back.

This girth hitch method is also seen in the Petzl Connect adjust and Petzl recommends that it be attached to the belay loop. This is likely because of the dynamic nature of the rope as well as getting a little more extension.

9W3A9406.jpg

We can of course basket material to our belay loop as well. Here is a sling that has been basketed and again in this configuration the belay loop can rotate and wear should not be a problem.

9W3A9398.jpg

Of course we can always use carabiners to attach to our belay loop. I use the rule of “If full body weighting of the carabiner is possible, the breaking strength of the system should be at least 10kn.” This means that if a carabiner were to get cross loaded under a fully weighted system, the cross loading would be around 6-8kn. So another opposite and opposed carabiner must be used.

I do use a single carabiner if it can not be cross loaded and the gate is a tri-action or 3 step opening mechanism. However most of the time I am not carrying a specific carabiner for this purpose and many are quite fiddly with gloves on.

So the belay loop is quite strong and many configurations of attaching to it are safe. One of the main takeaways should be to keep your belay loop free of material when you are not using it. This will help with inspection and wear of the material.

Here is a quote on the strength of belay loops from a study conducted from
“The number of days and falls a harness had suffered also lowered belay-loop strength. Harnesses with 250 or fewer days of use had an average belay-loop strength of 5,732 pounds, compared to 4,629 pounds for those used 451 days or more.” -Rock and Ice Magazine

The Belay loop (a Facebook discussion)

A post on the internet of a person asking about the integrity of their belay loop created some interesting discussion. Below I have answered some of the comments and hopefully brought some thought to the problems associated with the solutions. 

160113991_1618159605036882_1436530046603236570_o.jpg

The original posters photo


Original question:

“The stitch end of my belay loop starts to become a little loose right now. It‘s two and a half years old with irregular climbs, mostly in gyms. The gym I recently visited only allowed us to use a carabiner rather than a figure-of-eight when top roping. I noticed that the carabiner sometimes exerted a torque on the stitch following an awkward fall, which might be the cause. Just wonder is this a safety concern (especially when lead belaying)? How could I slow the deterioration? Many thanks.” -Facebook poster

So Ill start with this comment: 

IMG_2219.jpg


The first comment to “replace it” is right on! But the follow up comment of putting tape on it is just a no no. The first comment is correct about if you don’t feel safe, but tape here is like laying newspaper over spilled milk. It is still there and eventually is going to spoil. The tape will only cover up the problem, and if the problem would happen to get worse you wouldn’t notice.

There is also the idea that the chemicals in the adhesive of the tape could cause the belay loop to deteriorate. This is really unlikely but there is a very very small truth to this. So avoiding this by not putting tape on it is a better solution.

The next comment is something I have seen many times and provides little to no strength redundancy but can cause some pretty big issues:

IMG_2220.jpg

Temporary or back up belay loops are just not a solution. They are not strong at all compared to the belay loop itself. Belay loops must meet the UIAA minimum standard of 15kn. Most belay loops test well above this, in fact most test above 20kn. 7mm accessory cord is around 11kn and 5mm is around 6kn to give examples of the size cord you might use to create a back up.

So if you use cord, you will need to tie a knot. Typically a double fishermans. This is quite bulky. I try to leave my belay loop and tie in points clean in general as it is my work space. So now you have cluttered this place introducing possible mis-clips and or confusion which could and has lead to near misses and accidents.

IMG_2223.jpg
link below

link below

Which was followed by this link: rope cutting

This does happen but a few things to note here. The rope is tensioned. The rope that is moving is small.

The rope doesn’t actually cut here. It melts. This is more of a rope trick and used to scare people. Rarely would we find these similar dynamics in the wild and this is definitely not how rope interfaces with a harness.

IMG_2226.jpg

Clipping in with a carabiner to the belay loop is fine. I would suggest against clipping to the two tie in points as you can start to load the gate of the carabiner. I would suggest using a tri-action locker which you can read more about here. You can see a tri-action locker in the video below. Note the 3 actions to get the gate open.

You can actually tie into belay loops. Climbers don’t for 2 reasons. One, you will probably want it for belaying. Two, it can wear the loop out faster. The later point here is a bit mute because the loop still rotates and you are wearing at a different spot every time. So really if you climb enough to wear a harness out this way good for you. But I bet that will still take you 8-10 years and you should have probably already bought a new harness anyway.

IMG_2243.jpg

I would suggest against having a “workshop” resew a belay loop for your harness. If you are going to use a carabiner I would use the Petzl Omni Triact lock. It has a cross-load rating of 15KN but a price tag that is about as much as some new harnesses. So again, maybe just buy a new harness.

My recommendation is really to just buy a new harness if you ever have any doubt. I do think the harness in the photo is fine as it really has no structural damage. But all I can tell is what I see in the picture.


What I carry for high angle rescue in my search pack

A lot of times we head into the woods on search and rescue not really knowing what we are going to get into. I have put together a small kit that can help me access a patient and or start the evacuation process. Now remember, if I know I am going to a high angle call, I will likely choose similar but more material. For instance I wold go with a Petzl Sitta Harness over the Altitude.

Rescue_kit.jpg

Petzl Altitude Harness (The Tour harness is a bit cheaper and only a little heavier)

Connect Adjust

GriGri

Reverso (plaquette style device) with round stock carabiner

2 5mm Prussik loops

Micro Traxion

120cm sewn sling

180cm sewn sling

21’ 7mm cord

4 locking HMS carabiners

2 non-locking carabiners

I use the Altitude harness that is made for ski mountaineering. It is not that comfortable to sit in for long periods but it is very light and packable. Sometimes I will carry the Sitta instead especially if there is a good chance we will be in vertical terrain.

The Connect Adjust is one of the only single use tool that I carry. It just does the job of tethering to an anchor or a basket exceptionally well. The dynamic properties out build its value and make it worth the weight. It also is a great tether when working in and out of helicopters.

The Grigri is a bit heavy but it solves so many problems so well. You can ascend, descend at any given time, you can use it as a progress capture and in some situations and configurations use it to raise and lower patients.

The Reverso is a great belay tool that can be used in series with the grigri to provide enough holding power to manage a basket. It also has many descent and ascension uses. If you can find a round stock carabiner for this it will be much smoother.

I cut my Prussik loops to 3’7”. These seem to work well with most sized mountain rescue ropes.

The micro traction provides a pulley as well as a progress capture. It is an invaluable tool in rescue.

I use UHMWP slings to keep weight down.

I use nylon cord as it has better properties than some of the thinner tech cords on the market and in use it is hard to know if a small cord is tech cord or just thin nylon in which case the strength is drastically less.

I choose HMS carabiners so that they are all Munter hitch compatible.

The two non-locking carabiners mostly get used to hold things on my harness but can also deploy these things in some scenarios when all others are being used.

If every one on your team has these tools, all put together you can preform some pretty complicated systems.

For more information or rescue training head over to Pisgah Climbing School’s page.


American Death Triangle (Is it really that bad? )

The American Death Triangle or “ADT” for short, has always been touted as a horrible technique. Is this really true?

American Death Triangle

American Death Triangle

The ADT actually doesn’t put a whole lot more force on gear but it does change the way the gear is being pulled. The angle that the gear is been pulled is called a resultant and is shown in the photo below. This is the main reason for gear failure. Of course with modern bolts this angle and the forces are completely fine.

Forces shown on the American Death Triangle

Forces shown on the American Death Triangle

If the angle is greater at the load, we start to multiply the force on the protection as well as the resultant will have a more perpendicular pull to the load.

Greater angle at the load causes more force on the protection.

Greater angle at the load causes more force on the protection.

One other obvious problem with the ADT is the fact that it isn’t redundant in the material itself. So if there is a failure with the material then you have a complete system failure.

In the end, it is fairly easy to use another method like the one below, making a master point anchor, that will give redundancy and minimize force on the protection. So I would generally advise folks to do this rather than use the American Death Triangle.

Master-point or fixed focal point anchor

Master-point or fixed focal point anchor

This video is about the American Death Triangle and why it is not really a big deal with modern protection.

The Quad Anchor

Here is a little description of the quad anchor and why I like to just clip two strands.

The quad anchor can be a great tool when you are climbing on bolted anchors where the bolts are generally good and you might need some movement in the direction the anchor could get pulled. It also can be pre-tied making it an efficient tool.

I generally do not like using the quad on anchors that are more questionable and would prefer to use a tool that distributes more load to the components that I deem stronger. If the quad were to have a component fail, you would see extension in the anchor; albeit the force would likely be minimal especially if you are clipped in via some sort of dynamic way like a rope. Also I rarely do not know where the force in load on the anchor is going to come from, so having an anchor that can accommodate this is not necessarily an attribute I ma looking for.

When clipping into the quad there are a few ways to do it, one seems to make more sense to me than the others.

I do not use this one.

I do not use this one.

The one I do not use is clipping 3 of the 4 strands. This is no more redundant and in fact if a component were to fail you would then be hanging off a single strand of the quad. (shown in the video)

_DSC9737.jpg

You can clip 2 strands and two strands but now the carabiners start to bind up. In theory this would allow two strands to break and you would still have one locker with two strands holding you. But I do not see this happening unless the anchor was seeing a lot of movement over a sharp edge. In this case I would likely go with a fixed master-point and some sort of edge protection like this from Rope Safe USA.

_DSC9734.jpg

I like to clip two strands allowing the movement that makes the tool useful. I keep redundancy by having two carabiners on the two strands.

The quad also makes a great multi-pitch anchor and helps with stance comfort and station management.

_DSC9735.jpg